Tutorial: Create and Use Virtual Point Clouds (VPC)
3. Load point cloud tiles in QGIS
In this chapter we'll load the downloaded point cloud tiles in QGIS.
1. Start QGIS Desktop. Make sure you use version 3.32 or newer.
2. Locate the folder with your downloaded tiles in the Browser panel. Right-click on the folder name and choose Add as a Favorite from the context menu.
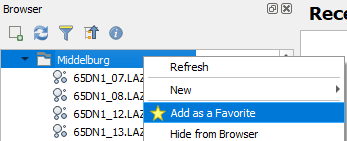
Now we have created a shortcut in the Browser panel, where we can find the files.
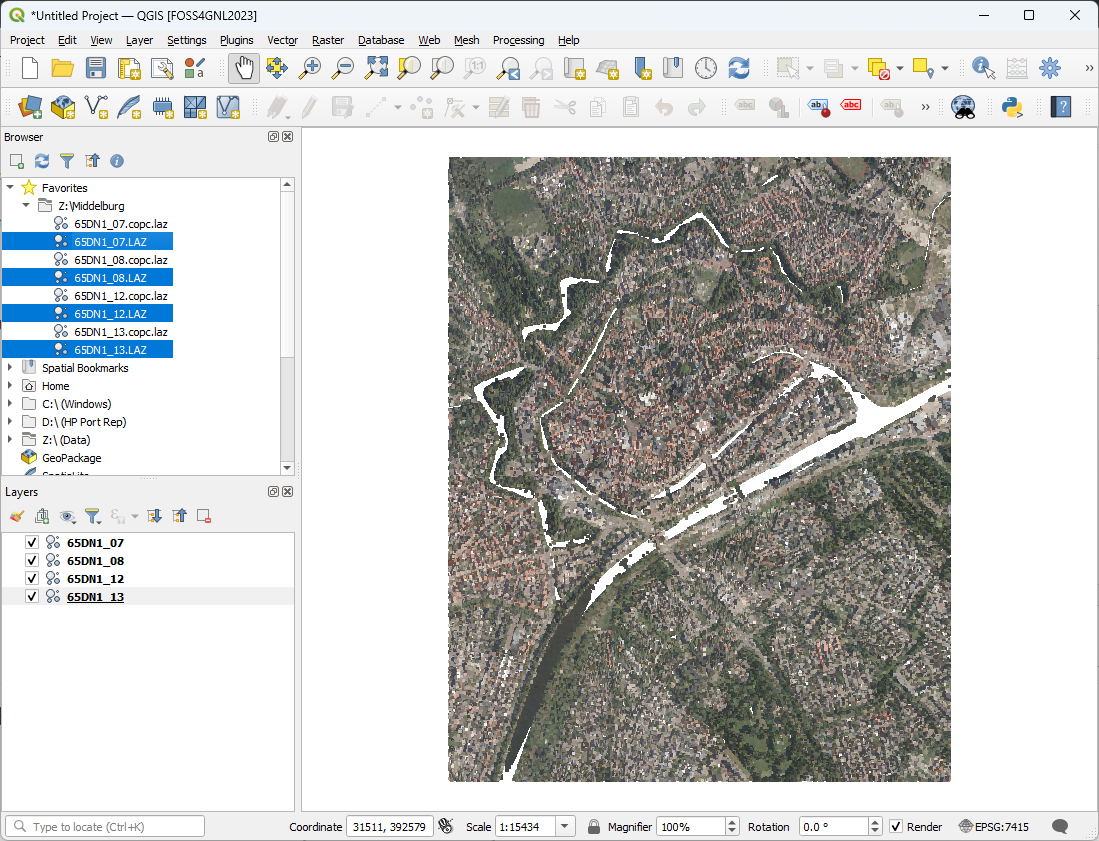
3. Select the .LAZ files and drag them from the Browser panel to the map canvas.
QGIS will now show the extent of the tiles with a dashed red border and will automatically convert the LAZ files to the Cloud Optimized Point Cloud (COPC) format. This can take some time.

After the conversion has finished, you'll see the RGB coloured points in the map canvas and you'll find the .copc files in the Browser panel.
Let's check if the point cloud is correctly georeferenced. We'll do that by adding an aerial photograph from the PDOK Services plugin.
4. In the main menu, go to Plugins | Manage and Install Plugins....

5. In the Plugins Manager dialog search for PDOK Services plugin.
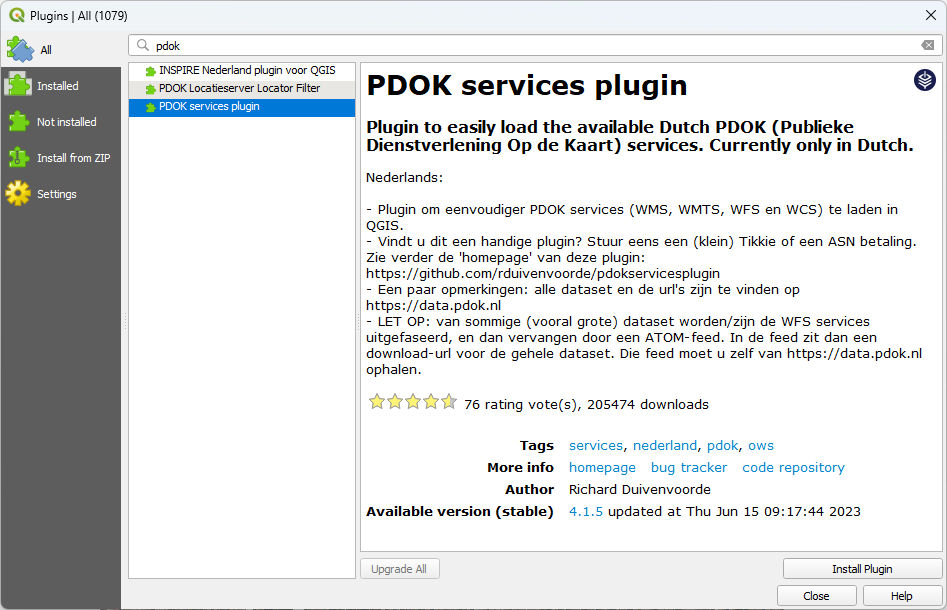
6. Click Install Plugin.
7. Click Close to close the dialog after successfully installing the plugin.
8. In the toolbar, look for the PDOK Services Plugin icon  and click it.
9. In the PDOK Services Plugin dialog select the first layer: Luchtfoto Actueel Ortho 8cm RGB, which is a high resolution aerial photograph provides as WMTS layer.
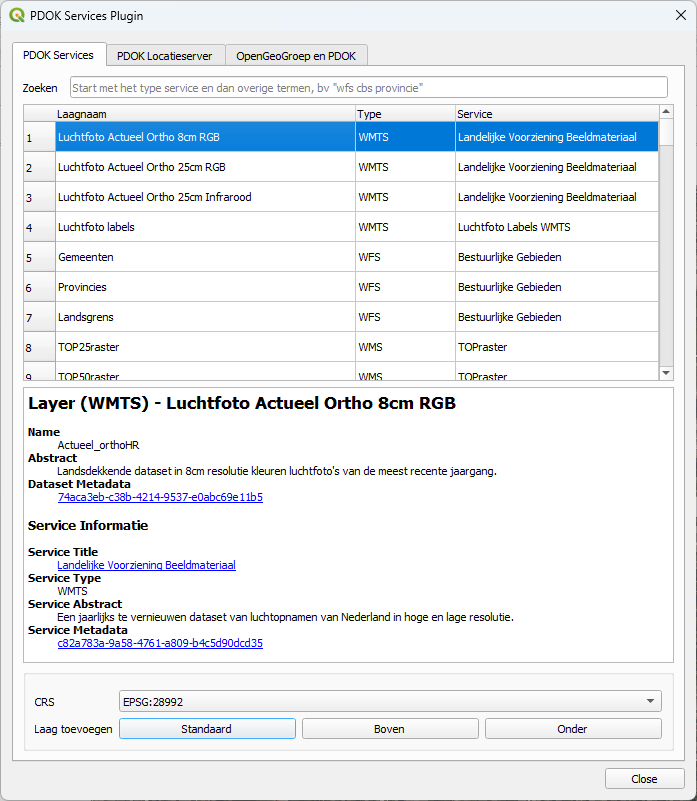
10. Click the Onder button to add the layer below the LAZ files.
11. Click Close to close the PDOK Services Plugin dialog.
You can see in the map canvas that the point cloud data fits nicely with the aerial photograph.

In the next section, we'll check the properties of the point cloud tiles.