Tutorial: Stream and Catchment Delineation
12. Storing the Data in a GeoPackage
To keep the data together and enable easy distribution, it is good to save the layers as a GeoPackage.
1. In the Processing Toolbox look for the Package Layers tool.
2. In the Package Layers dialogue click the ![]() and
select all layers. Note that these are only the vector layers.
and
select all layers. Note that these are only the vector layers.

3. Save it as Rur_data.gpkg and click Run and Close when it's done. By default it will also save the styles.
4. We can add the raster layers from the Browser panel. Simply drag the raster layers (in our case dem_subset) to the Rur_data.gpkg. You might need to refresh the Browser panel to see the GeoPackage.
The layers in our project still refer to the the GeoTIFFs and the shapefiles. Let's change that in such a way that they will be linked to the layers in our GeoPackage.
5. Select a layer in the Layers panel and right-click. From the context menu, select Change Data Source.... Select the corresponding layer in the GeoPackage.
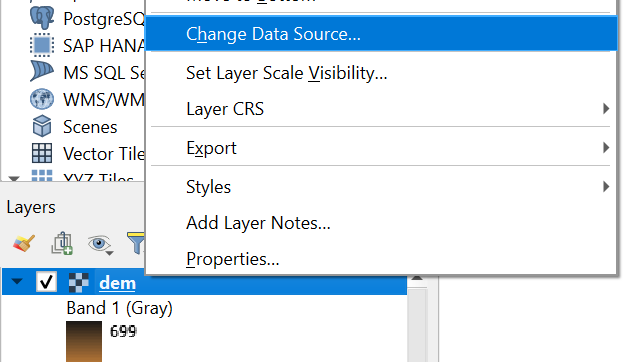
6. Repeat this for all layers.
Now we can save the project to the Rur_data.gpkg with the correct paths.
7. In the main menu choose Project | Save to | GeoPackage...
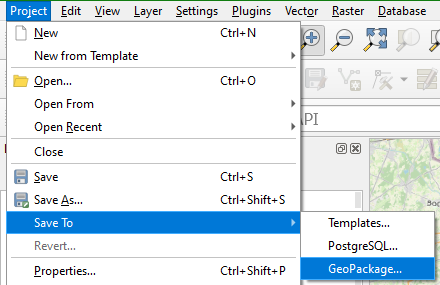
8. In the pop-up, browse to the Rur_data.gpkg at Connection and name the Project Rur. Click OK to save the project in the GeoPackage.
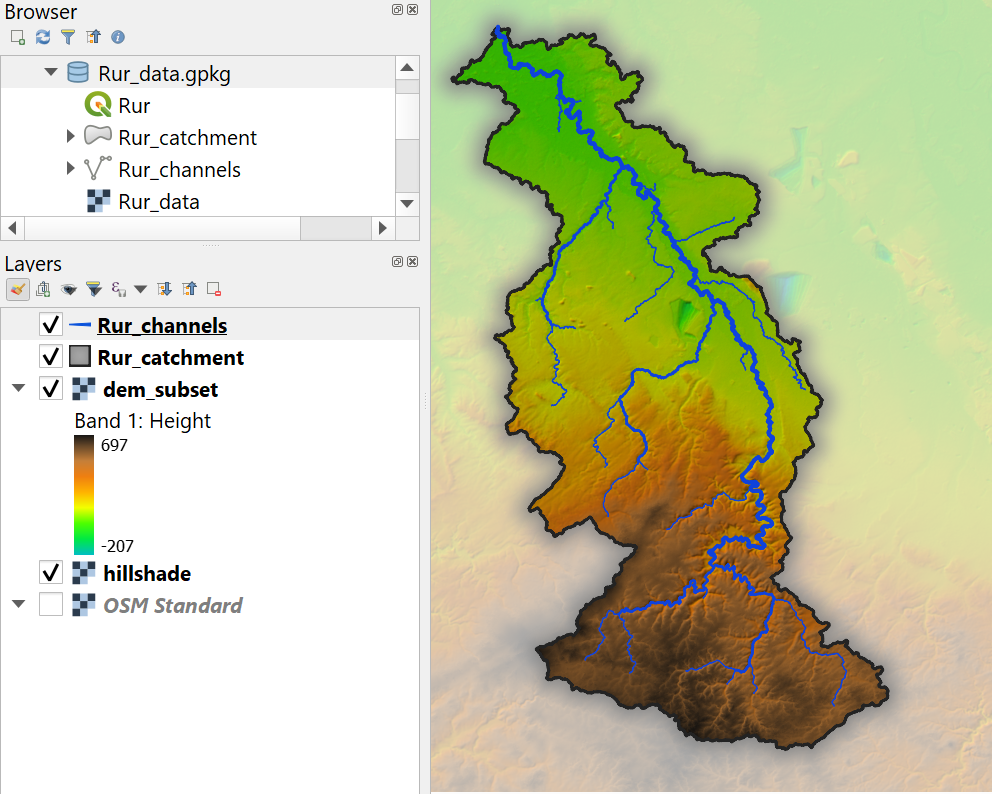
The end result should now look like this:
Watch this video to check the steps of this section: