Fire Risk Map
2. Data and Preparation
2.3. Digital Elevation Model
For our Fire Risk map, we want to know the slopes of the study area. Steeper slopes make it easier for fire to spread. Now, we will load and prepare the elevation layer, which will be used later for the Slope analysis. For elevation we use a Digital Elevation Model, or DEM for short.
A DEM is a digital representation of the Earth's surface, showing the elevation of the terrain at each point. It is a raster file, with each pixel containing an elevation value in metres above sea level. DEMs are created with the use of remote sensing techniques such as photogrammetry, which uses overlaid aerial or satellite photographs, or LiDAR (Light Detection and Ranging), which uses laser scanners to obtain accurate elevation information.
While we can create our own DEM if we really want to by using LiDAR data, there are plenty of available DEMs for us to use. The elevation doesn’t change much for a long period of time, so we can keep using the same DEM for a while. In this case, we will use OpenTopography. This is an online platform that provides free access to high-quality topographic data, including Digital Elevation Models, as well as related analysis tools. The platform is intended for use by researchers, students, government bodies and others working with Earth surface data.
OpenTopography API Key
In chapter 1.5 Plug-Ins you already have downloaded the plugin OpenTopography DEM Downloader.
To use this plugin, you will need an API key. This unique code identifies you and gives you access to an external service or data via an API (Application Programming Interface). You can get this key for free by creating an account on Opentopography.org. The following steps will take you through the process of creating an account and getting the API key.
Create an OpenTopography Account and Get an API Key
1. Open the following link in your browser:
https://opentopography.org/blog/introducing-api-keys-access-opentopography-global-datasets
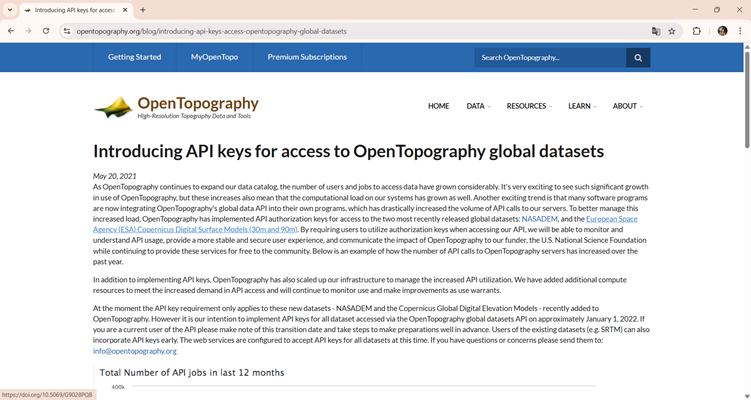
2. At the top left of the OpenTopography website, click My OpenTopo and create a new account.
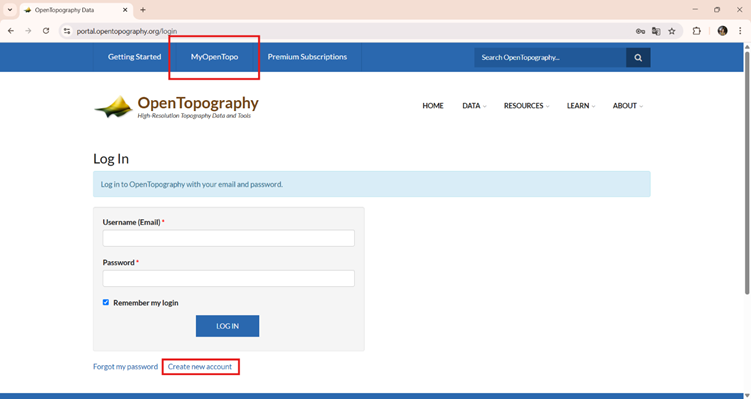
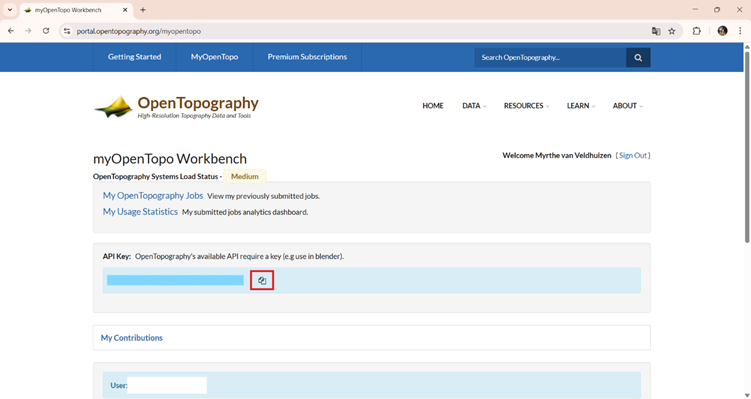
3. Once your account is created, log in and copy your personal API key.
Note: An API key acts like a password, so make sure you never share it with anyone.
We will use the 30-meter resolution Copernicus Global Digital Elevation Model, as it offers a good balance between detail and data size. This resolution is the most detailed freely available global elevation dataset from Copernicus, making it well-suited for regional-scale analysis. As you might have noticed, we already used Copernicus for our satellite imagery. You can download the DEM data from the Copernicus Browser too, but this is a lot easier.
Additionally, this is the lowest resolution data that we will use. When we are going to analyse and combine the layers together, it’s necessary that all the layers are the same resolution and size. As this is the lowest resolution, we can use this as our base and resample all higher resolution data to 30 meters.
Download the Elevation Map
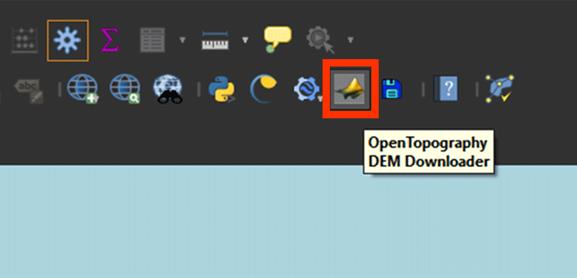
Back in QGIS, we can start downloading the DEM via the OpenTopography plug-in.
1. Click on the OpenTopography icon in the QGIS toolbar. You can find this in the top-right corner of your screen.
2. In the OpenTopography plug-in window, go to Select DEM to download, choose Copernicus Global 30m.
3. For Define extent to download, click the arrow > Calculate from layer. You can select the Area polygon we used to clip the satellite imagery earlier.
4. Paste your API key in the field Enter your API key.
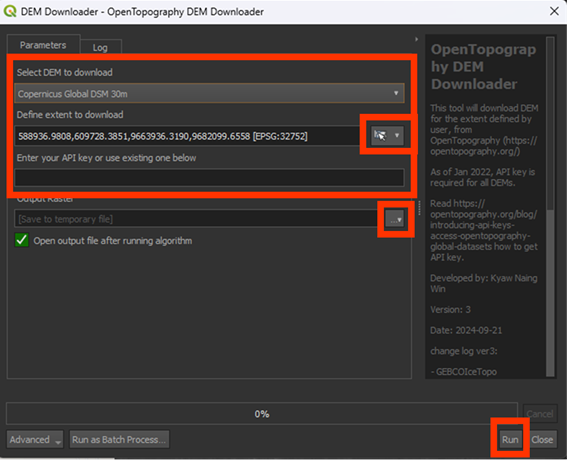
5. Under Output Raster, press the arrow button > Save to File… Here, save the raster and name it DEM. This will save it as a Permanent layer.
6. Click Run to start the download.

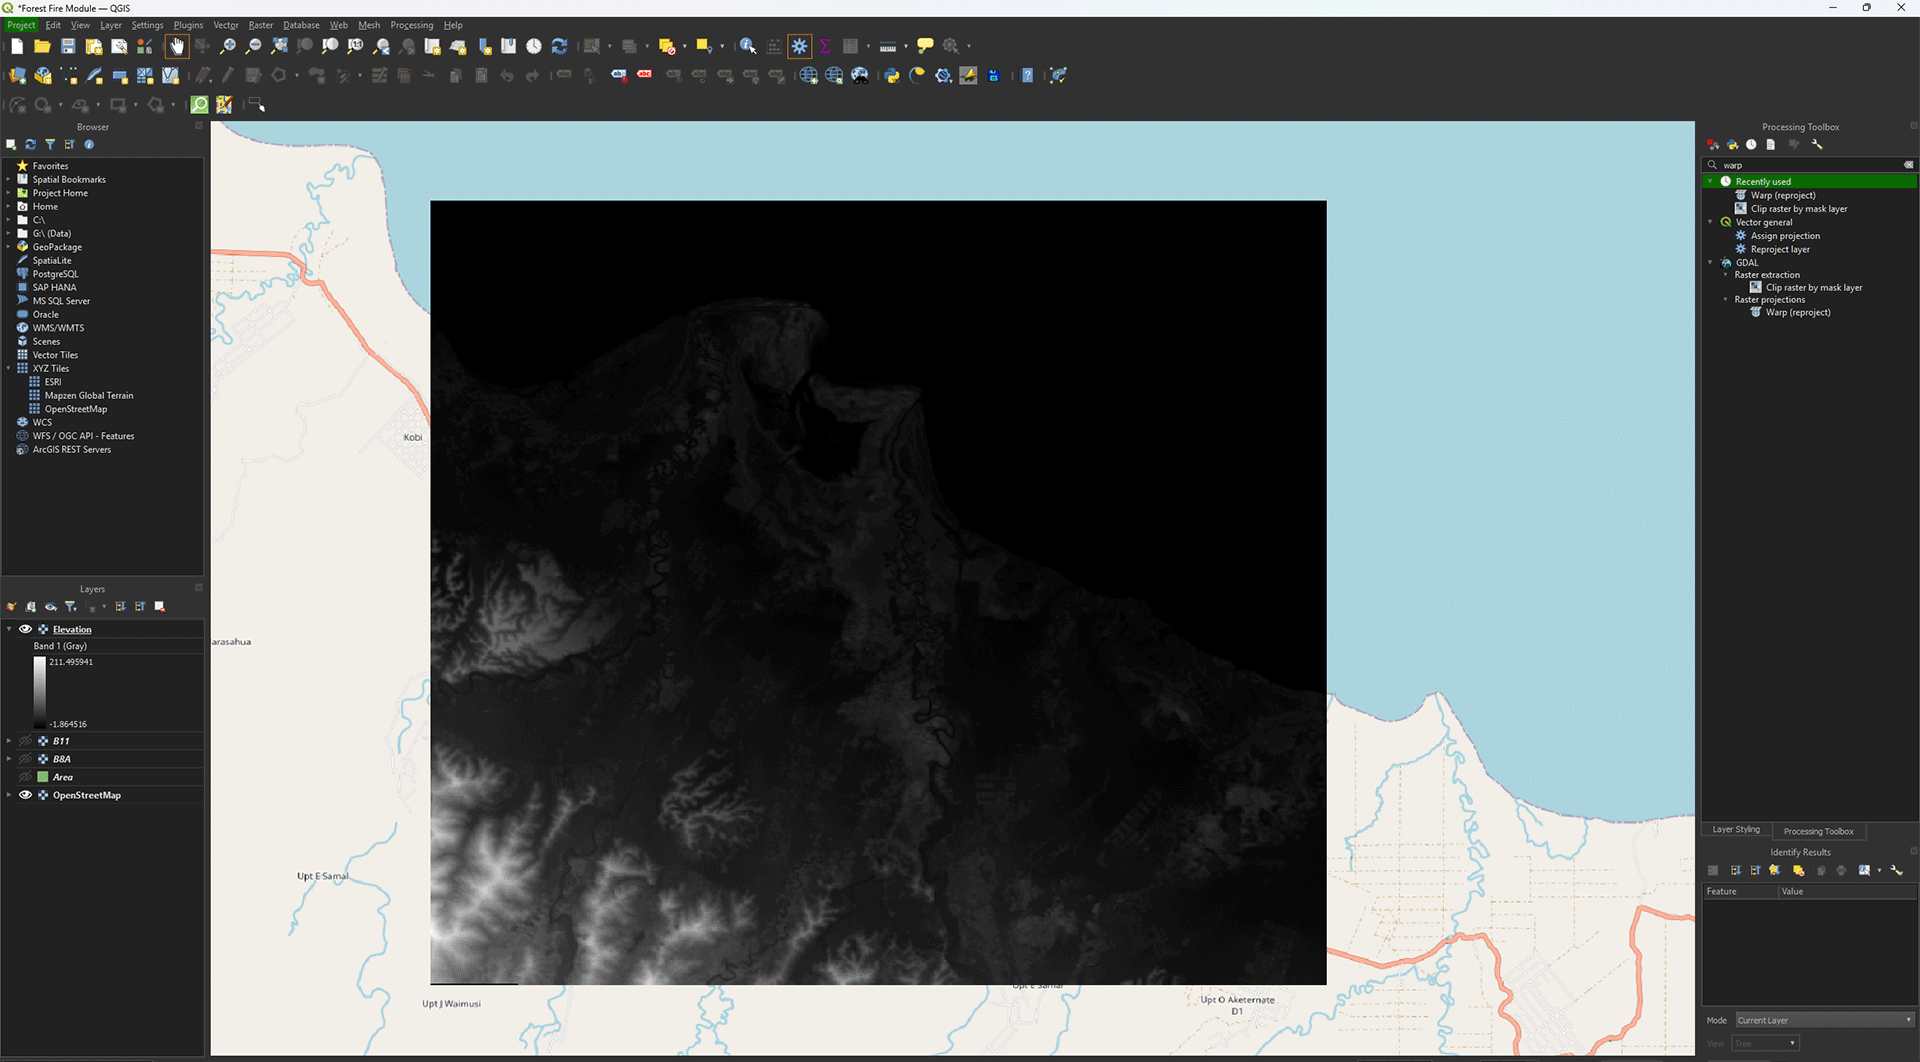
After closing window, the map should’ve appeared in the study area we created.
Reprojecting
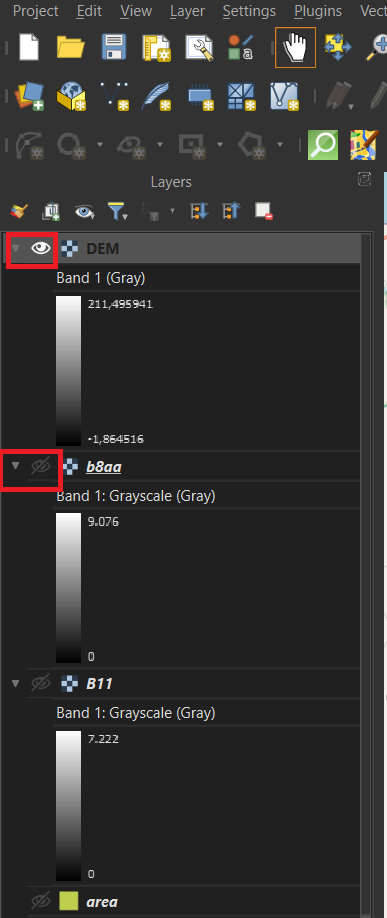
Much like the satellite layers, we need to Reproject the Digital Elevation Model as well. Make sure you have the DEM layer imported into QGIS. Turn off the other layers by pressing the Eye symbols.
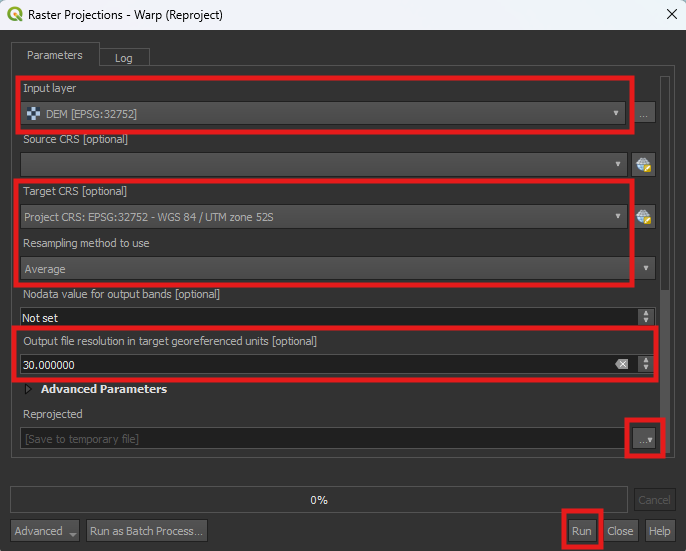
1. Open the Warp (reproject) tool.
2. Use the DEM layer as in the Input layer.
3. Set the Target CRS on EPSG: 32752.
4. Set Resampling method to use on Average.
5. Set the Output file resolution in target georeferenced units on 30. Even though the layer already is in 30m by 30m, it’s not as precise as we want, which will lead to issues later on.
6. You can save the Permanent layer as Elevation.
7. Once finished, check if the projection is correctly set on EPSG: 32752.
8. If everything is correct, delete the DEM layer. We don’t need it anymore.
You have reprojected the Elevation layer. Don’t forget to save your project.