Introduction to Python
4. Run JupyterLab from the OSGeo4W Shell
Now we're ready to run Jupyter Notebooks. These notebooks run on a server, in this case your local computer (localhost). We can access the notebooks through our web browser. For this we need to run JupyterLab.
- Execute the following command in the OSGeo4W Shell:
jupyter lab
Now you see something like this:
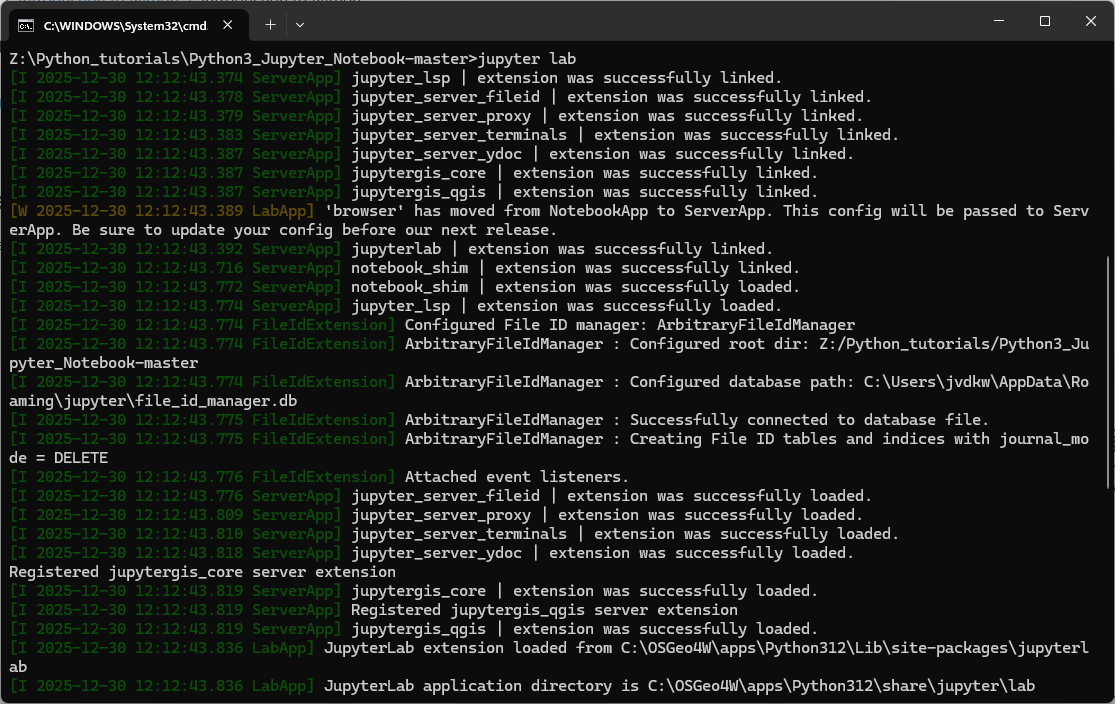
This is starting the server. When it's ready, it will open Jupyter Lab in your browser.
If this doesn't happen, you need to find the URL with http://localhost:8888/lab?token=XXXXXX and then Ctrl-Click with the left mouse button to open the link in your browser.
Now you'll see the following web page.
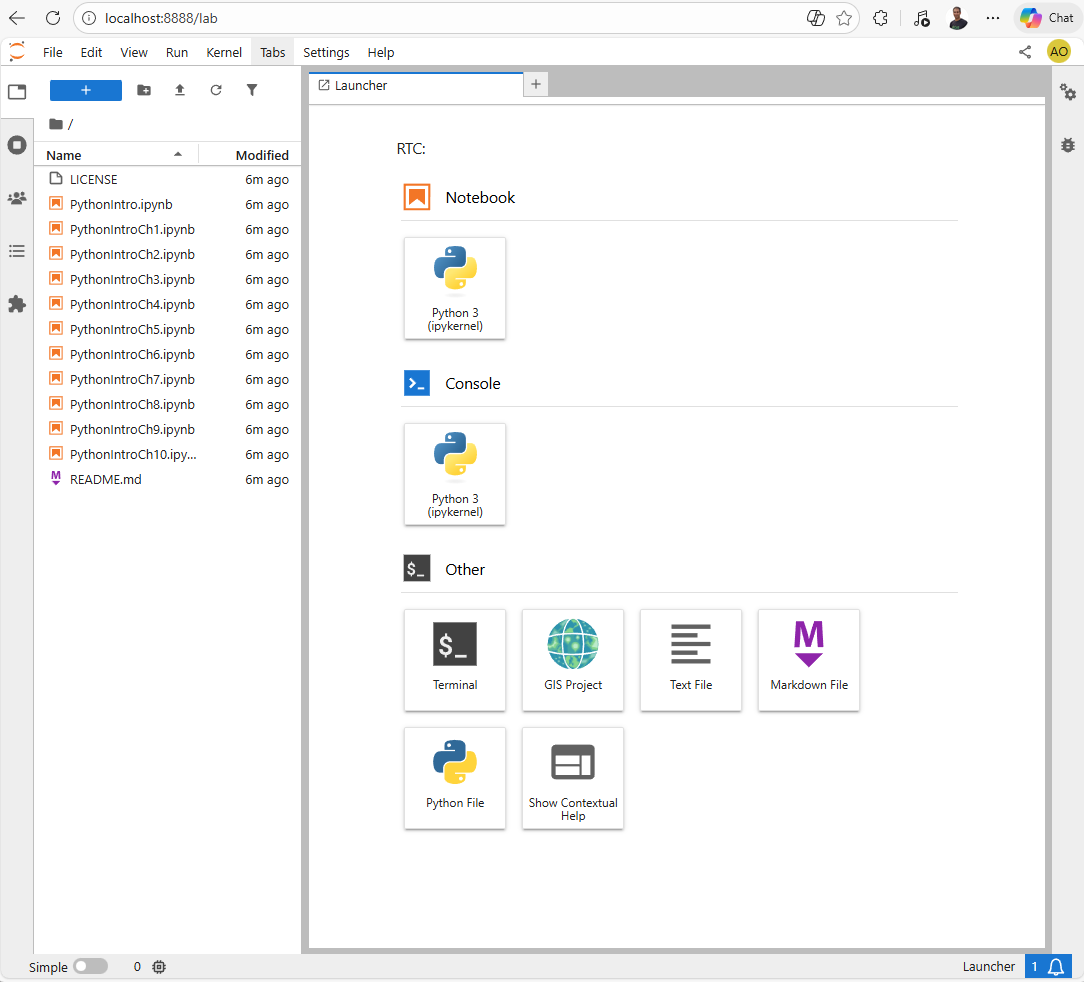
JupyterLab is a web-based interactive development environment that lets you work with code, data, and documents all in one place.
It’s part of the broader Project Jupyter, which provides tools for interactive computing.
It has the following features:
-
Interactive notebooks: You can write code (Python, R, Julia, etc.), run it, and immediately see the results alongside text, equations, and visualizations.
-
Multi-panel layout: JupyterLab lets you arrange notebooks, terminals, text files, and data viewers side by side in tabs or split screens.
-
Rich media support: It integrates charts, maps, images, and even interactive widgets directly into your workflow.
-
Customizable and extensible: You can add extensions to tailor JupyterLab for data science, machine learning, GIS, or teaching.
In practice, JupyterLab is widely used by data scientists, researchers, and educators because it combines coding, documentation, and visualization into a single, shareable environment.
Let's run our first Jupyter Notebook in this JupyterLab environment.