مادة تدريبية: تجهيز بيانات من خرائط ورقية
10. Styling the Mountains, Rivers, and Lakes
10.2. Label Peaks
Next you will label the peaks.
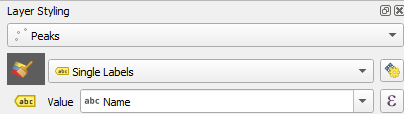
1. In the Layer Styling panel, switch to the Labels tab ![]() .
Switch from No Labels to Single labels. Set the Label with option to the
.
Switch from No Labels to Single labels. Set the Label with option to the Name field.
It is also possible to use multiple fields in a feature label by using an expression.
2. Click the Expression ![]() button
to open the Expression Dialog window. Expand the Fields and Values section and add the Elevation field after the Name field. When combining text elements in an expression they need to be separated by the String Concatenation
button
to open the Expression Dialog window. Expand the Fields and Values section and add the Elevation field after the Name field. When combining text elements in an expression they need to be separated by the String Concatenation ![]() operator.
operator.
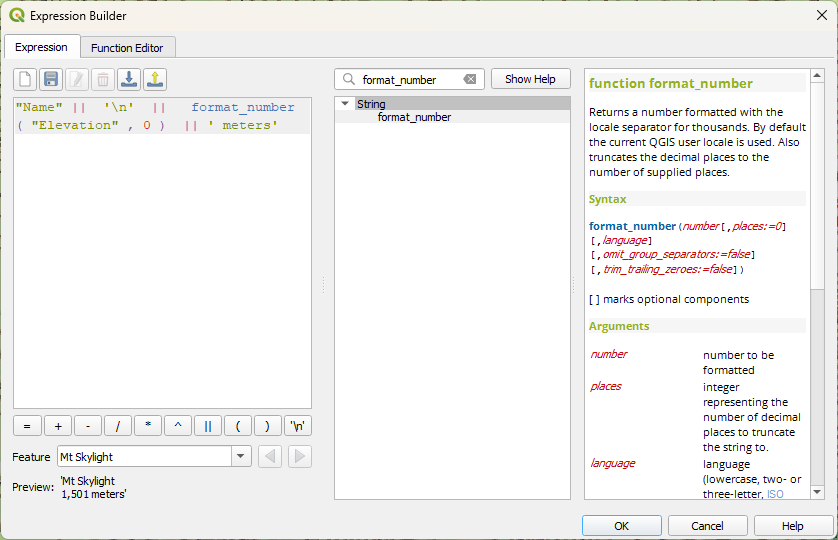
3. Additionally, the New line ![]() operator can be used to wrap the
new column onto a second line. However, it requires another String Concatenation operator after it. Set up an expression like this
operator can be used to wrap the
new column onto a second line. However, it requires another String Concatenation operator after it. Set up an expression like this "Name" || '\n' || "Elevation".
This is nice but it may not be clear what the number represents and the labels will be easier to read with a thousands separator.
4. To add units of measure to the elevation, you can add the string meters after the value by appending || ' meters' to the existing expression. To accomplish the second enhancement you will use the format_number function. Use the search box to find the format_number function. Insert it right before the "Elevation" field. The help panel will show you the syntax for this function. It requires a number and a number of decimal places.
The number will be the "Elevation" field and the number of places 0. This will simply format the data to a number and insert a thousands separator. Note that we use double quotes for fields and single quotes for normal text
(strings).
5. To make the labels easier to read change the font Style to Bold. Switch to the Label buffer tab ![]() and check the Draw text buffer option. To give more separation between the labels and the feature icon switch to the Label placement
and check the Draw text buffer option. To give more separation between the labels and the feature icon switch to the Label placement ![]() tab and set the Distance to 2 mm.
tab and set the Distance to 2 mm.
6. Finally click the Automated placement settings ![]() button to open the Automated Placement Engine settings. Uncheck the box for Allow truncated labels on edges of map option. This will prevent labels from being cut off.
button to open the Automated Placement Engine settings. Uncheck the box for Allow truncated labels on edges of map option. This will prevent labels from being cut off.
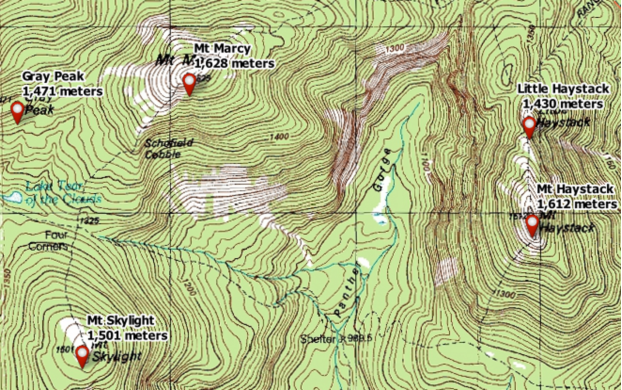
Your labels should now look like:
Watch this video to check the steps for styling and labeling the points: