Tutorial: Remote Sensing Image Classification with QGIS
4. Segment Parcels with the AI Segmentation Plugin
4.2. Segment Polygons
Now we're ready to segment the parcel boundary polygons with AI and register the class information in the attribute table.
Note that the backdrop is of a different date than our ground truth points, but we assume that the parcels have remained the same.
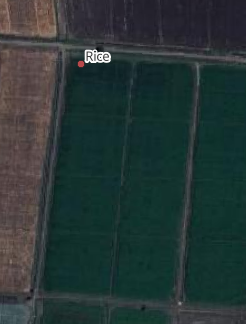
- Zoom in to a ground truth point.
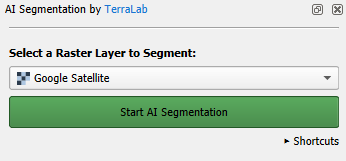
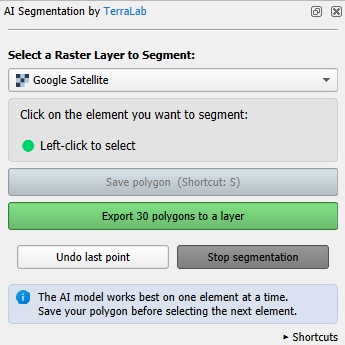
- In the AI Segmentation by TerraLab panel, click on the green Start AI Segmentation button.
- Click with the left mouse button on the parcel that belongs to the point.
After some seconds it will automatically delineate the polygon.
You can refine the delineation in several ways:
- Add missing areas: If part of the parcel wasn’t captured, click the missing area with the left mouse button to include it in the segmentation.
- Remove excess areas: If the polygon covers too much, click the unwanted area with the right mouse button to subtract it.
- Expand or contract the polygon to fine‑tune its overall shape.
- Simplify the outline to reduce unnecessary detail and smooth the boundary.
- Fill holes inside the polygon.
- Round corners.
4. Click on the arrow to expand the Refine selection section of the dialog.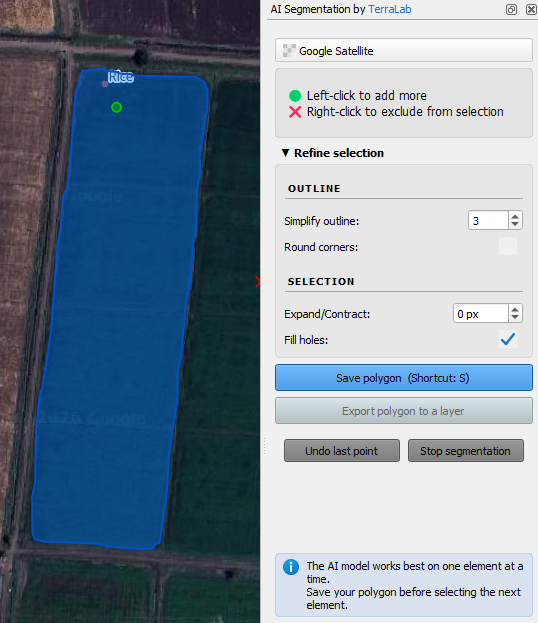
The Sentinel 2 image will have coarser pixels. To be on the save side with mixed pixels, we can contract the polygon a bit.
5. Set Expand/Contract to -5 pixels.
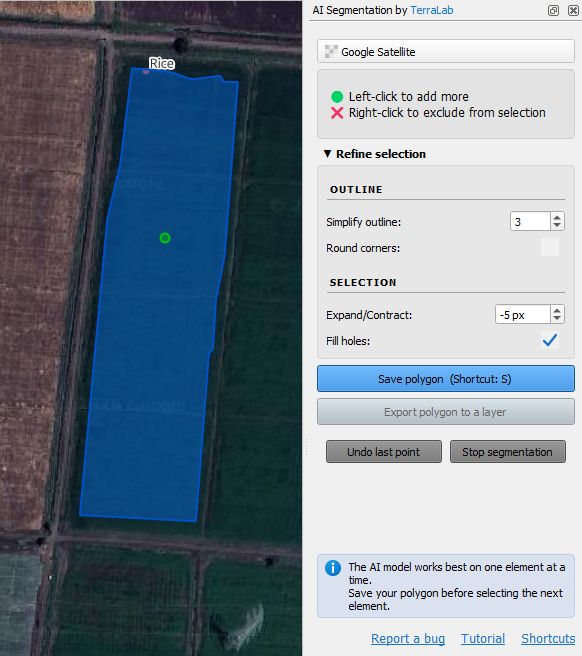
6. Click the blue Save polygon button or type S.
7. Pan to another parcel of the same class (e.g. rice) and repeat the steps. Do this for ~30 parcels of the same class to have a good sample.
Note that you need to pan by dragging the mouse with the scroll button pressed. Panning doesn't work when you click the
button or when you press <space bar> while dragging the mouse. If you use the last two methods, you'll lose the segmented polygons!
8. Click the green Export 30 polygons to a layer button.
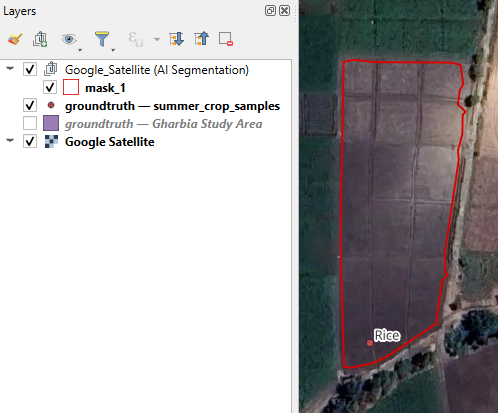
Now you'll find the polygons in a layer under the Google_Satellite (AI Segmentation) layer group in the Layers panel and the segmentation for this class is completed.
9. Click with the right mouse button on the mask_1 layer and choose Rename Layer from the context menu.
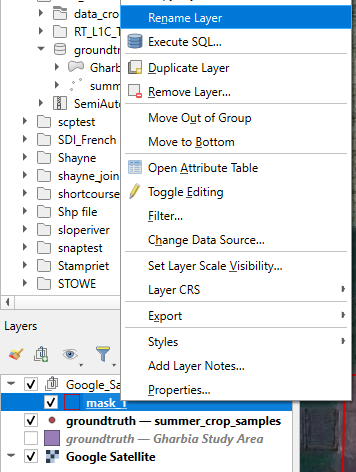
10. Rename it to the name of the class, e.g. rice.
11. Repeat these steps for the other classes. If you can't find 30 polygons, just try as much as you can.
The points are not always clearly in one parcel, so you'll sometimes have to make difficult choices. Also it's not always necessary to delineate the whole parcel if it's very large. The key is to have enough Sentinel 2 pixels in the polygon that can be used for training and testing the classification algorithm.
12. For completeness add also urban and water polygons by identifying them on the satellite image in the same way.
Now we have each class in a separate polygon layer. For our workflow, we need to merge them into one layer.
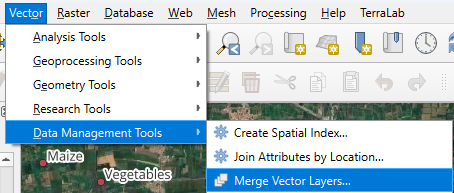
13. In the main menu, go to Vector | Data Management Tools | Merge Vector Layers....
14. At Input layers, click on  and select the layers to merge. Note that these are only the created polygon layers.
15. Click the arrow to go back to the main dialog.
16. Change the destination CRS to the one of the project, otherwise the polygons will have the projection of the Google Satellite image.
17. Save the result to the geopackage and name the layer all_polygons.
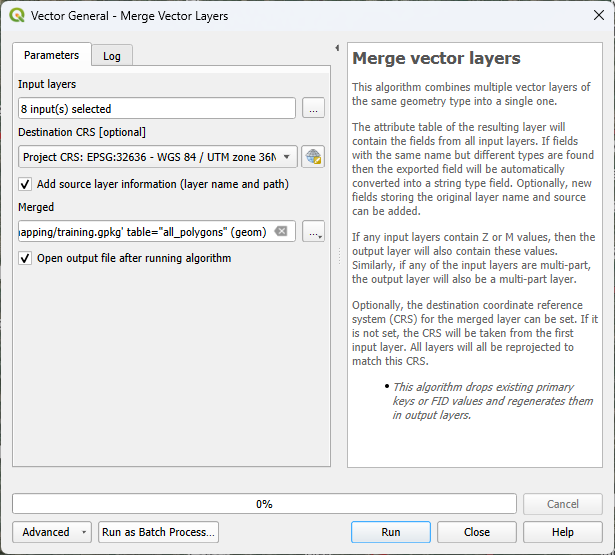
18. Click Run to run the algorithm. Click Close to close the dialog after completion.
19. In the Layers panel, click right on the all_polygons layer and select Open Attribute Table from the context menu.
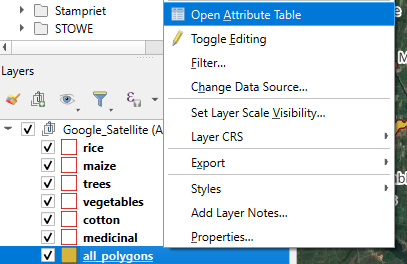
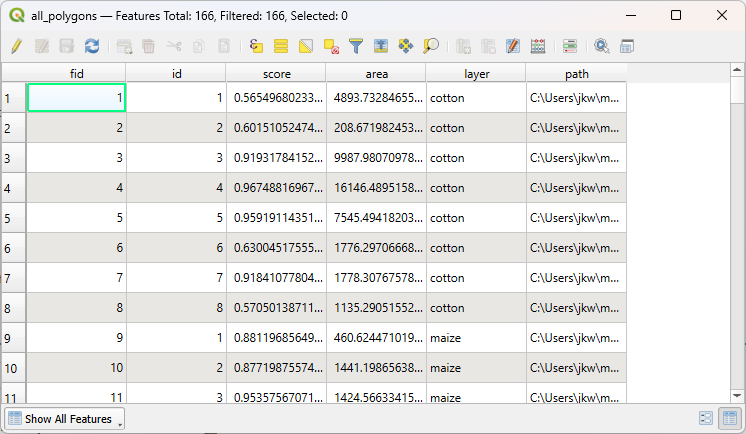
20. Check the contents of the attribute table.
Here you see that a nice feature of the Merge tool is that it adds the layer name to a field and therefore we have all the classes in a field.
The final task at this stage is to add a column with class ID, which is a unique number for each class.
21. In the attribute table toolbar, click  to toggle to editing mode.
22. Now click on  to open the Field Calculator.
23. In the Field Calculator, type Class_ID at Output field name. Keep Integer (32 bit) as Output field type.
24. Create the expression as in the screenshot below.
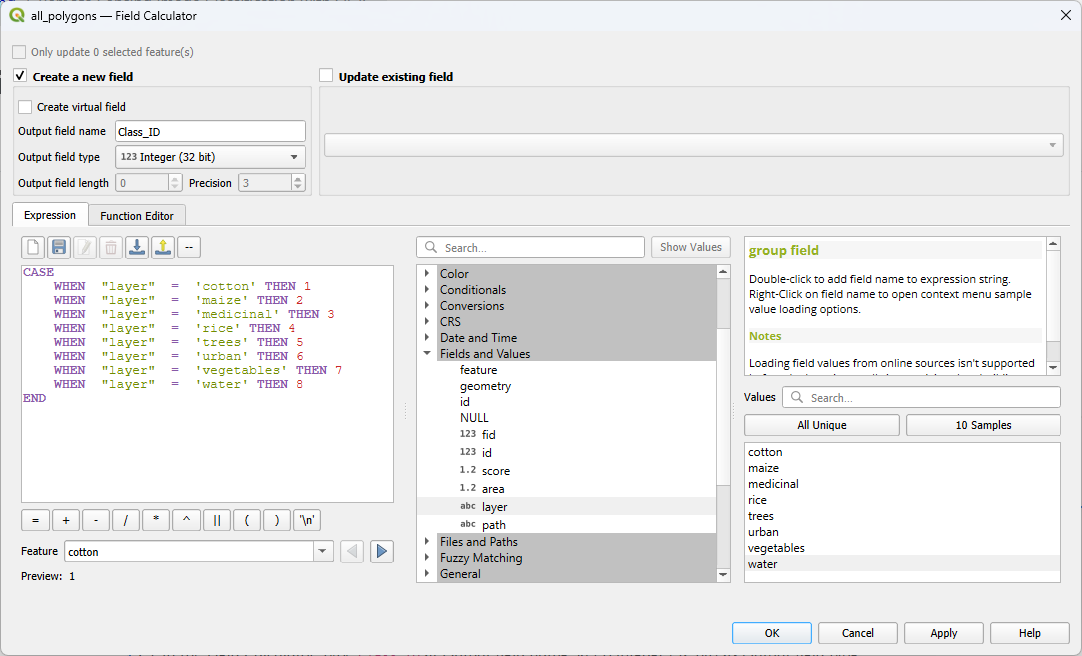
To add field names to the expression, use the middle panel and expand Fields and Values. Then double click on the field that you want to add to the expression, for example layer. It will be added with double quotes. In the right panel, you can view All Unique values in that field. You can add the value to the expression by double clicking on the value, for example water. Values are added with a single quote.
25. Click OK to apply and close the dialog.
26. Check the result. If it's correct, click  to toggle off editing mode and click Save in the popup to save the result.
27. In the Layers panel, remove the individual class polygon layers and the summer_crop_sample layer.
28. Save the project.
In the next section, we'll split the polygons in training and test areas.