Preprocessing a DEM and calculate flow direction
2. Starting our project
Let's first start QGIS and add the provided data.
1. Start QGIS 3.44 Desktop with an empty project.
2. Go to the Browser panel and find the folder where you have stored the course data
3. Right-click on the folder name and choose Add as a Favorite from the context menu.
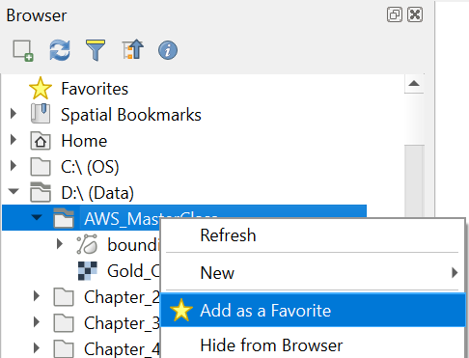
Now you have a nice shortcut to the folder.
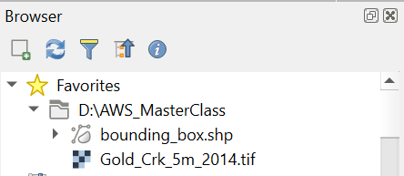
4. Go to the top of the Browser panel and find the course files under Favorites.
5. Add both layers (bounding_box.shp and Gold_Crk_5m_2014.tif) to the map canvas by clicking right on the layer name and choosing Add Layer to Project from the context menu. Alternatively, you can drag and drop the layers in the map canvas.
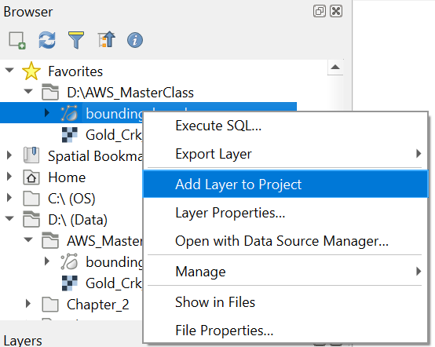
Now both layers are in the Layers panel, and you can see them in the map canvas.
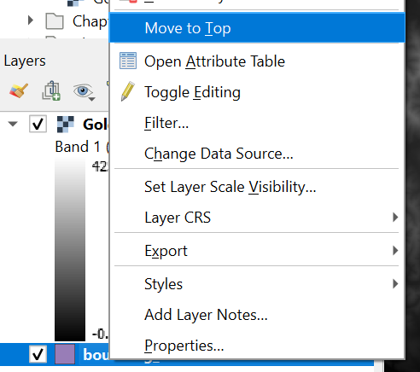
6. Make sure that the bounding_box layer is above the Gold_Crk_5m_2014 layer. You can click right on the layer and choose Move to Top from the context menu if needed.
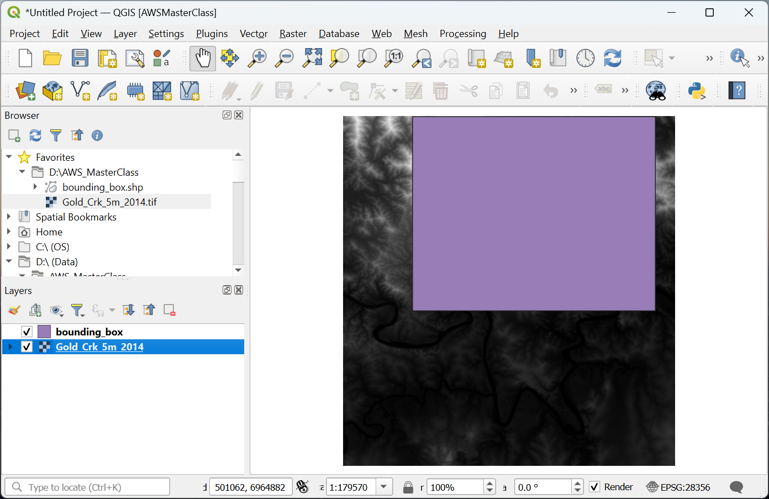
Note that in the lower right of the QGIS window you can see the projection (Coordinate Reference System – CRS) of your project, which, in this case, is the same as the projection of your layers.
7. Click on the EPSG: 28356 in the lower right of the window and check which projection is used.
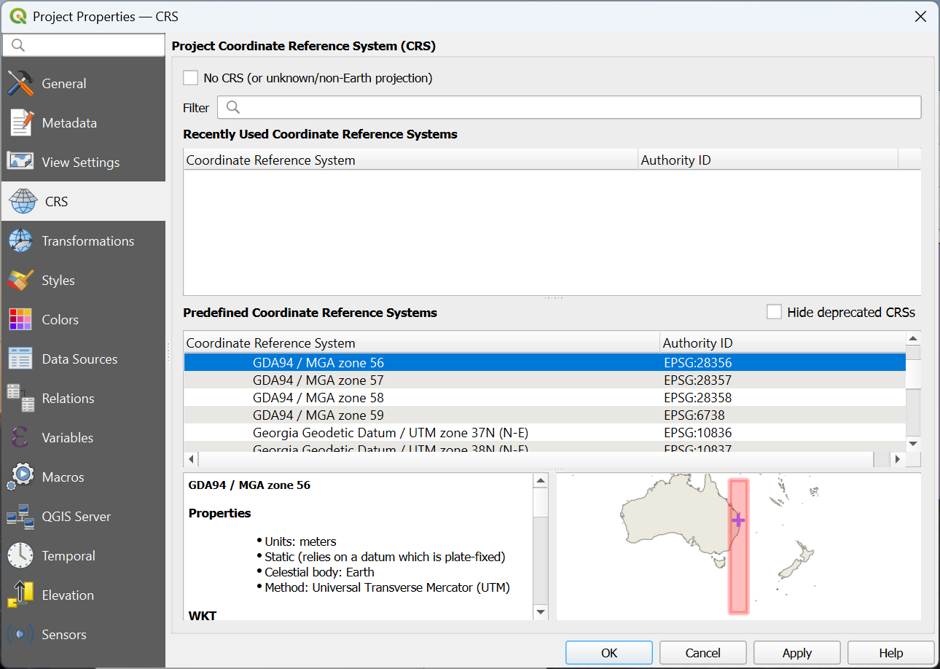
For this project we'll use the GDA94 / MGA zone 56 projection. For DEM analysis it is important to use projection, you can't use a Geographic Coordinate System, such as WGS-84, because the units of the x and y coordinate will be different from the z values.
8. Close the Project Properties – CRS dialog by clicking Cancel.
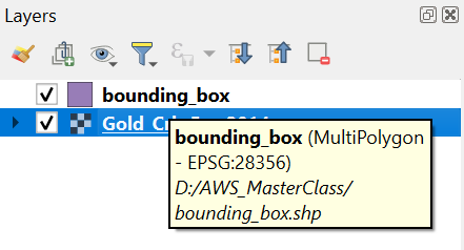
9. Hover your mouse of the layers in the Layers panel. This will show the CRS of the layer and where the layer is stored.
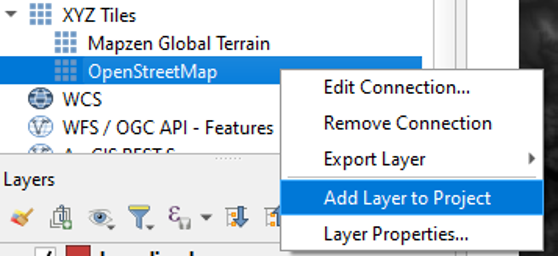
To have a bit more reference where the area is located, we can add OpenStreetMap.
10. In the Browser panel, expand the XYZ Tiles folder and add OpenStreetMap to the project.
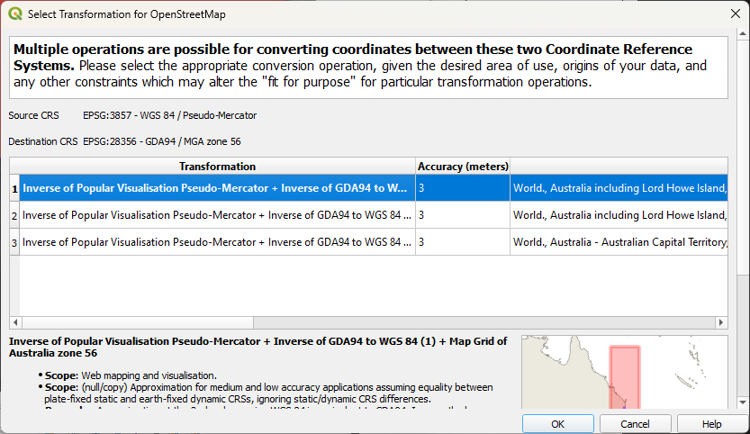
A popup will appear to choose the transformation for the on-the-fly reprojection of the OpenStreetMap layer (EPSG: 3857) to the projection of our project (EPSG: 28356).
11. Click OK to accept the default transformation.
For more background layers, you could also use the NextGIS QuickMapServices plugin or the MapTiler plugin.
12. Rearrange your layers in the Layers panel, so that from top to bottom you have bounding_box, Gold_Crk_5m_2014 and OpenStreetMap.
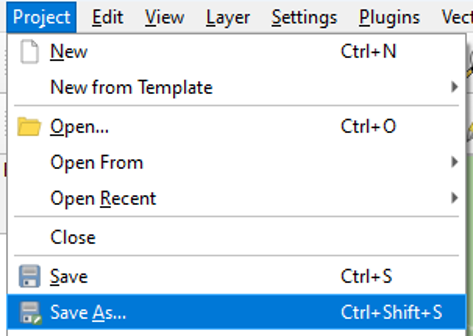
Before we continue, we'll save the project. It's important to regularly save your project.
13. From the main menu choose Project | Save As.... Browse to the folder where you store the data and choose a file name, e.g., GoldCreek.qgz.
Next, we'll clip the DEM to our study area.