Tutorial: Use PDAL wrench to automate workflows
| Site: | OpenCourseWare for GIS |
| Course: | Point cloud processing with QGIS and PDAL wrench |
| Book: | Tutorial: Use PDAL wrench to automate workflows |
| Printed by: | Guest user |
| Date: | Sunday, 14 June 2026, 12:41 AM |
1. Introduction
In the previous tutorials we have used the point cloud processing tools available in the QGIS Processing Toolbox. You might have noticed every time you run a point cloud processing tool, it runs a PDAL wrench command. You could see that in the log tab of the dialog windows:
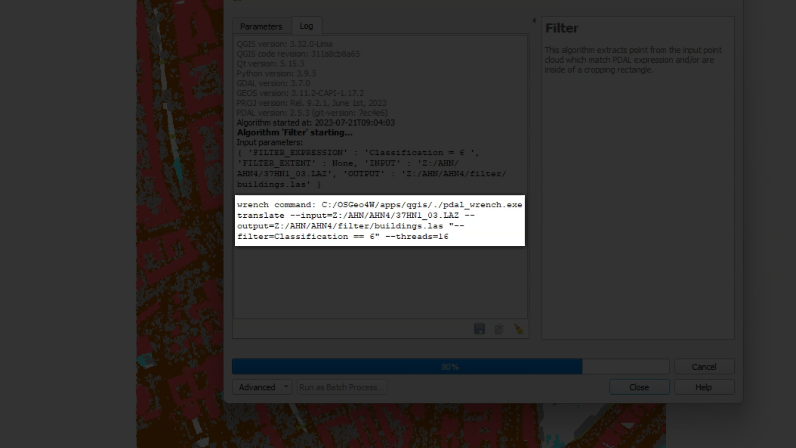
The arguments that you fill in in the dialog tab are parsed into the command string and executed. These commands can also be used to process point cloud data from the command line, which makes it easier to automate procedures.
The PDAL wrench repository on GitHub has a readme file with more information about the available PDAL wrench commands. If you're familiar with GDAL, you'll see that the commands are very similar.
In this tutorial we'll have a look at some of the commands.
After this tutorial, you'll be able to:
- Setup PDAL wrench
- Create a Virtual Point Cloud (VPC) layer from tiles
- Clip the VPC layer with a polygon layer
- Interpolate a point cloud to raster using TIN
- Merge point cloud tiles into one LAZ file
- Clip an LAZ file with a polygon layer
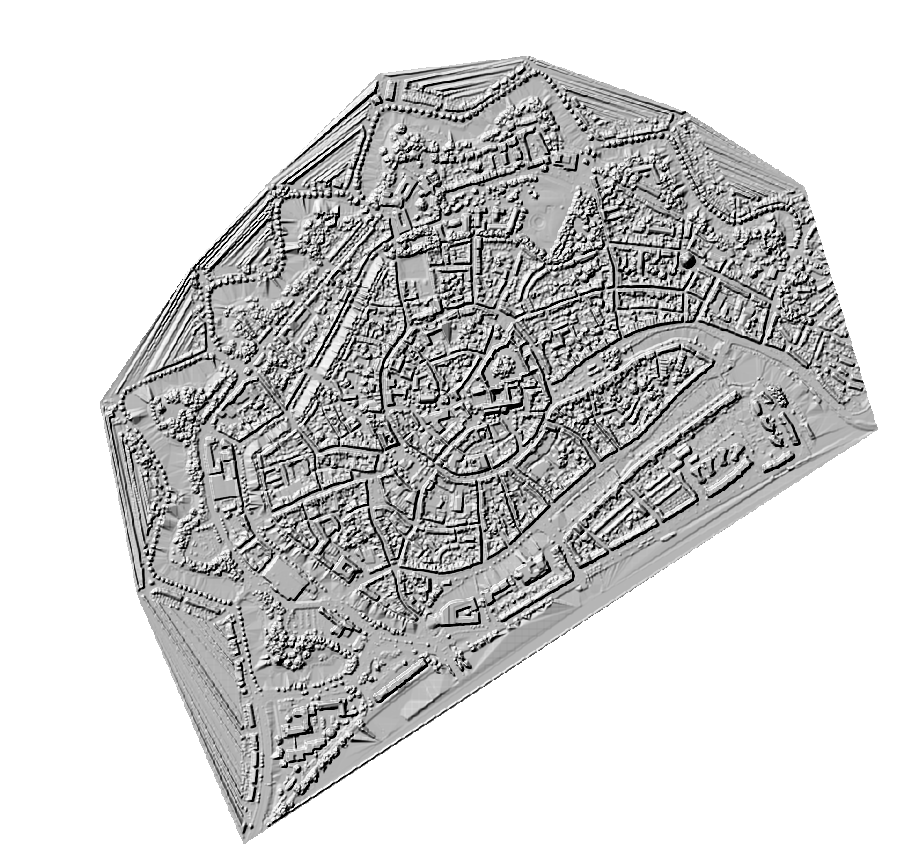
We'll create a digital surface model (DSM) of the center of Middelburg.
2. Setup PDAL wrench
Let's first see how we can execute the PDAL wrench commands.
1. Open QGIS Desktop.
2. In the Browser panel, right-click on the folder where you want to run the commands. That's usually the folder where you have saved the downloaded LAZ files, e.g. Z:\Middelburg. Then choose Open in Terminal from the context menu.
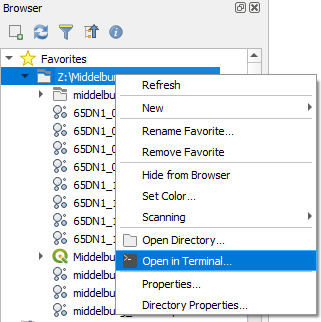
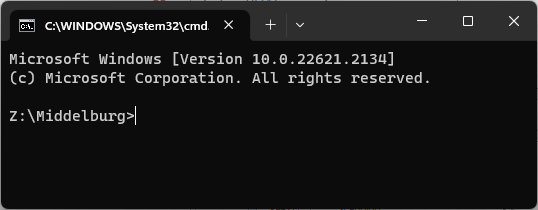
This will open a terminal (command prompt, command line interface) where you can type commands at the prompt.
Check which LAZ files are in the directory.
3. Type the following command at the prompt and press <Enter>:
dir *.laz
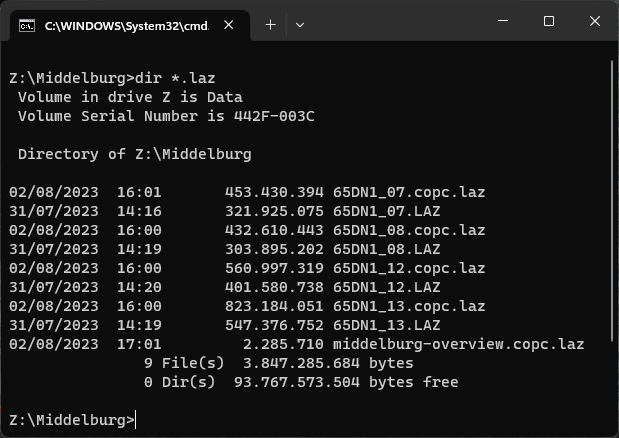
You should be able to see the LAZ and COPC files from the previous tutorials. We'll work with the same downloaded LAZ files.
Let's try if we can run the pdal_wrench command.
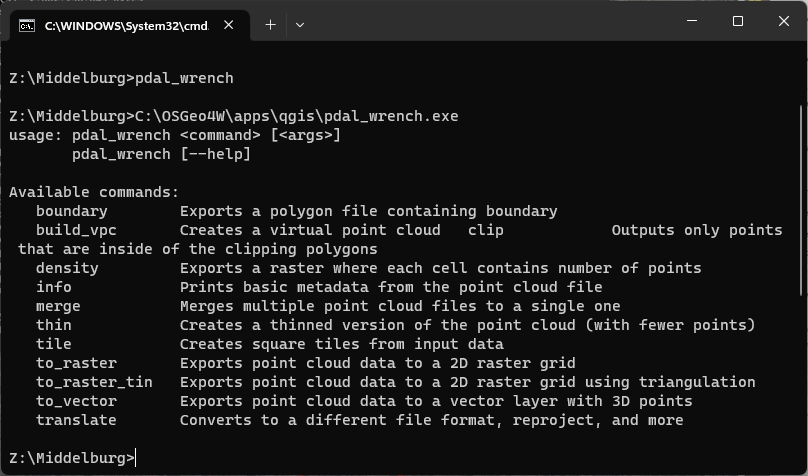
4. Type the following command at the prompt and press <Enter>:
pdal_wrench
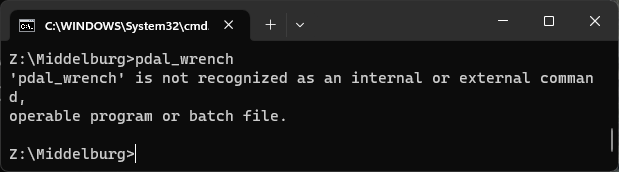
Unfortunately, the command is not recognised. This means that it's not included in the OSGeo4W shell path. This is probably on purpose, because it could cause DLL conflicts.
This means we need to give the full path to the pdal_wrench command in order to be able to use it.
In your Windows installation of QGIS pdal_wrenche.exe is normally located in C:\OSGeo4W\apps\qgis.
5. Type the following command at the prompt and press <Enter> (tip: use tab completion to avoid typos):
C:\OSGeo4W\apps\qgis\pdal_wrench.exe
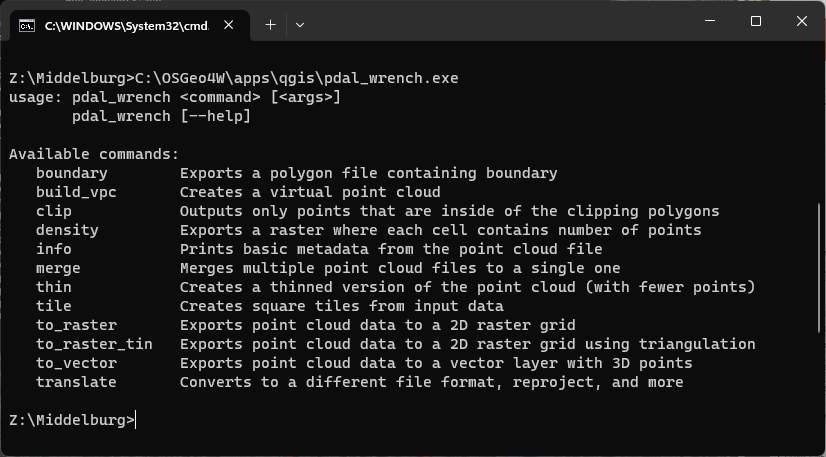
Now it shows the usage of the command, which means you're able to use the command.
It's not so easy to use the full path to pdal_wrench each time. Therefore, we're going to make a batch file. You can do that in notepad and store the .bat file in the folder of the LAZ files or follow the next steps to create the file from the command line.
6. Type the following command at the prompt and press <Enter>:
copy con pdal_wrench.bat
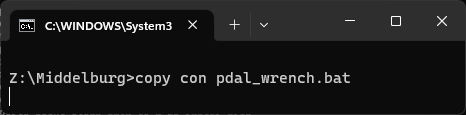
Now you've entered the editor and each line you type goes into the file, until you press <Control><Z>.
7. Select C:\OSGeo4W\apps\qgis\pdal_wrench.exe from above in the terminal and click right to paste it on the line under the prompt:
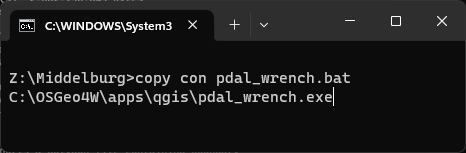
8. Now add a space and %* to the line:
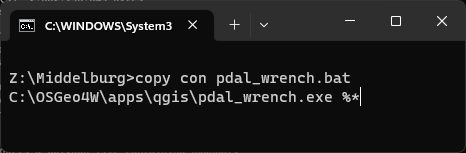
With %* we indicate that it needs to substitute all arguments given after the batch file command.
9. Press <Enter> and press <Control><Z> and again <Enter> to close the editor. Note that it shows ^Z when you press <Control><Z>.
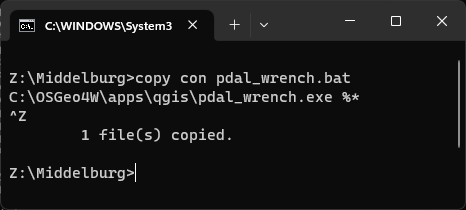
When you're back at the prompt the batch file has been created. Let's check.
10. Type the following command at the prompt and press <Enter>:
pdal_wrench
This also shows the usage of the pdal_wrench command, so it works and we're set to use the commands in the next chapters!
3. Create a VPC layer from tiles
Now we're ready to create a Virtual Point Cloud layer (VPC) from the tiles. Remember that the advantage of VPC's is that we don't replicate the big datasets, but we can use VPCs as intermediate layers in our processing workflow.
To create a VPC we use the build_vpc command.
1. At the terminal type the following command and press <Enter>:
pdal_wrench build_vpc --output=merged.vpc 65DN1_07.LAZ 65DN1_08.LAZ 65DN1_12.LAZ 65DN1_13.LAZ
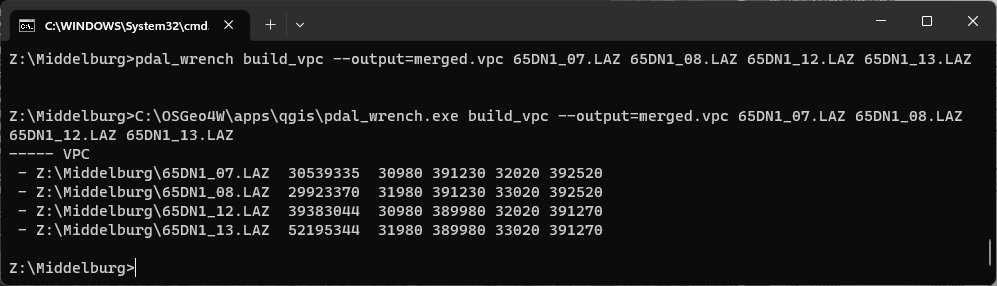
We used --output to define the output vpc file and then we type the LAZ file names that we want to merge, separated by a space. You can also provide a text file with the file names.
Now we have the VPC layer, we can proceed with clipping it with a polygon layer in the next chapter.
4. Clip a VPC with a polygon layer
The VPC layer covers much more than the center of Middelburg, so we're going to clip it using a polygon layer. We can use the boundary shapefile that we've used in tutorial on interpolating point clouds.
1. In the terminal type the following command and press <Enter>:
pdal_wrench clip --input=merged.vpc --polygon=boundary.shp --output=center.vpc
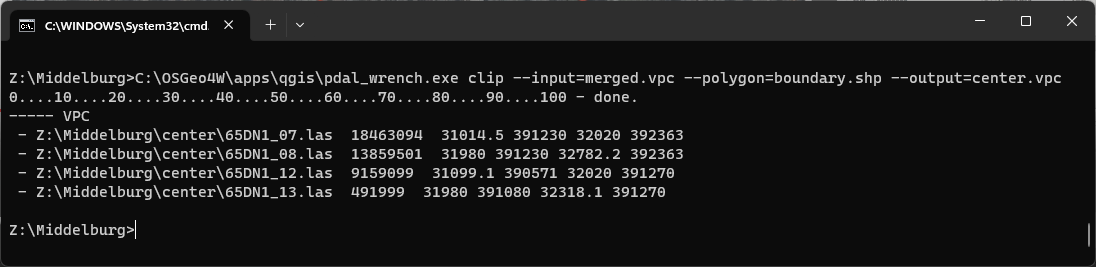
Here again we specified the input vpc layer with --input. With --polygon we specify the polygon vector layer used for clipping and with --output we define the output vpc layer.
Now that our point cloud has been clipped to the center of Middelburg, we can proceed with interpolating the points to a Digital Surface Model (DSM).
5. Interpolate point cloud with TIN
We can now interpolate the clipped VPC layer to a raster. We'll use the TIN method here.
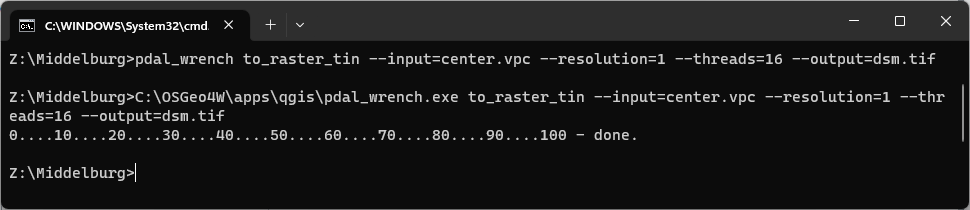
1. In the terminal type the following command and press <Enter>:
pdal_wrench to_raster_tin --output=dsm.tif --resolution=1 --threads=16 --input=center.vpc
This is quite a calculation, so it will take some time. If it fails, try it with a smaller area.
2. Check the result in QGIS
In the next chapters, we'll use some commands with LAZ files instead of VPC files.
6. Merge point cloud tiles into one LAZ file
We can merge LAZ tiles using the PDAL wrench command merge.
1. At the terminal type the following command:
pdal_wrench merge --output=merged.laz 65DN1_07.LAZ 65DN1_08.LAZ 65DN1_12.LAZ 65DN1_13.LAZ
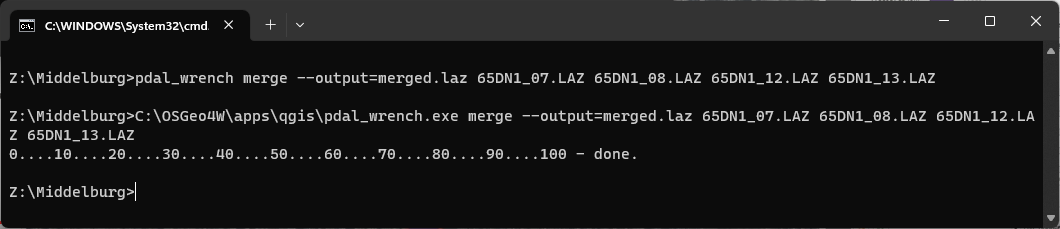
This command is very similar to the build_vpc command we have used before, but results in a LAZ file instead of a VPC file.
In the final chapter, we'll clip this LAZ file with a polygon layer.
7. Clip a LAZ file with a polygon layer
The LAZ file can be clipped with pdal_wrench clip command. Yes, that's the same one we've used for the VPC.
1. At the terminal prompt type the following command and press <Enter>:
pdal_wrench clip --input=merged.laz --polygon=boundary.shp --output=clipped.laz

2. Check the result in QGIS.
8. Conclusion
With PDAL wrench we can use command to process point cloud files. This makes it easy to automate procedures. You could, for example, make a batch file which creates a VPC file, clips it with a polygon and interpolates it with TIN. If you make the input files variable, you can reuse the batch file for any case study. That saves a lot of clicking in QGIS!