Rooftop analysis
| Site: | OpenCourseWare for GIS |
| Course: | Planning for Urban Climate Adaptation |
| Book: | Rooftop analysis |
| Printed by: | Guest user |
| Date: | Monday, 13 July 2026, 12:11 AM |
1. Introduction
In this tutorial you'll learn to derive rooftop attributes directly from point cloud data. Attributes, such as slope, aspect and surface area of roof polygons are important to calculate roof catchment and solar energy potential.
We'll use the WhiteboxTools plugin in QGIS for this tutorial.
2. Install the WhiteboxTools plugin
In this section, we'll first install the WhiteboxTools plugin for QGIS.
The WhiteboxTools plugin is a so-called Processing Provider plugin. This means that you have to install both the 3rd party software (i.e. WhitboxTools open core) and the QGIS plugin. In this case you also need to configure the plugin in QGIS. More about Processing Provider plugins in this video:
1. Go to QGIS Desktop 3.34 (or newer).
2. In the main menu, go to Plugins | Manage and Install Plugins...

3. Type whiteboxtools in the search box.
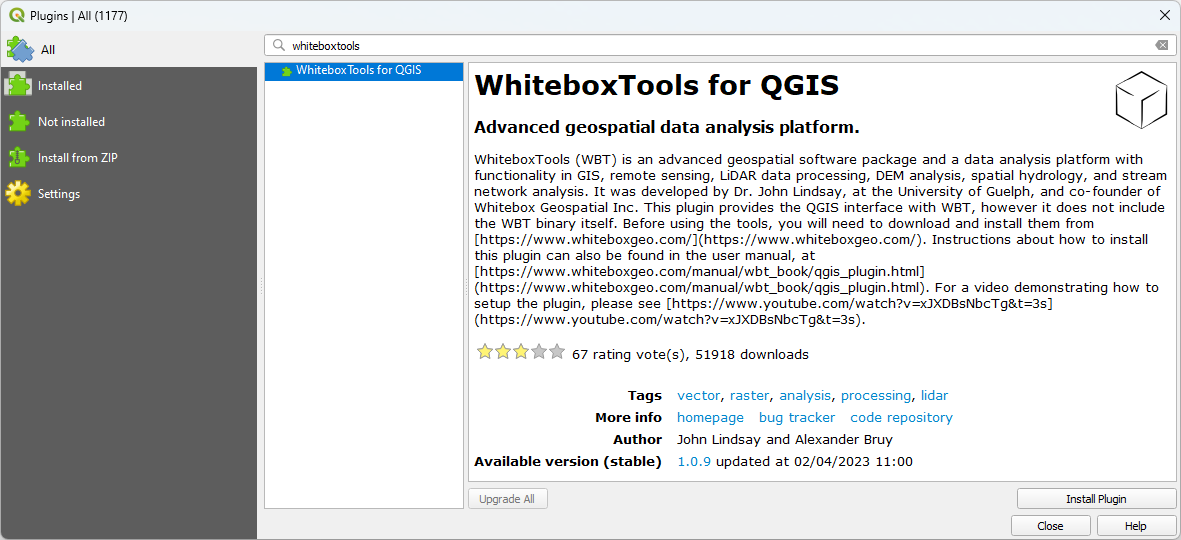
4. When installing a plugin, it is useful to first read the documentation. This can contain installation instructions, dependencies and information on how to use the plugin. You can find documentation, by clicking the homepage link.
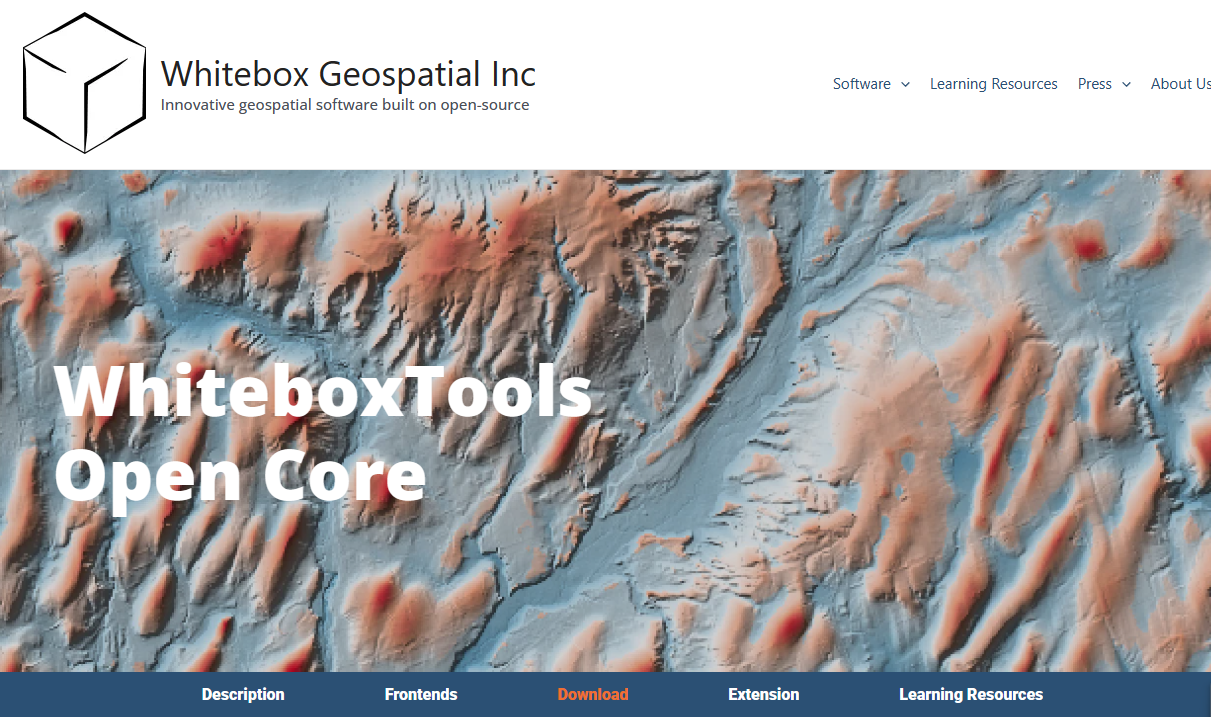
5. On the webpage click on Frontends.
6. Then at QGIS plugin, click on Learn more.

There you can find the installation instructions. Here, we'll do that step-by-step.
7. Go back to the previous webpage and click Download.
8. Scroll down to the section with Download WhiteboxTools Open Core v2.3.0.
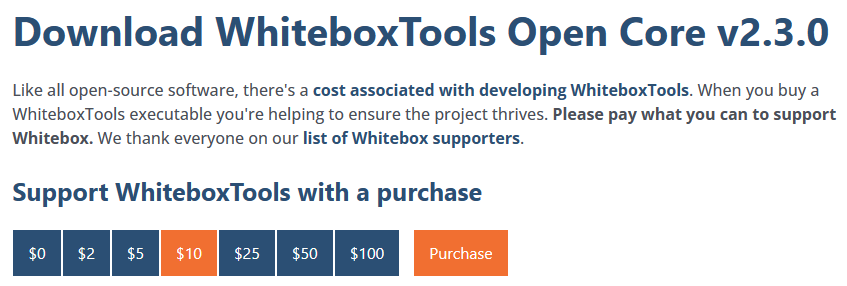
9. There click the amount you want to pay and click Purchase. If you choose to pay $0 the button will show Download.

10. Then click Download WhiteboxTools v2.3.0 for Windows (or another operating system if that's your case).
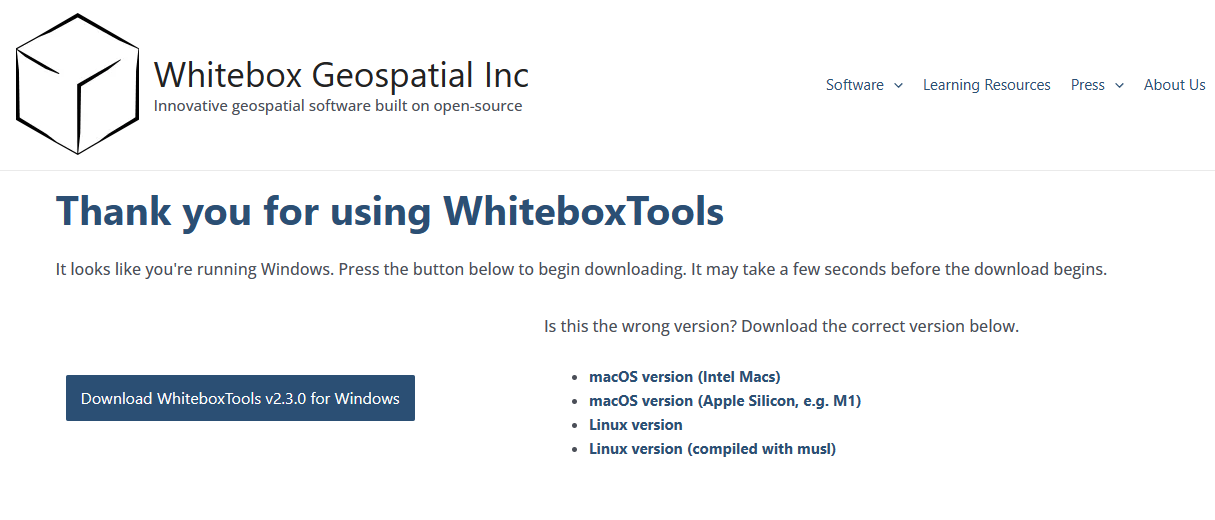
11. Save the ZIP file to your harddisk.
12. Extract the ZIP file. This doesn't have to be in your Program Files, but can be anywhere.
Now you have a WBT folder, with the whitebox_tools.exe file. Remember the location.
13. Go back to QGIS.
14. Click Install to install the WhiteboxTools plugin and click Close when it's finished.
15. Now click the
 icon in the main toolbar to open the Processing Toolbox panel.
16. In the Processing Toolbox panel, click the Options
 icon.
icon.17. In the Options dialog expand the Providers section by clicking the triangle. Also expand the WhiteboxTools section in the same way.
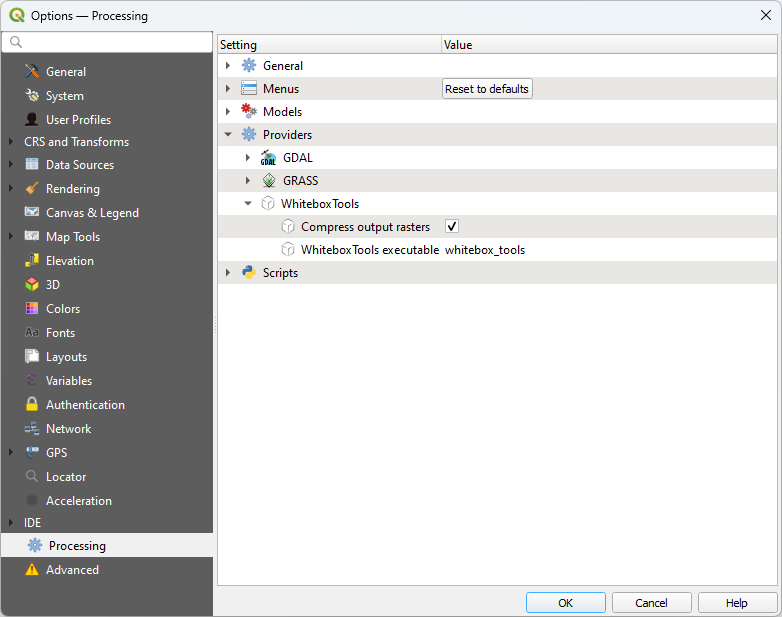
18. Double click on whitebox_tools and click the button to browse to the location of the whitebox_tools.exe file in the WBT folder that you had previously unzipped.
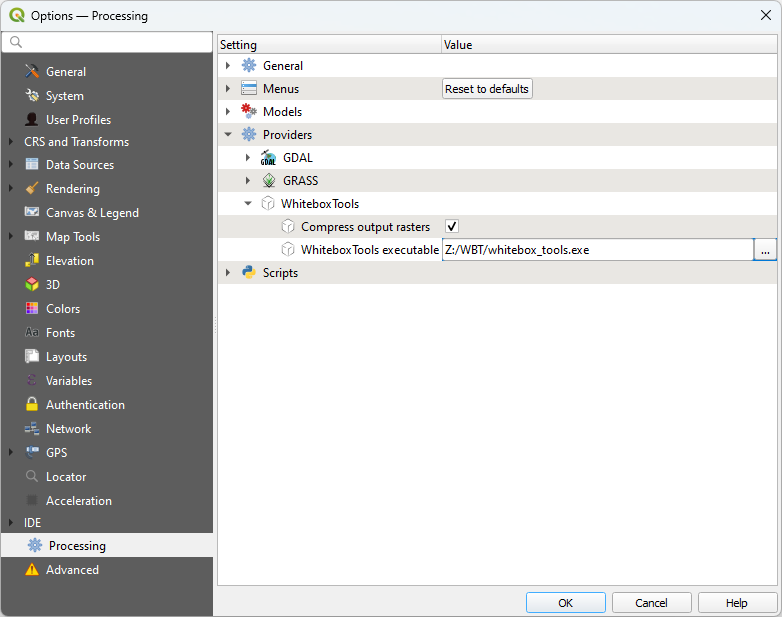
19. Click OK.
Now you're ready to use the WhiteboxTools plugin!
3. Data preparation
Let's first prepare our input data.
You'll need:
- point cloud data of an urban area
- building footprints
3.1. Download point cloud data
You can use your own point cloud dataset or download one or more tiles from GeoTiles.nl.
In the examples the center a LAZ tile (37HN1_03) of Rotterdam, the Netherlands was used.
- Load the point cloud data in QGIS
- Wait until the COPC file is created
- Use the Point cloud data management tools in the Processing Toolbox to preprocess your data for your area of interest (for example Merge and Clip tools). The use of these tools is covered in another tutorial.
Now that we have the data, we can start processing.
3.2. Download building footprints
The analysis requires data on building footprints.
Here, we'll use building footprints from OpenStreetMap. We can download vector data from OpenStreetMap with the QuickOSM plugin.
1. Download and install the QuickOSM plugin, if you don't have it yet.
2. Click the  icon in the main toolbar to open the QuickOSM dialog.
3. If you use it for the first time, you need to click that you understand the copyrights.
4. In the QuickOSM dialog type building as key and leave value open.
5. Click the  button to define the extent. You can use the layer extent of your point cloud data.
6. Expand Advanced section and uncheck the boxes before Points, Lines and Multilinestrings. In this way, we'll only download polygons.
Your dialog should now look like this:

7. Click  to run the query and close the dialogue when the building have been downloaded.

The buildings are in a temporary format (note the  icon). We need to save the layer and reproject it to the same projection as the point cloud layer.
8. Right-click on the building layer and choose Export | Save features as... from the context menu.
9. Save the file to an ESRI Shapefile and call it buildings.shp. Change the CRS to the one of your point cloud layer.

10. Click OK.
11. Click again OK if the popup to Select Datum Transformations appears. We'll just use the defaults here.
12. Right-click on the temporary building layer and choose Remove Layer... from the context menu. Click OK in the popup to confirm.
Now all input data is ready. Don't forget to regularly save your project.
4. LiDAR Rooftop Analysis
We're going to use the LidarRooftopAnalysis tool from the WhiteboxTools plugin to derive the properties of roofs directly from the point cloud data.
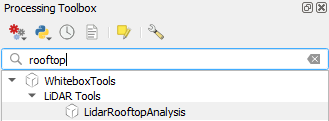
1. In the Processing Toolbox go to WhiteboxTools | LiDAR Tools | LidarRooftopAnalysis. Or search rooftop.
2. In the LidarRooftopAnalysis dialog, choose your LAZ file as an input. Note that you need to browse to the layer.
For now, we keep all the defaults. If the results are not good enough, you can play with the parameters. The Help button in the lower right of the dialog will point you to the documentation of this tool.
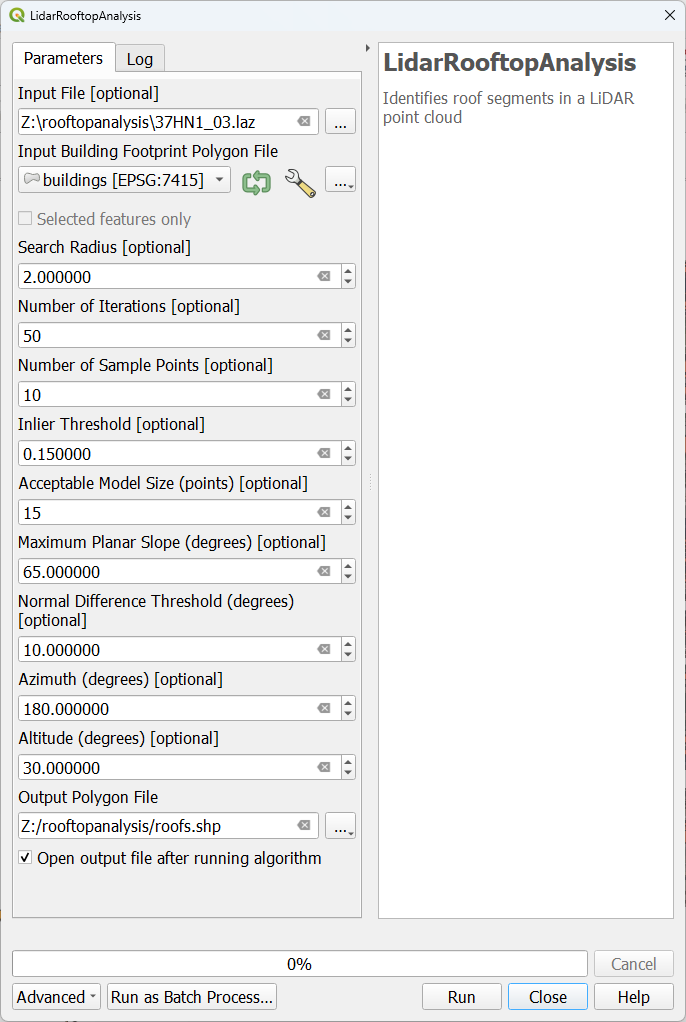
Note that it will give an error that it misses the input file. This is because it doesn't accept the extension in capitals. Rename the LAZ file to 37HN1_03.laz.
3. Save the result to a shapefile with the name roofs.shp and click Run.
This can take some time.
This video summarizes the steps:
Next, we'll look at the result.
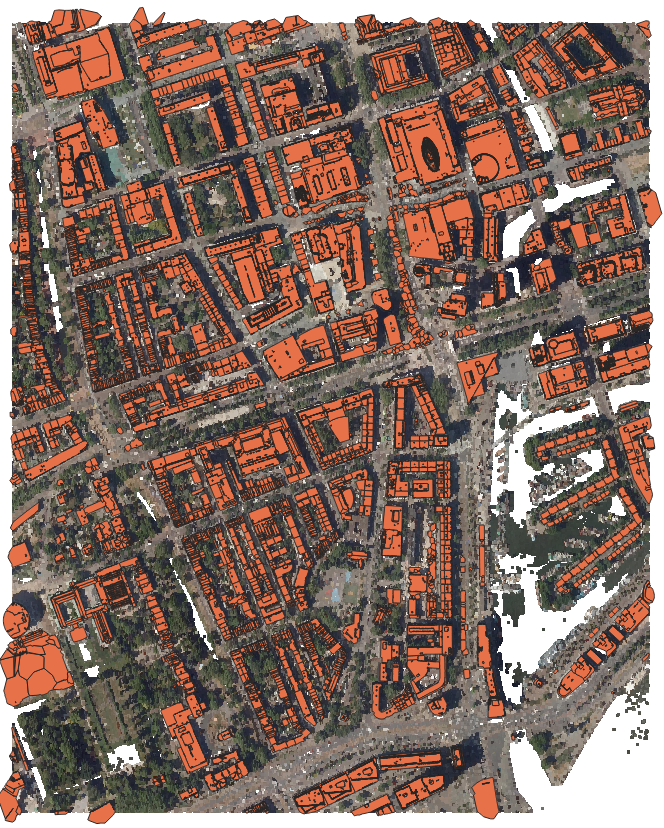
5. Inspecting the results
After processing, you'll see a new polygon layer.
1. Open the attribute table of the roofs layer.
- Which attributes do you see?
Let's style the attributes.
3. In the Layers panel click  to open the Layer Styling panel. Make sure you're styling the roofs layer!
4. Change the renderer from Single Symbol to Graduated.
5. Choose the Aspect field as Value.
6. Choose an appropriate ramp with warmer colours for south-oriented roofs and colder colours to north-oriented roofs.
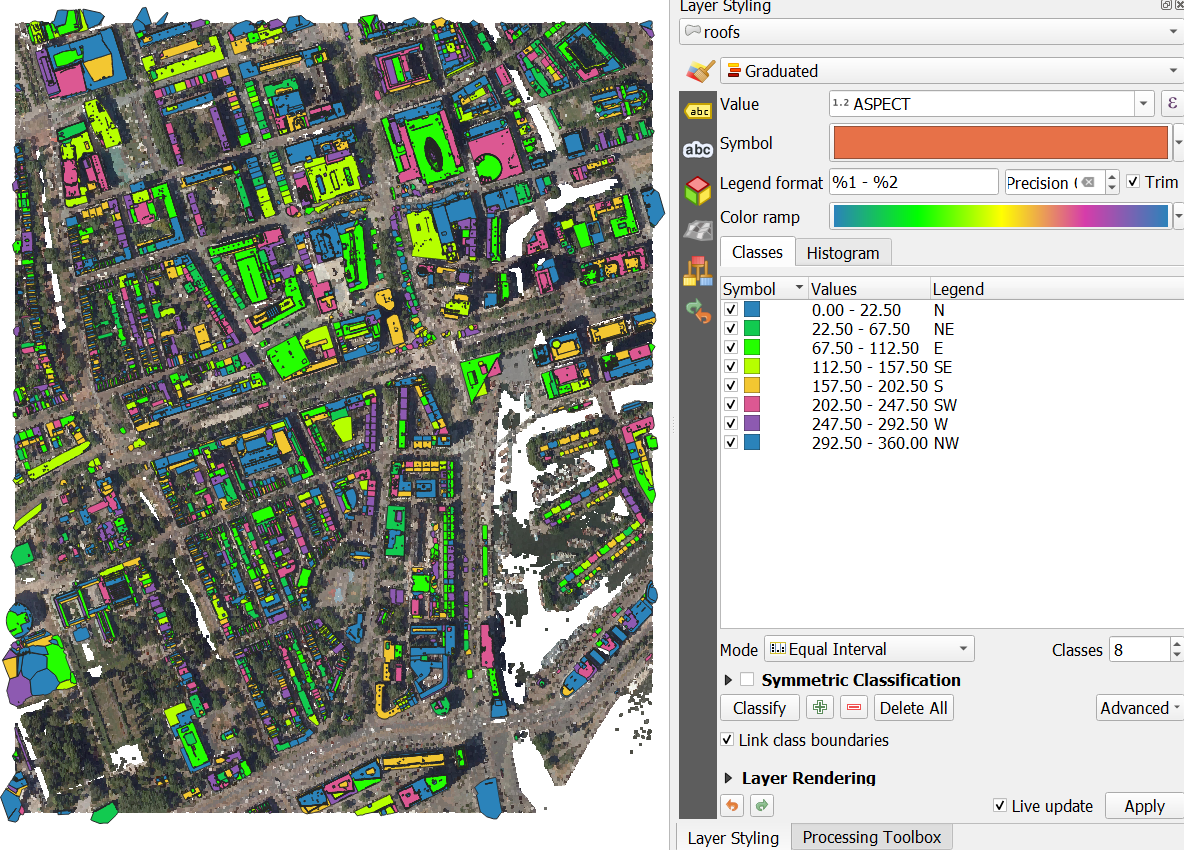
- Where are the south-facing roofs?
6. Derive flat roofs
Flat roofs are most suitable for developing green roofs.
1. Open the attribute table of the roofs layer.
We're going to select the flat roofs, using an expression.
2. Click  to open the Select by Expression dialog.
3. In the middle panel expand Fields and Values and double-click on SLOPE to add it to the expression.
4. Click  and type 0.5.
Now the expression is:
"SLOPE" = 0.5
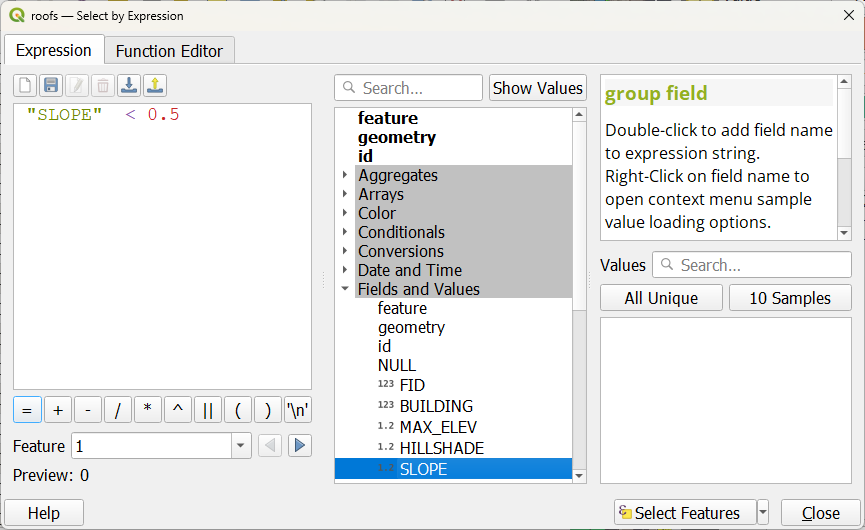
5. Click Select Features.
6. Click Close and also close the attribute table.
Now we can export the selected features to a new layer.
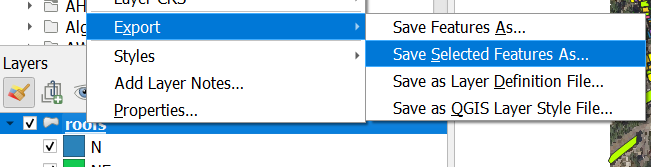
7. In the Layers panel, right-click on the roofs layer and choose Export | Save Selected Features As... from the context menu.
8. Save the layer to a GeoPackage with the Layer name flat roofs.

9. Click OK.
Now we have all the flat roofs in the area. Next we can check which of these roof are already green and which ones can still be changed to a green roof.
7. Derive green roof potential
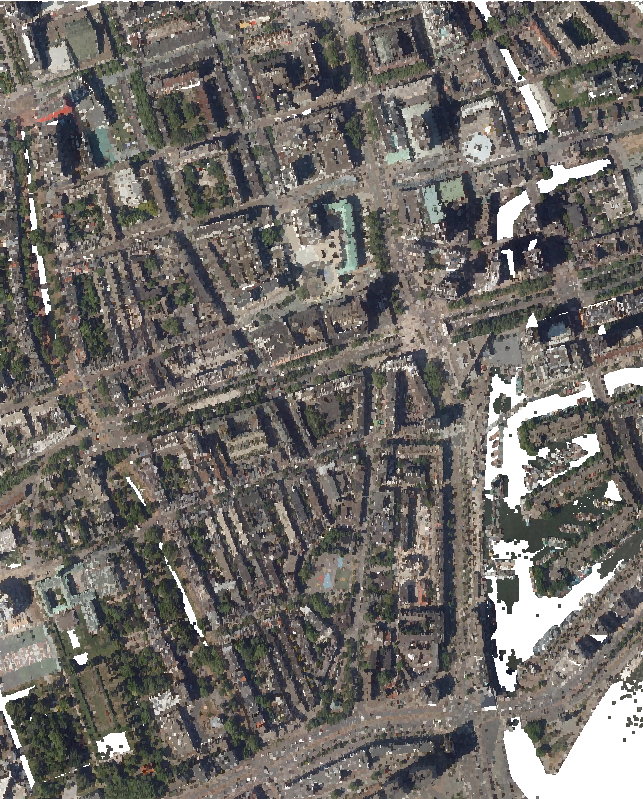
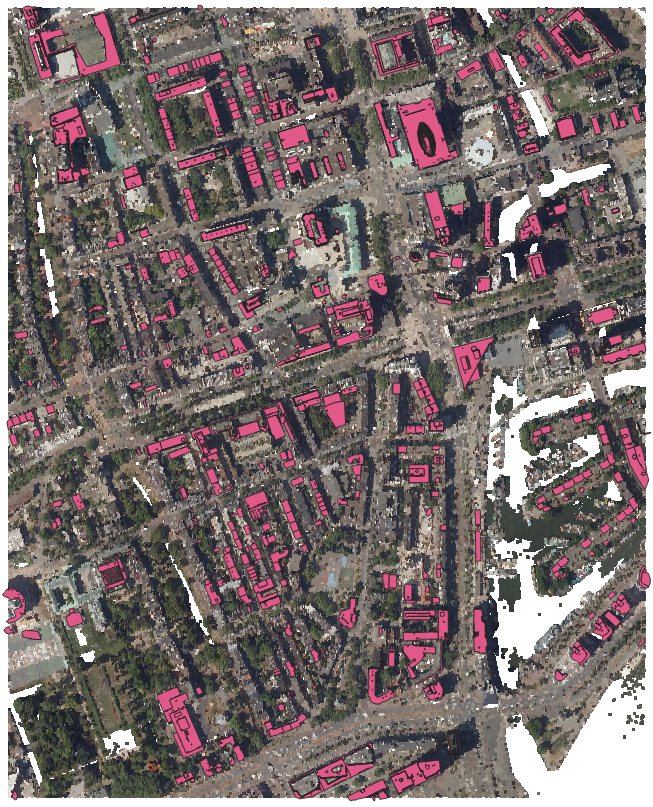
We can do a quick scan of the green roof potential in the city by overlaying the flat roofs layer on a near infrared image.
1. Make sure the flat roofs layer is on top of the near infrared aerial photograph.
2. Go to the Layer Styling panel and make sure that the flat roofs layer is active.
3. Change the renderer from Single Symbol to Inverted Polygons.
In this way you style everything outside of the polygons.
4. Choose a white fill.

Now you can see which roofs are red and already have vegetation and which roofs are grey and could be turned into green roofs.

8. Conclusion
In this tutorial you've learned how to perform a roof analysis using point cloud data and building footprints.
You've learned to select flat roofs and perform a quick scan on green roof suitability.