Using the Felt Plugin for QGIS
| Site: | OpenCourseWare for GIS |
| Course: | Planning for Urban Climate Adaptation |
| Book: | Using the Felt Plugin for QGIS |
| Printed by: | Guest user |
| Date: | Monday, 13 July 2026, 12:11 AM |
1. Introduction
Instead of creating a map from scratch in Felt, we can also upload a map from QGIS to Felt using the Add to Felt plugin.
1. Open QGIS Desktop.
2. Load the QGIS project of Rotterdam.
3. Remove unnecessary layers, so you only have the layers that you want to see on your felt map.
2. Install the Add to Felt Plugin
Let's install the Add to Felt Plugin.
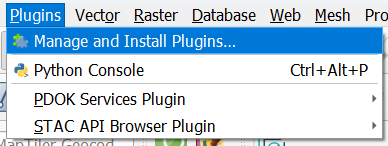
1. In the main menu, go to Plugins | Manage and Install Plugins....
2. Search for the Add to Felt plugin and click Install Plugin.
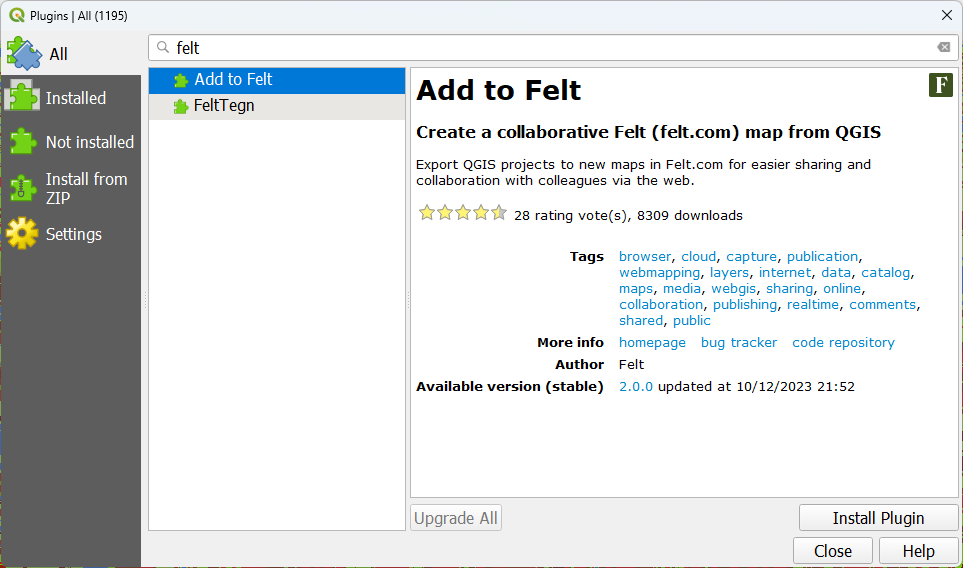
3. Click Close.
3. Publish your map to Felt
Now we can publish a map to Felt. Note that only layers that are set to visible will be uploaded.
1, Save your project under a new name.
2. In the toolbar, click  .
.
3. In the popup click Log In.

Your browser opens the following page:
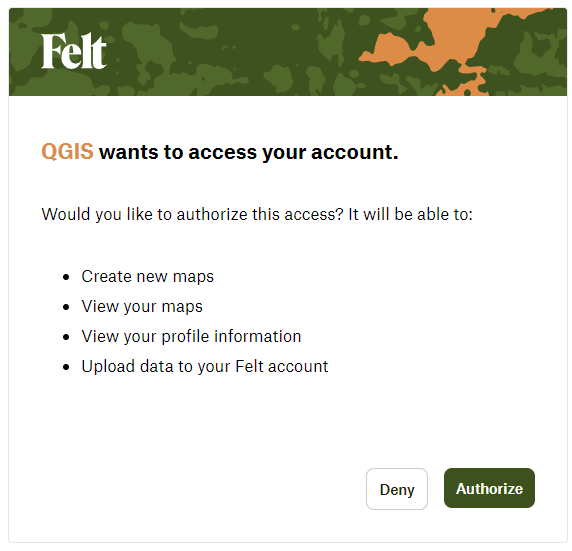
4. Click Authorize.
You should see the following page when QGIS has been successfully authorized:
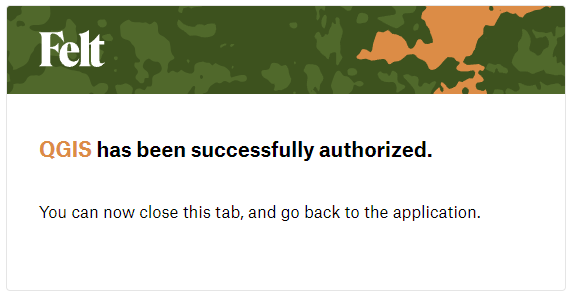
Back in QGIS now you see:

5. Choose the workspace that you want to use. Here we'll add it to the workspace "Urban Planning for Climate Adaptation".
6. Click Add to Felt.
The plugin start uploading your maps.
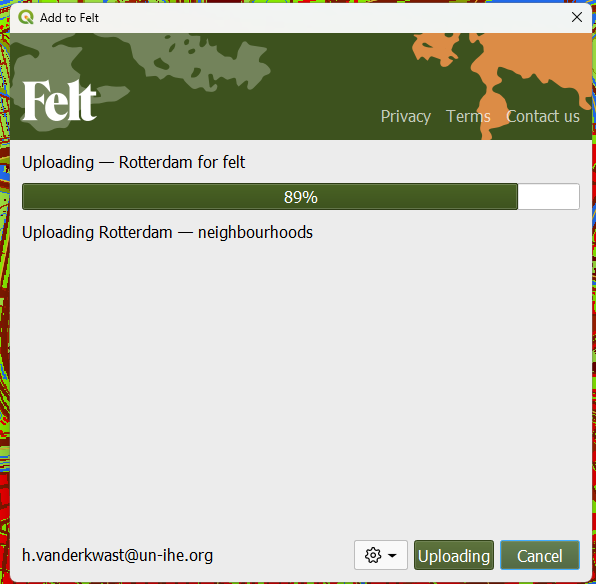
When it's done, you'll see:

7. Click Open Map.