Tutorial: How to install WaPLUGIN
| Sito: | OpenCourseWare for GIS |
| Corso: | Enhancing Water Productivity with WaPOR: A Hands-On Workshop Using WaPLUGIN in QGIS |
| Libro: | Tutorial: How to install WaPLUGIN |
| Stampato da: | 访客用户 |
| Data: | sabato, 20 giugno 2026, 01:29 |
1. Introduction
The plugin can either be installed through the QGIS Plugins Manager or from a zip file.
The next chapters will guide you through both methods.
2. Using the QGIS Plugins Manager
In this chapter you'll learn how to install the WaPLUGIN from the QGIS Plugins Manager.
1. Start QGIS Desktop.
2. In the main menu, choose Plugins | Manage and Install Plugins....

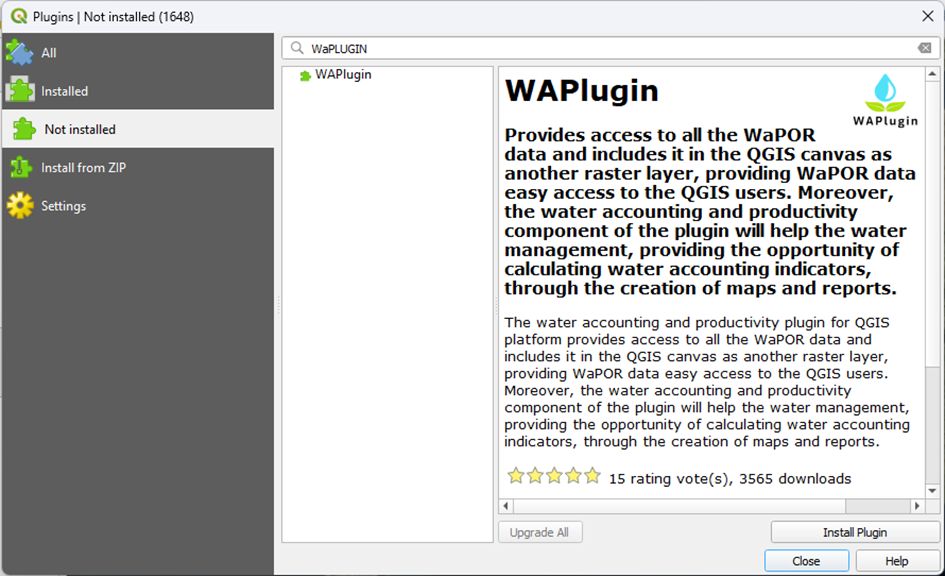
3. Go to the Not Installed tab and type WAPlugin in the search area.
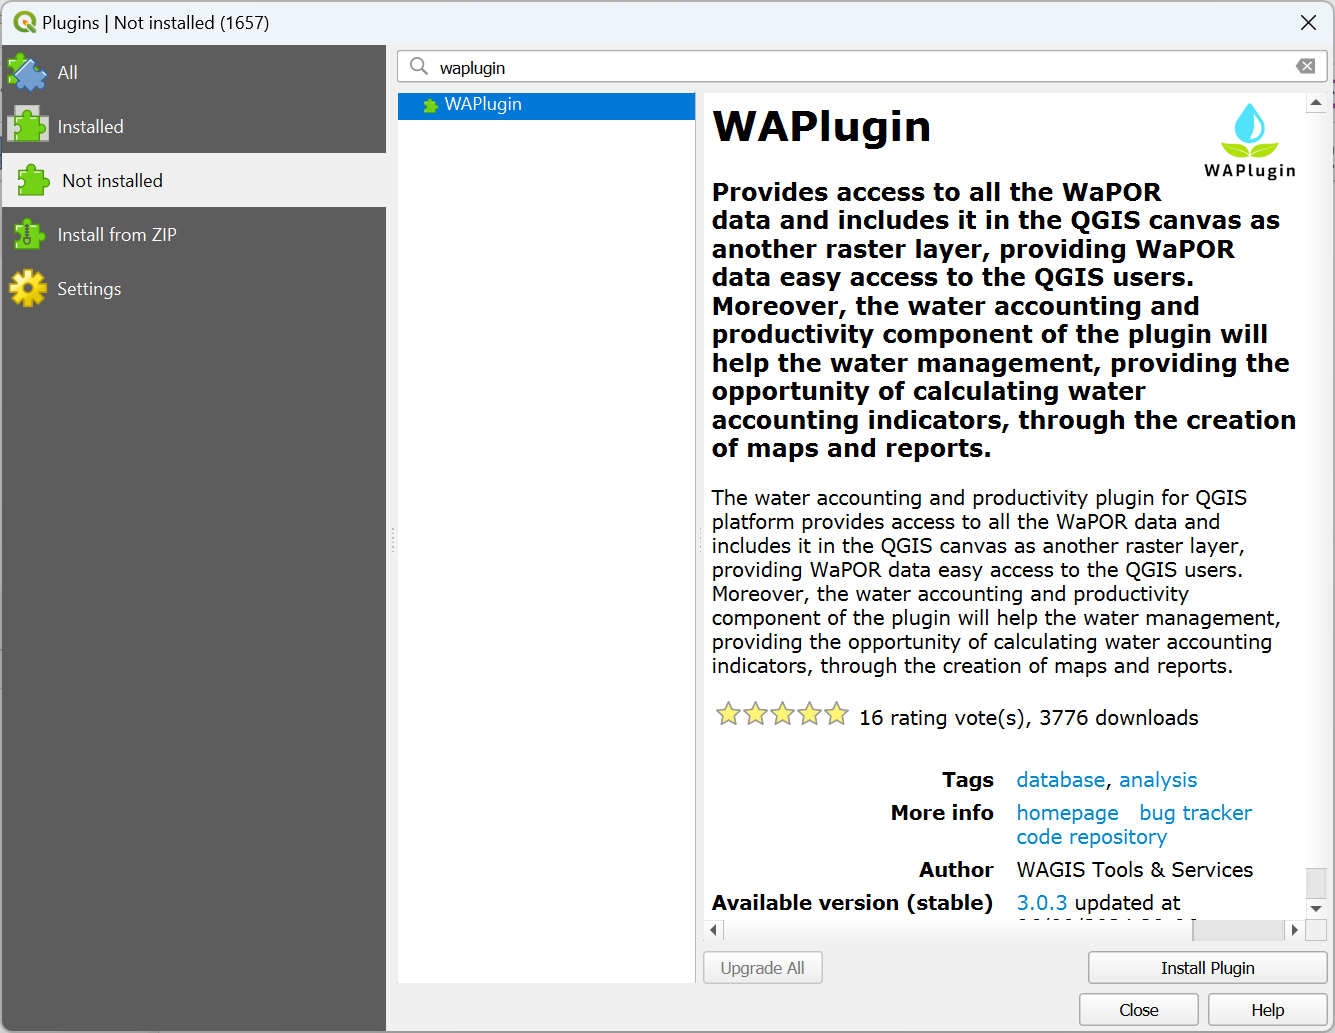
4. Click on the Install Plugin button
You should now find the WaPLUGIN icon in the QGIS toolbar, as shown in the figure below.
![]()
3. Using a zip file
In this chapter you'll learn how to install the latest version of the plugin using a zip file.
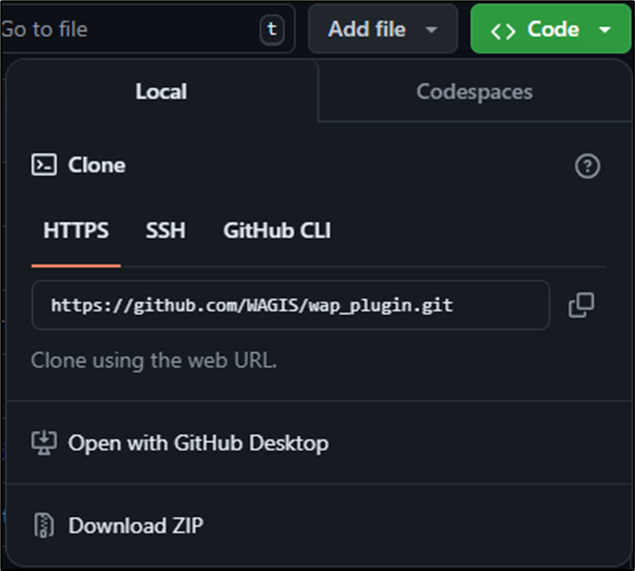
1. Open a web browser and navigate to our WaPlugin GitHub Repository or the Releases and download the zip file.
2. Start QGIS Desktop.
3. In the main menu, choose Plugins | Manage and Install Plugins....

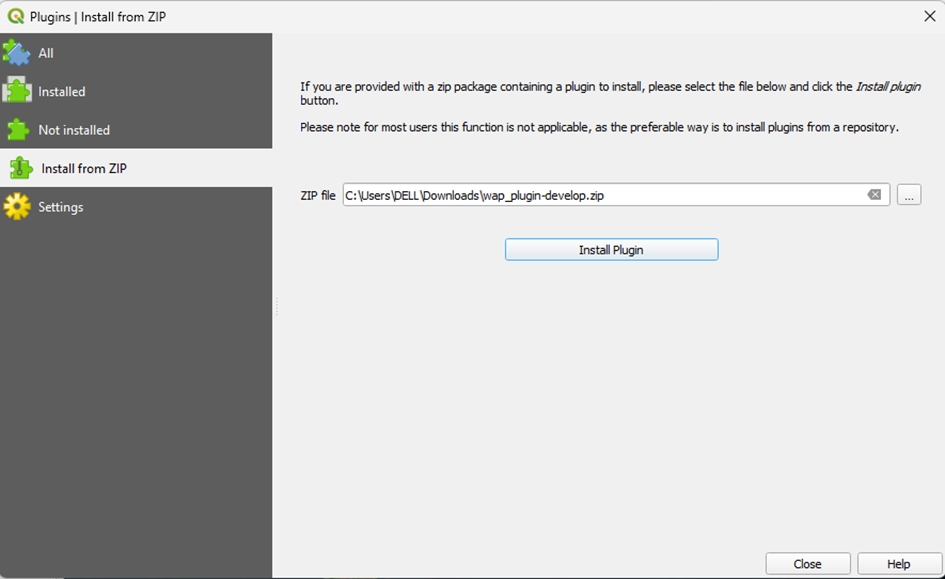
4. Go to the Install from ZIP tab and browse the downloaded zip file.
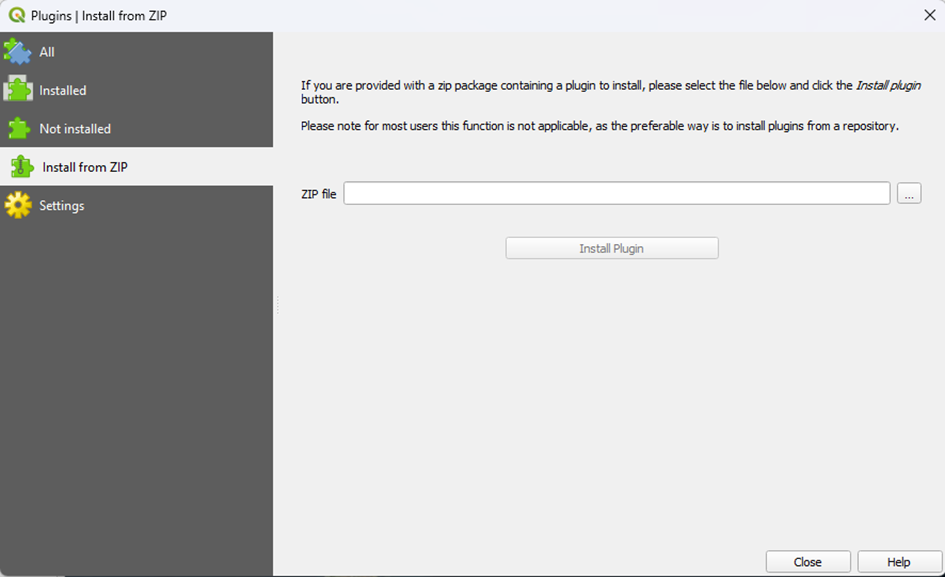
5. Load the downloaded zip file and click on the Install Plugin button.
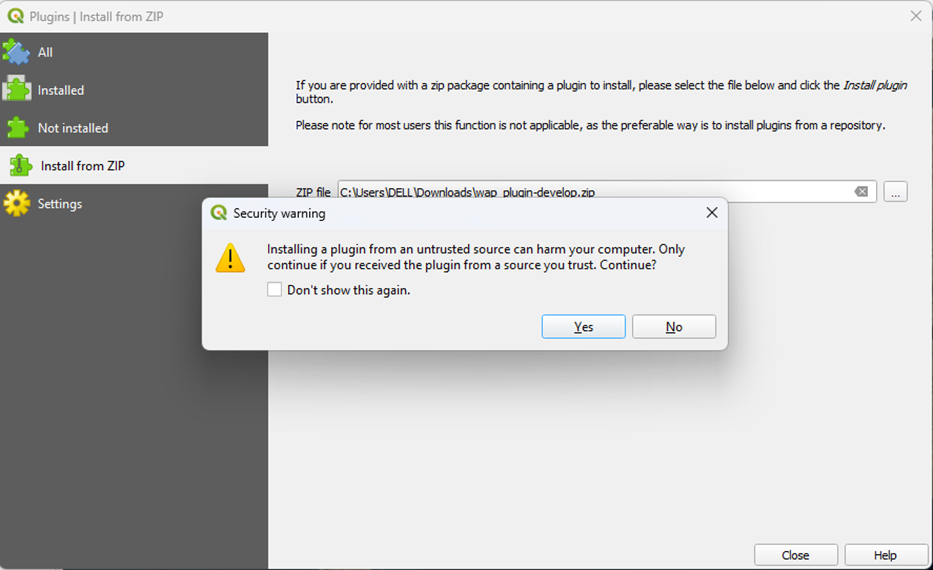
6. A security warning will pop up on your screen, click Yes so the installation process can proceed.
You should now find the WAPlugin icon in the QGIS home window, as shown in the figure below.
![]()
4. Troubleshooting
If you get the following error after installing the plugin:
Couldn't load plugin 'wap_plugin' due to an error when calling its classFactory() method
Then follow the steps here: https://github.com/WAGIS/wap_plugin/issues/59