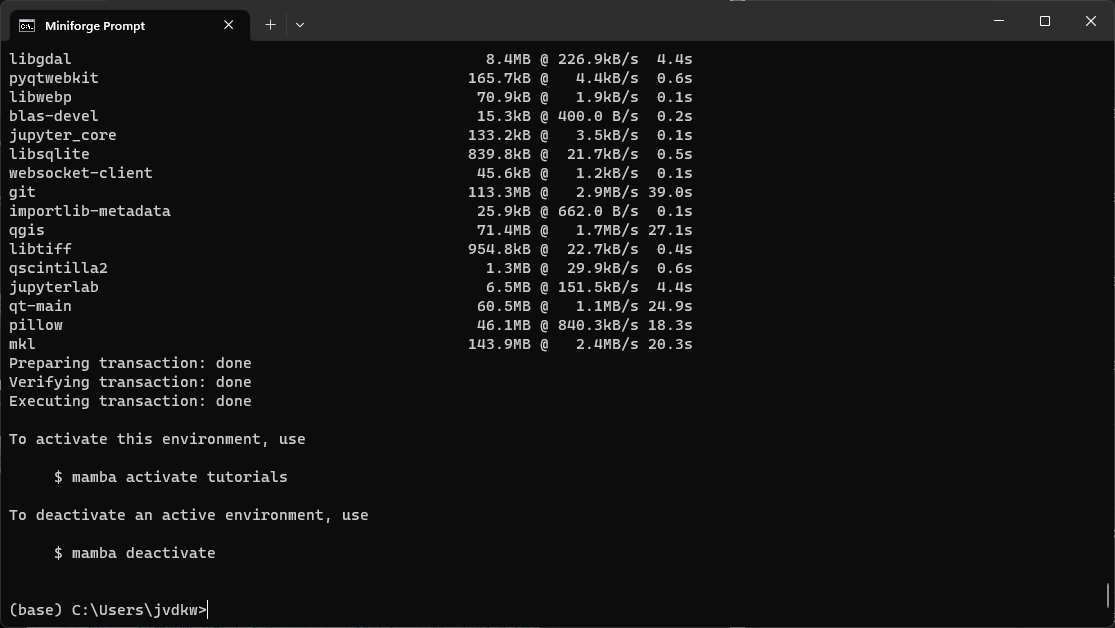
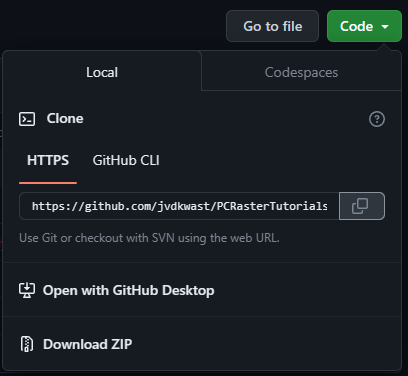
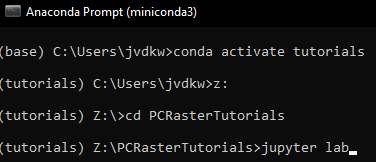
To run the Jupyter Notebook of this tutorial make sure you have followed the instructions for installing Miniconda and downloading the tutorials as explained before. We assume that you're in the Miniconda prompt and that you're in the tutorials environment.
- Go to the subdirectory \PCRasterTutorials
- Run the command
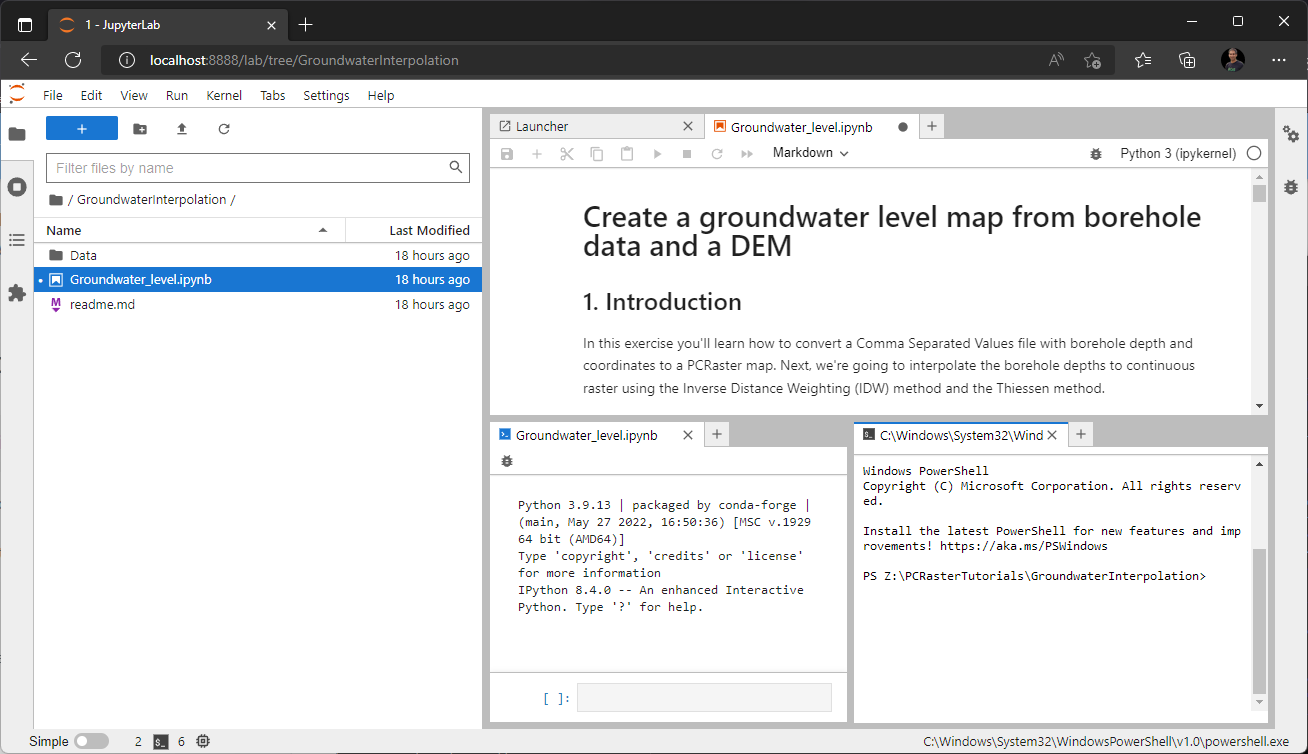
jupyter lab - In Jupyter Lab browse to the PCRasterCatchmentDelineation folder, click on ContentsCatchmentDelineation.ipynb and follow the tutorial.
This tutorial uses data (included in the Data folder) from the Shuttle Radar Topography Mission: SRTM 1-Arc Second. If you want to apply it to other areas, you can download the data from USGS Earth Explorer.
You can write the code also in the QGIS Python Console. In that way it's easier to visualise the results. You can use QGIS from your miniconda environment or the standard QGIS on Windows if you have installed PCRaster through the OSGeo4W installer.
This video shows the exercise applied in the QGIS Python Console: