Tutorial: Delineate multiple subcatchments
| Site: | OpenCourseWare for GIS |
| Course: | QGIS Advanced Tutorials |
| Book: | Tutorial: Delineate multiple subcatchments |
| Printed by: | Guest user |
| Date: | Sunday, 26 July 2026, 9:40 AM |
1. Introduction
In another tutorial you've learned how to delineate a catchment of a specific outlet. Sometimes, however, you want to do this for multiple outlets or for all subcatchments in a catchment.
After this tutorial you'll be able to:
- Snap digitized pour points to a delineated river
- Delineate the catchments of snapped pour points
- Create pour points for all subcatchments in a catchment
- Delineate all subcatchments in a catchment
2. Digitize pour points
First we're going to digitize the pour points (points for which we want to delineate their contributing areas, i.e. catchments).
1. Start QGIS.
2. In the main menu go to Project | Open From | GeoPackage...

3. In the Load project from GeoPackage dialogue browse to the data_multiple_subcatchments.gpkg GeoPackage, choose the Multiple_Subcatchments project and click OK.

In the project you see the Rur catchment boundary, hydrography and filled DEM (filling a DEM is explained in the tutorial on stream and catchment delineation, which you need to apply to your own data before following the steps in this tutorial).
Now we're going to add a background map from which we can digitize some outlets. We'll use OpenStreetMap.
4. Install the QuickMapServices plugin. Go to the main menu and choose Plugins | Manage and Install Plugins...

5. Install the QuickMapServices plugin and click Close.

6. In the main menu go to Web | QuickMapServices | OSM Standard

7. Switch off the DEM and Hillshade by unchecking the box before the layer name in the Layers panel.

8. Zoom in to a location in the catchment where two tributaries join.

9. In the toolbar click  to create a new temporary scratch layer.
10. In the New Temporary Scratch Layer dialogue give Pour point as Layer name, choose Point as Geometry type and select the projection of the project (EPSG: 32632). Keep the rest default.

11. Click OK to create the empty point vector layer.
We create this temporary scratch layer, because it is an intermediate step and we don't need to keep that layer.
Now we'll digitize the point in the river where the tributaries join.
12. Make sure editing is toggled on for the Pour point layer and click  to add a point feature.
13. Place the feature on the point in the river on the map where the tributaries join.

14. Repeat this for a few other points for which you want to create the subcatchments.
15. Toggle off editing by clicking  and click Save.
3. Snap pour points
We can only delineate (sub)catchments if the pour points are on the delineated hydrography, otherwise there's no river according to your model. We can achieve that by snapping the pour points to the hydrography layer.
1. Open the Processing Toolbox. In the main menu go to Processing | Toolbox to open the Processing Toolbox panel.

2. In the Processing Toolbox choose Vector geometry | Snap geometries to layer.

3. In the Snap Geometries to Layer dialogue choose Pour point as Input layer and Rur hydrography as Reference layer. Change the Tolerance to 100 m. This is the search radius for snapping the point to the line. Change Behavior to Prefer closest point, insert extra vertices where required. You can play with this setting if the results are okay. Save the Snapped geometry to the project GeoPackage with the layer name Snapped pour points.

4. Click Run and Close the dialogue after processing.
5. Check the result.

Now we've snapped the pour points we can proceed with delineating their catchments in the next section.
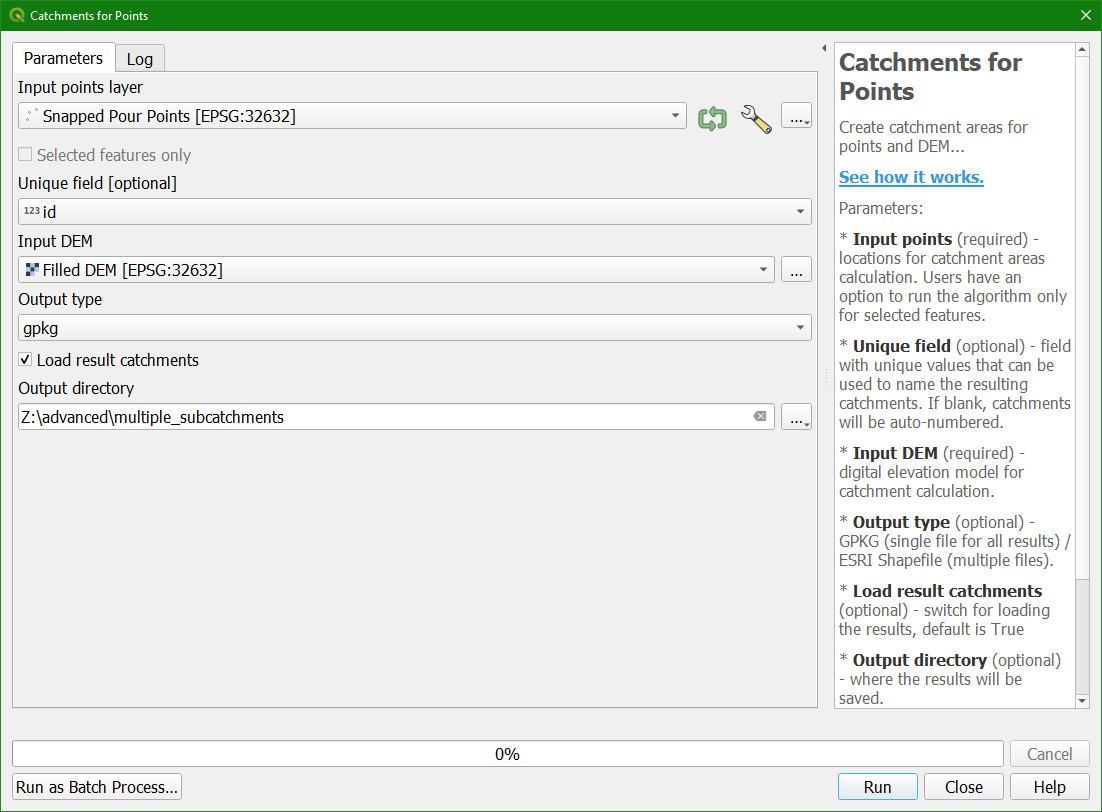
4. Delineate multiple subcatchments for pour points


5. Delineate all subcatchments in a catchment
In a similar way we can delineate all subcatchments of the Rur catchment. However, that would be a lot of manual work for digitizing and snapping the pour points.
In this section we'll derive the river junctions and apply the Points to catchments tool to all junctions.
1. In the Processing Toolbox choose SAGA | Terrain Analysis - Channels | Channel network and drainage basins.
2. In the dialogue choose the Filled DEM for Elevation and use a Strahler Threshold of 8 (this is calibrated in the stream & catchment delineation procedure). Uncheck all outputs except Junctions and save the shapefile to junctions.shp to your project folder.

3. Click Run and Close the dialogue after processing.
The junctions layer covers more than the Rur catchment so we need to clip it first.
4. In the main menu go to Vector | Geoprocessing Tools | Clip...

5. In the Clip dialogue choose the junctions layer as Input layer and the Rur catchment boundary as Overlay layer. Save the Clipped layer to the GeoPackage of this project and name it Rur junctions.

6. Click Run and Close the dialogue after processing.
7. Remove the junctions layer from the Layers panel.
8. Click right on the junctions layer in the Layers panel and choose Open Attribute Table.
In the attribute table you see that the field Type shows if a junction is a spring or a junction. We only need the junctions, because these are the subcatchment outlets. We're going to remove the springs.

9. In the attribute table toggle on the editing by clicking  .
.
10. Click on the Select features using an expression button  .
.
11. In the Select by Expression dialogue write the following expression:
"TYPE" = 'Spring'

13. Now click the Delete selected features button  .
.
14. Toggle off editing mode with the button and click Save. Close the attribute table.
This point layer has a MultipointZM geometry that we can't use. We have to convert it to a layer with a normal point geometry.
15. In the main menu go to Vector | Geometry Tools | Multipart to Singleparts...

16. In the Multipart to Singleparts dialogue choose Rur junctions as Input layer and save the Single parts layer to the GeoPackage of this project with the name outlets.

17. Click Run and Close the dialogue after processing.
18. Remove Rur junctions from the Layers panel.
Now we can apply the Catchments for points tool to all junctions to delineate their catchments.
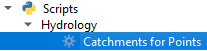
19. In the Processing Toolbox choose Scripts | Hydrology | Catchments for Points.
20. In the dialogue select Outlets as Outflow point layer and Filled DEM as DEM layer.
21. Select a new Output Directory where the GeoPackage of all subcatchments will be stored.
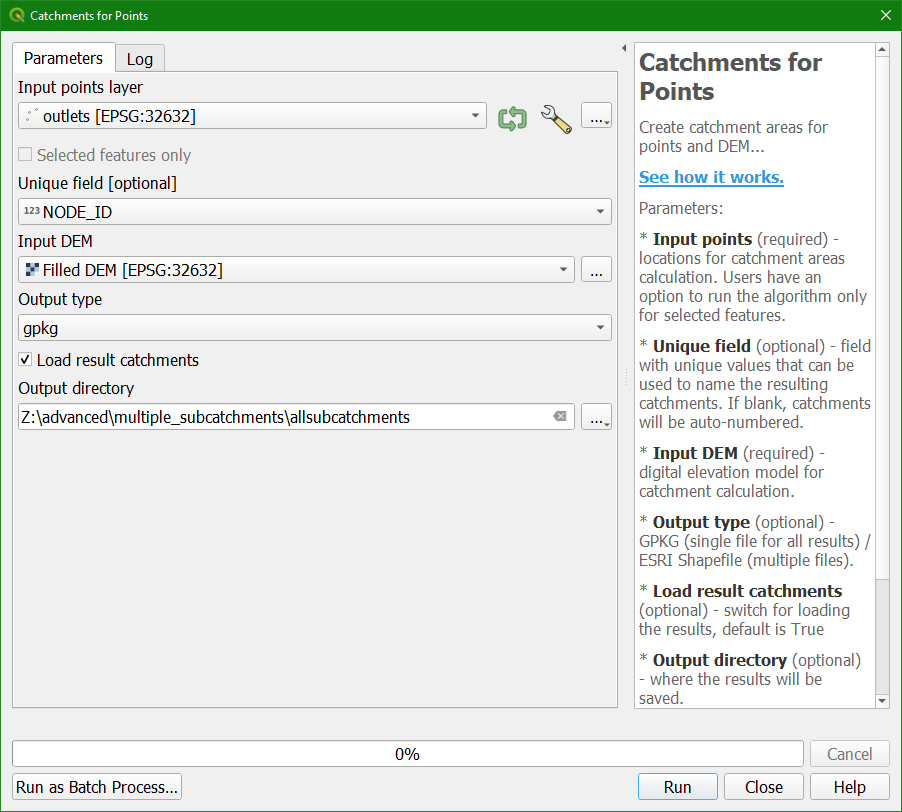
22. Click Run. This will take some time. Click Close when all points are processed.
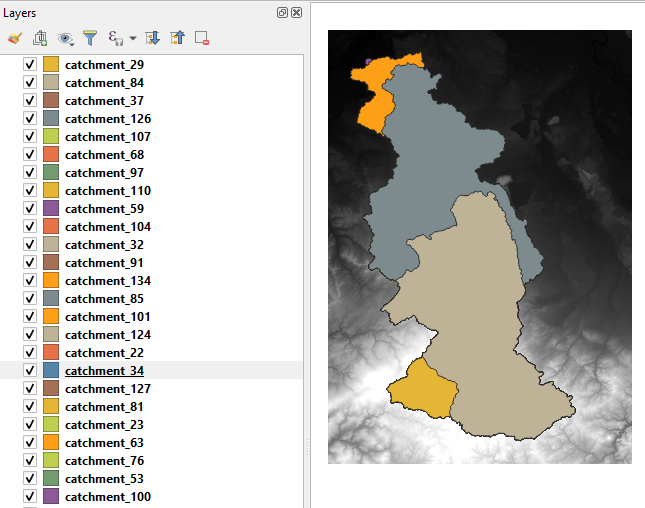
After some patience the layers are added to the map canvas: