Tutorial: Stream and Catchment Delineation
6. Fill Sinks and Calculate Flow Direction
6.4. Styling the Flow Direction Layer using a Circular Color Ramp
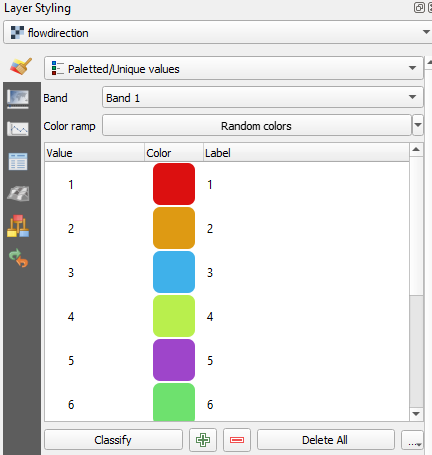
1. Open the Layer Styling panel for the flowdirection layer.
2. Change the renderer to Paletted/Unique values, because the flow directions are encoded in discrete values from 1 to 9. Click Classify to assign random colors to the cell values.
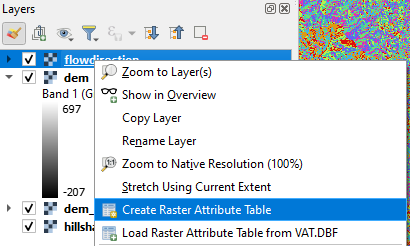
3. Right-click on flowdirection in the Layers panel and choose Create Raster Attribute Table from the context menu.
4. In the New Attribute Table pop-up keep that the format is Managed by the data provider and click OK.
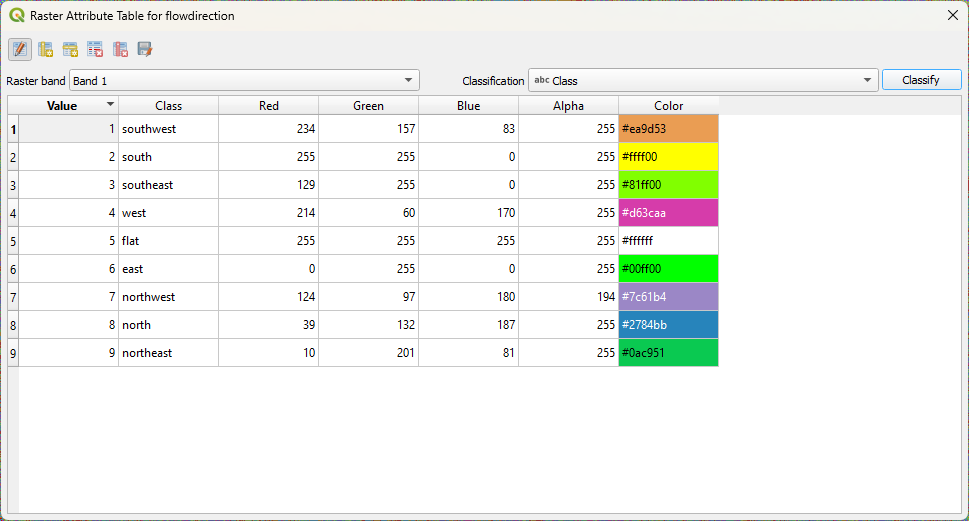
5. In the Raster Attribute Table toggle on the editing of the attribute table by clicking  and edit the values in the Class field to reflect the compass directions as text.
6. Change the colors in the Color field by double-clicking on the colors and using the hexadecimal values from this figure:
7. Toggle off the editing by clicking again  and save the changes. Close the confirmation popup by clicking OK. Click Classify to apply the changes and click Close to close the attribute table.
8. Click Classify and confirm in the popup by clicking Yes.
9. Close the attribute table.
When you blend the flowdirection layer with the hillshade layer the result looks like this:
