Tutorial: Stream and Catchment Delineation
10. Clipping layers to the catchment boundary
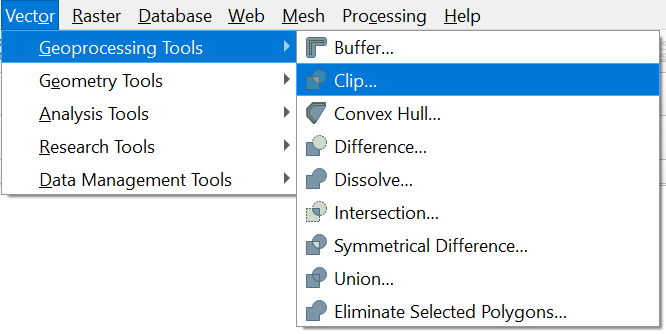
1. Let’s first clip the channels vector layer to see only the streams that are inside the catchment. Go to the main menu and select
Vector | Geoprocessing Tools | Clip...
2. Fill in the dialog as in the figure below to use the catchment layer as a "cookie cutter" to clip the Input layer channels to the boundary of the Overlay layer Rur_catchment. Call the Clipped layer Rur_channels.shp. Click
Run to run the tool. Click Close to return the main screen.

If you get an error related to the geometry, you can fix it. Click Edit Features In-Place  in the Processing Toolbox and choose Vector geometry | Fix geometries. The geometric errors are caused by the vectorisation process.
We can easily copy the styles from channels to Rur_channels.
4. Right-click on the channels layer and choose Styles | Copy Style | All Style Categories.
5. Now right-click on Rur_channels and choose Styles | Paste Style | All Style Categories.
6. Remove channels from the layers list and make sure that Rur_channels layer is at the top of the list.