Tutorial: WebODM
7. Review settings
Now we have selected the 32 drone image we need to review the settings for creating this new Task in your Project.
WebODM reads the metadata from the images. The metadata is stored in as EXIF tags in the JPG files. EXIF stands for Exchangeable Image File Format. The tags can include information of the location where the picture was taken. This information comes from the GPS of the drone.
Images with geolocation information in the EXIF tags can be used to produce georeferenced orthophotos and elevation models. If location info is missing you can still create point clouds and 3D models, but it's not possible to create georeferenced orthophotos and elevation models. Later we'll briefly discuss how to add Ground Control Points in WebODM to still use those images for producing georeferenced orthophotos and elevation models.
Let's look at the different settings in the dialogue.
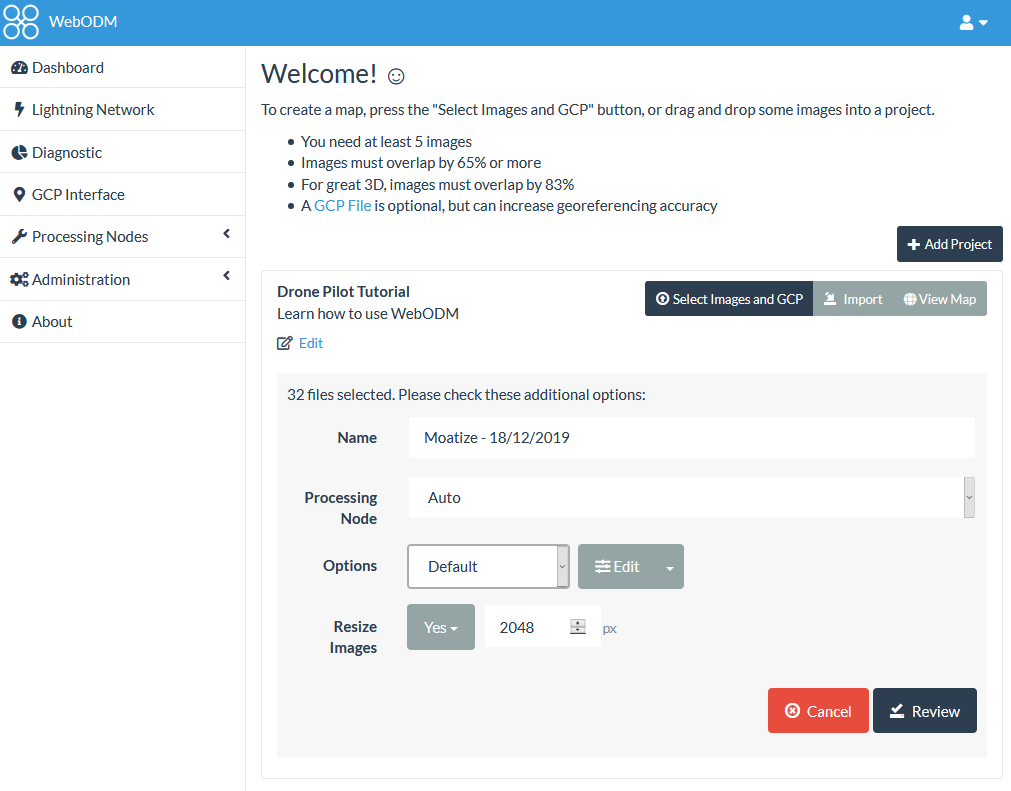
Name
The default name of the task is generated by WebODM by using the EXIF location and time data. The coordinates were used to look up the place name.
You can edit the name if needed. Here we keep the default name.
Processing Node
This the node where the calculation takes place. Your account is set up with a specific calculation node (you can see it when you use the dropdown menu), so you can keep this on Auto. In another setup where you have multiple processing nodes available you can manually choose the one you want to use or use Auto to automatically select the node with the least number of running tasks.
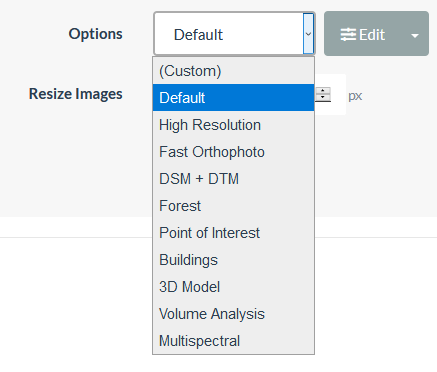
Options
- Default: create point cloud, orthophoto and DSM
- High Resolution: provides a higher resoltion output, but processing time will be longer
- Fast Orthophoto: if you're interested in an orthophoto only
- DSM + DTM: will generate a DTM besides a DSM
- Forest: will have a higher number of points and a higher quality to represent forests better
- Point of Interest / Building: better mesh representation to deal with man made structures
- 3D model: improved mesh
- Volume Analysis: improved DTM and DSM for volume calculations
- Multispectral: includes parameters for multispectral images, such as radiometric calibaration
Resize images
You can reduce the size of all images by changing the settings here. This is useful to lower the amount of memory used and to increase the processing speed. This is of course a trade off with the quality of the results. Here we're not going to resize the images, because that has already been done for the purpose of this tutorial.
1. Select for Resize Images No.
Now your setting should be like the screenshot below.
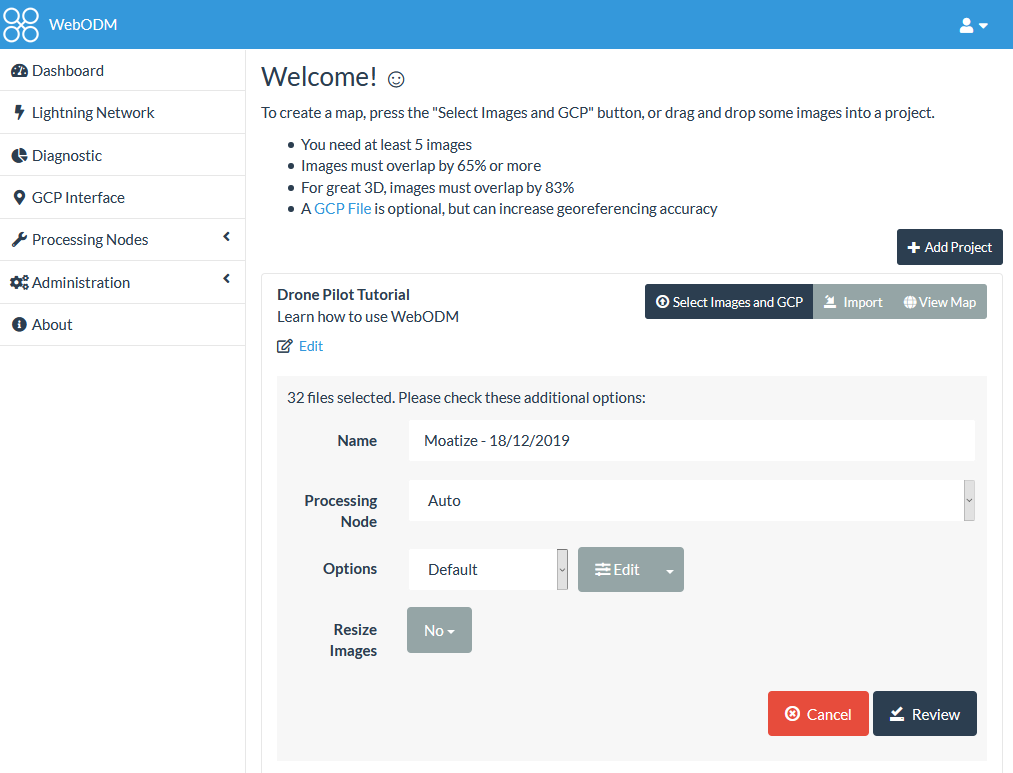
2. Click Review to proceed.
In the next chapter we're going to process the images.