Tutorial Stream and Catchment Delineation using PCRaster in QGIS
3. Download DEM Tiles
For the Rur study area, we will download the tiles from the SRTM 1 Arc-Second global data set. Since the end of 2014 a 1-arc second global digital elevation model (approximately 30 meters at the equator) has been released as open data. Most parts of the world have been covered by this dataset ranging from 54 degrees south to 60 degrees north latitude. A description of the SRTM data products can be found here.
The following steps explain how to download the SRTM DEM tiles for the study area.
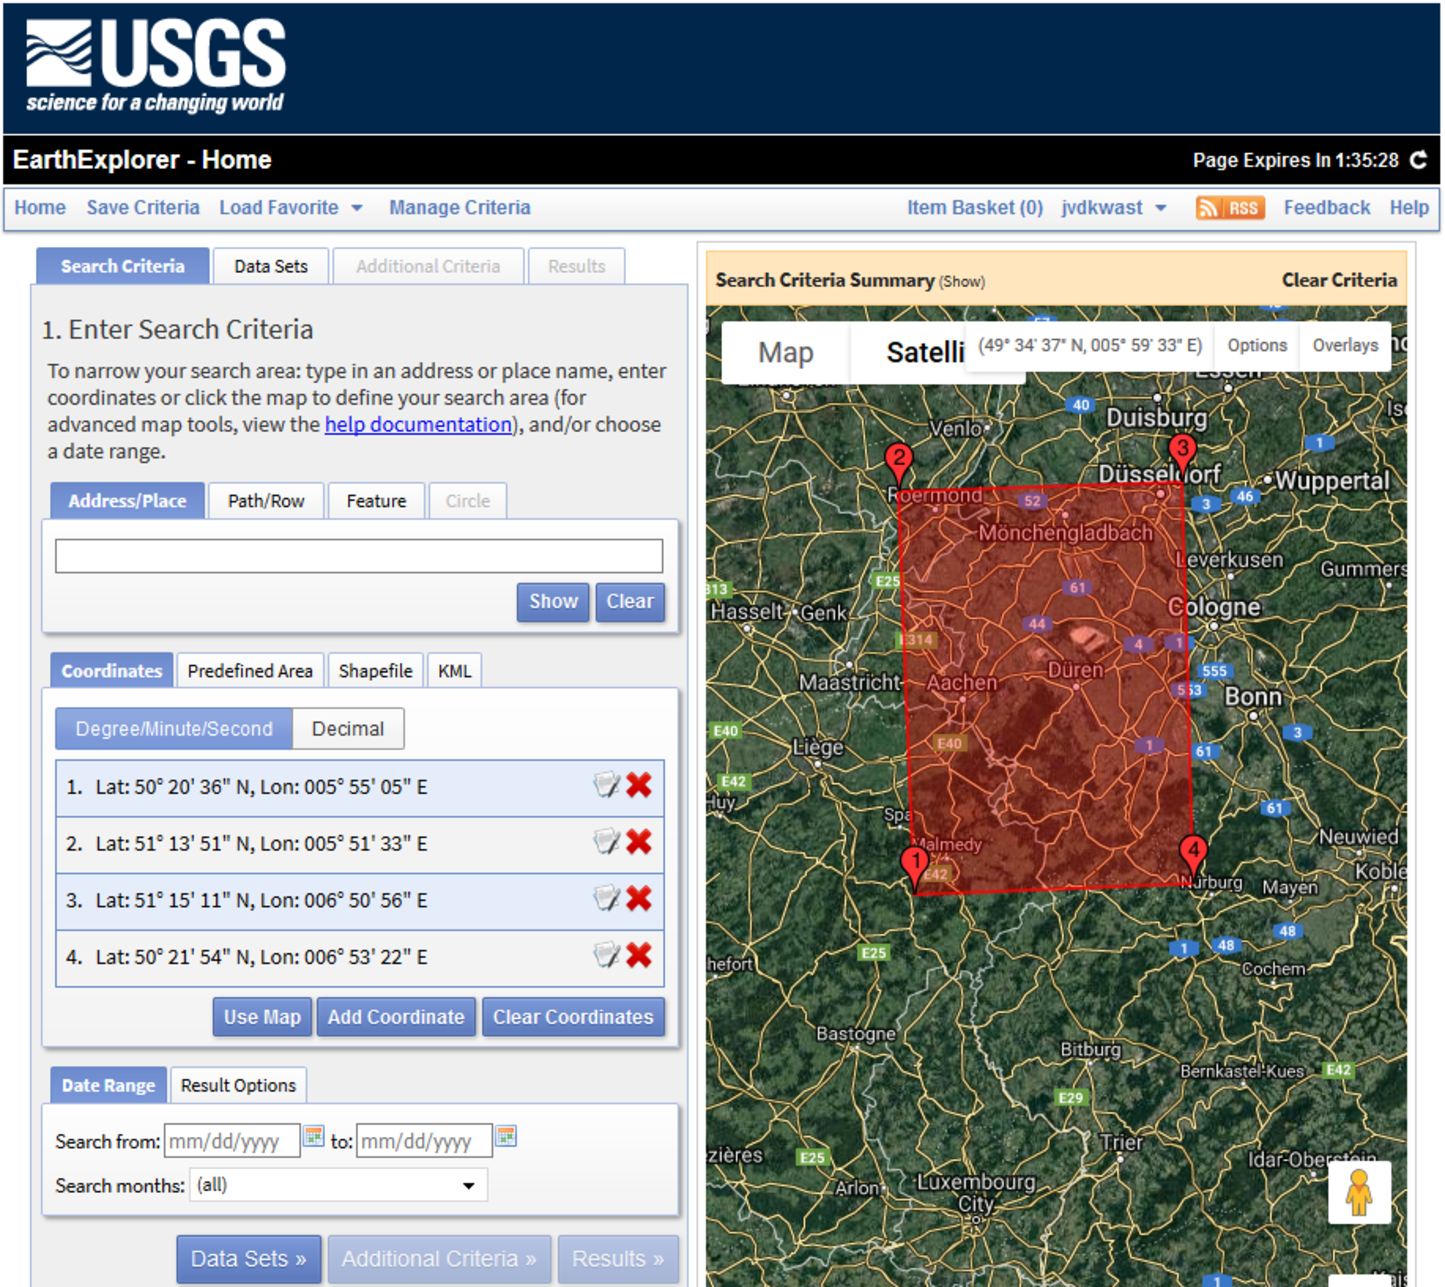
1. Open a browser and browse to http://earthexplorer.usgs.gov
In order to download the SRTM DEM tiles you need to create an account. If you don't succeed with making an account you can use the SRTM tiles provided with the data of this lesson (4 GeoTiff files).
2. Click Register and follow the procedure. After registration, log in to the USGS EarthExplorer portal.
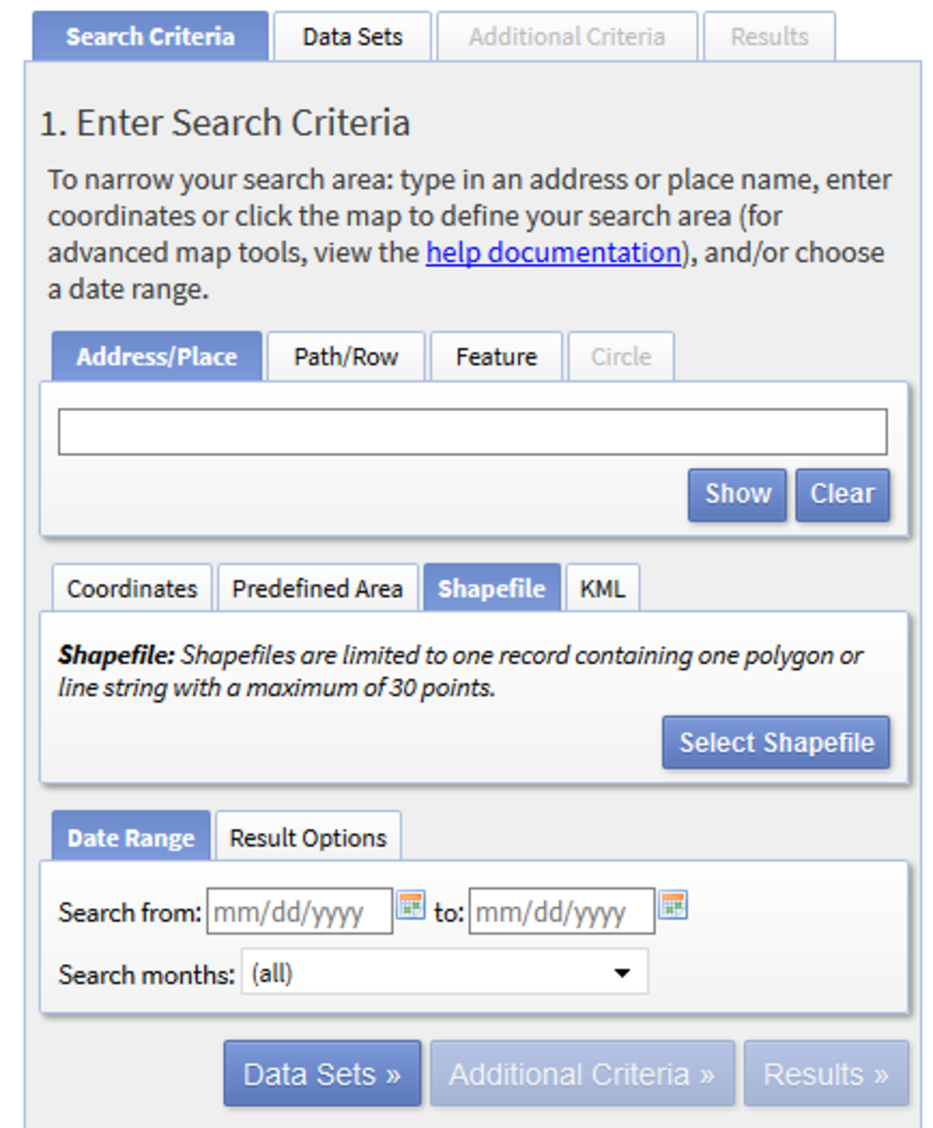
Now we need to indicate the search area. In EarthExplorer this can be done in different ways: (1) Search for a location name, (2) Zoom in on the map and use the coordinates of the zoom area, (3) Upload a KML or zipped shapefile. For this case we prepared a shapefile with a bounding box.
3. Choose Shapefile and upload the boundingbox.zip file (you need to first zip all files belonging to the boundingbox shapefile!).
4. Choose Data Sets to go to the next screen where we can select the data set.
5. Click on the plus signs to select Digital Elevation | SRTM | SRTM 1-Arc Second Global. Make sure to tick the box.
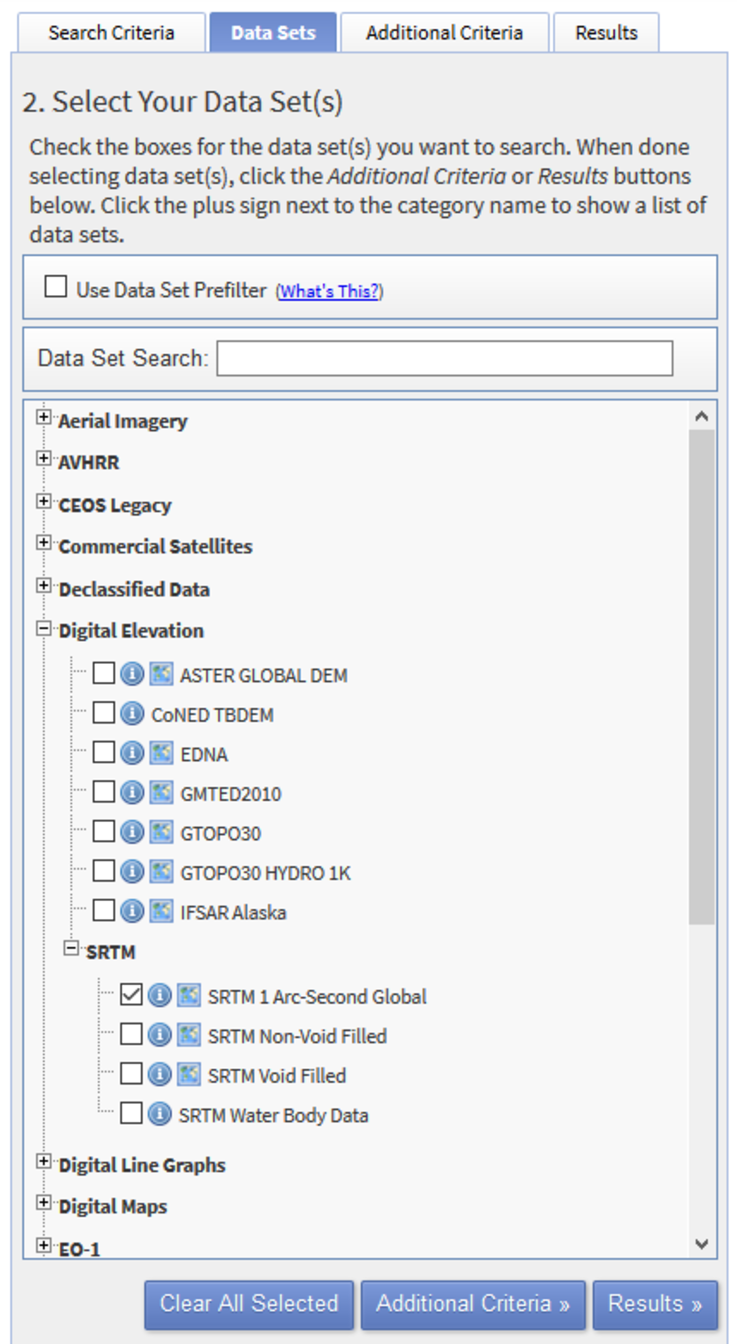
6. Click Results to go to the next screen.
Now you see the search results: four tiles. Before downloading you can check the tiles. With the foot icon, for example, you can see the footprint of the tile.
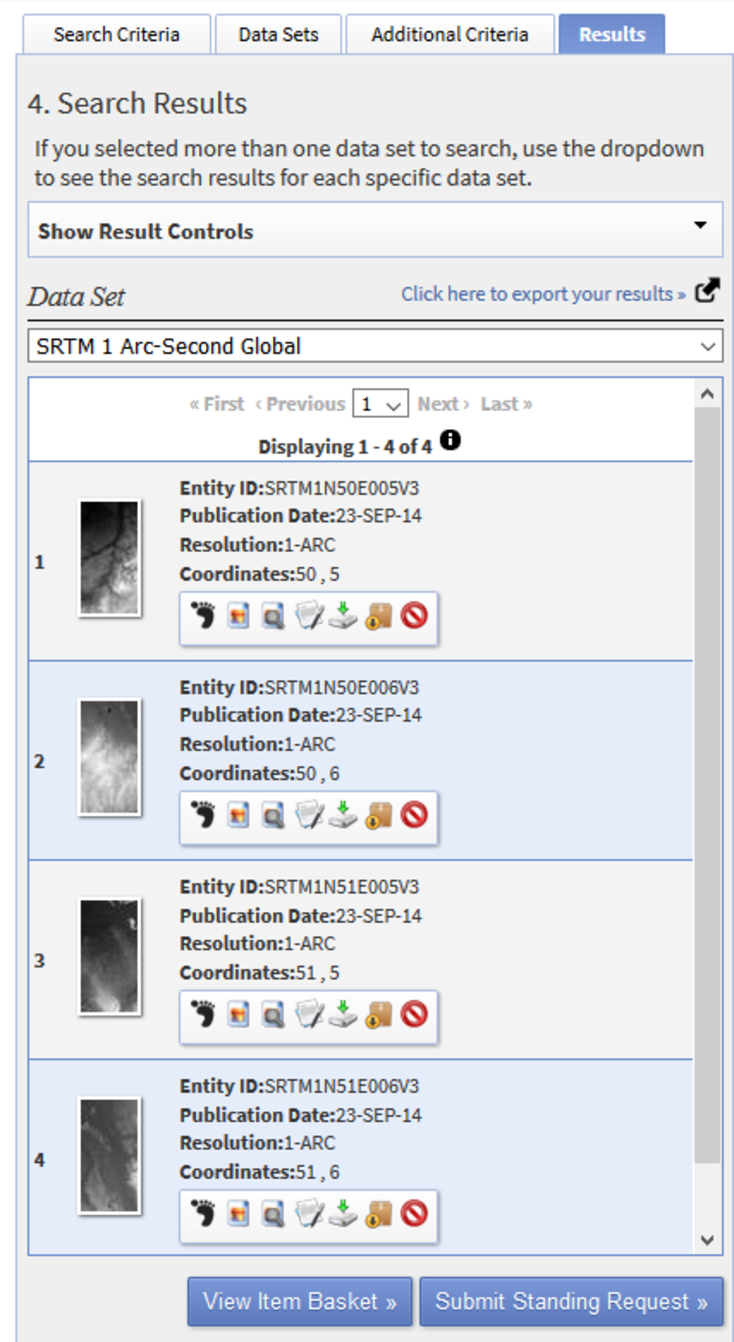
7. Download each tile by clicking the Download Options ![]() button.
button.
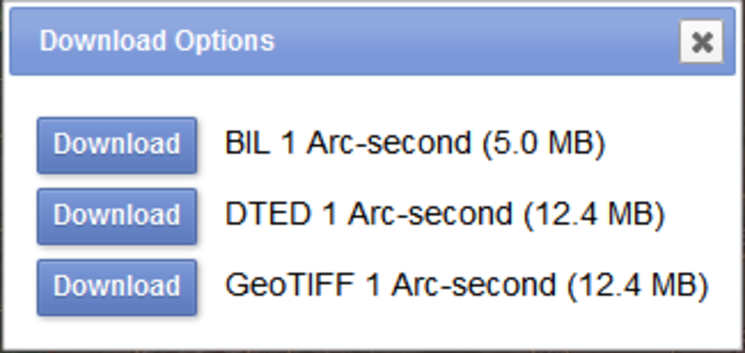
8. In the Download Options dialogue download the DEM in GeoTIFF Format to the exercise folder on your hard disk.
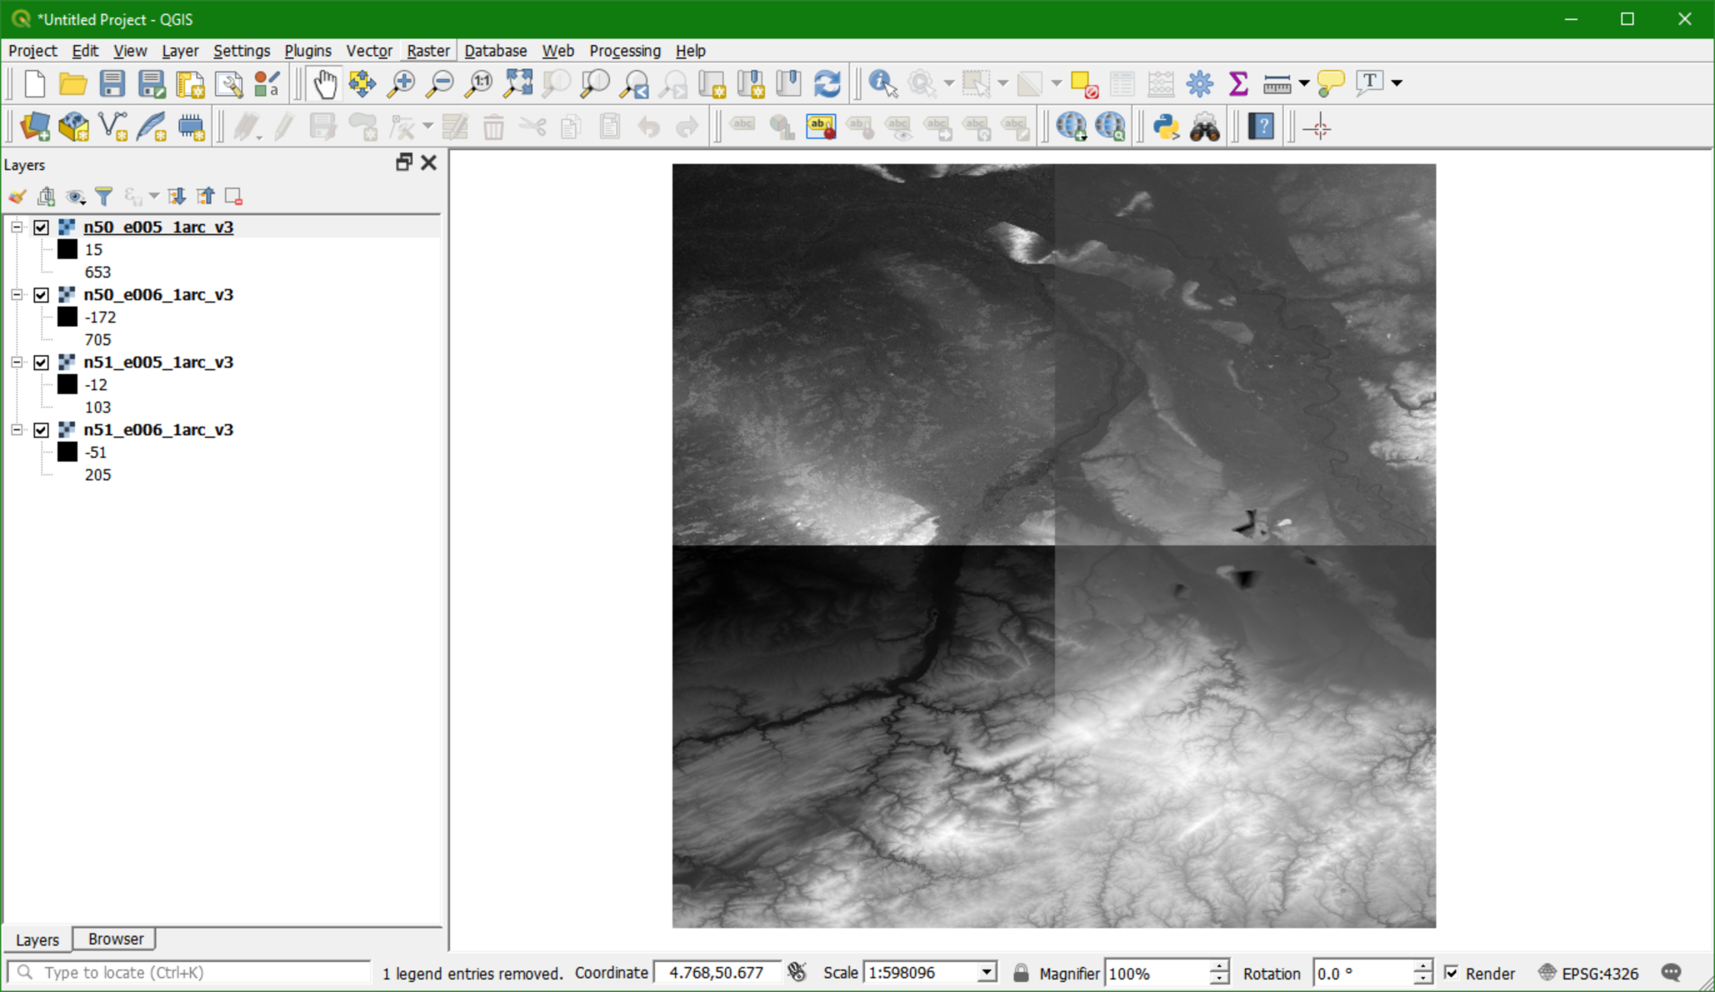
The tiles can now be added to your QGIS project.
9. Start QGIS Desktop.
We'll start with a new project.
10. In the Browser panel add the folder with the data for this chapter to the Favorites.
11. Right-click on one of the tiles and choose Properties to review the metadata.
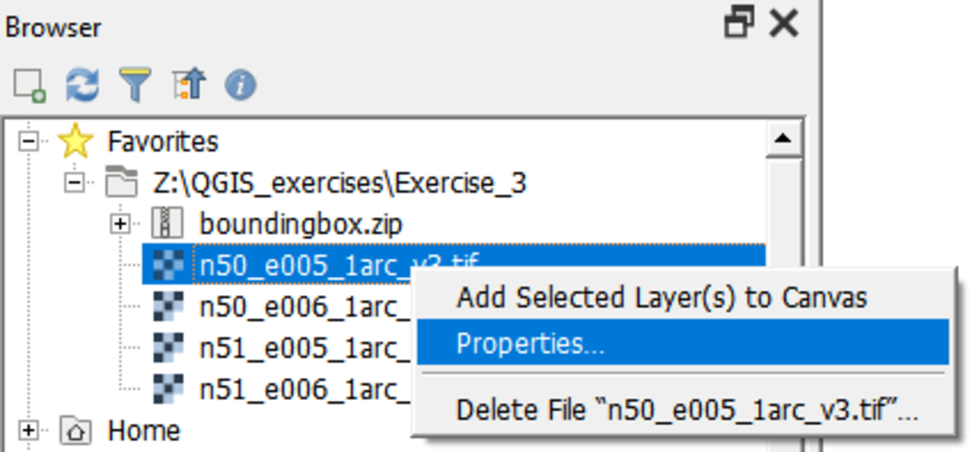
What is the projection? What are the map units?
12. Select and drag the four tiles to the Map Canvas.