Tutorial Stream and Catchment Delineation using PCRaster in QGIS
11. Clipping layers to the catchment boundary
Now that we have a boundary polygon, we can clip the channels and DEM to this boundary.
Let's start with clipping the channels.
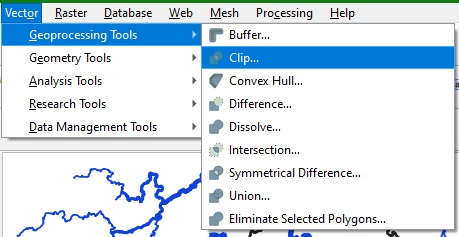
1. In the main menu, go to Vector | Geoprocessing Tools | Clip...
2. In the Clip dialogue choose channels as Input layer and Rur_catchment as Overlay layer. Name the Clipped result Rur_channels.shp.

3. Click Run and click Close when the processing has finished.
4. Copy the style from channels and paste it to Rur_channels. Click right on the channels layer and choose Styles | Copy Style | All Style Categories. Then click right on Rur_channels and choose Styles | Paste Style | All Style Categories.
In a similar way we can clip the DEM to the catchment boundary.
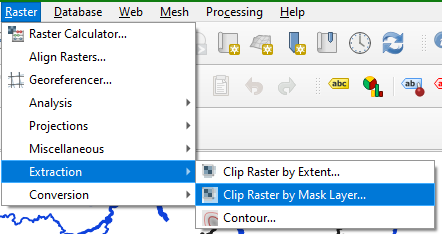
5. From the main menu choose Raster | Extraction | Clip Raster by Mask Layer...
6. In the Clip Raster by Mask Layer dialogue choose DEM_clipped as Input layer. Use Rur_catchment as the Mask layer and use -9999 to Assign a specified nodata value to output bands. Also check the boxes to Match the extent of the clipped raster to the extent of the mask layer and Keep the resolution of input raster. Name the Clipped (mask) output Rur_DEM.
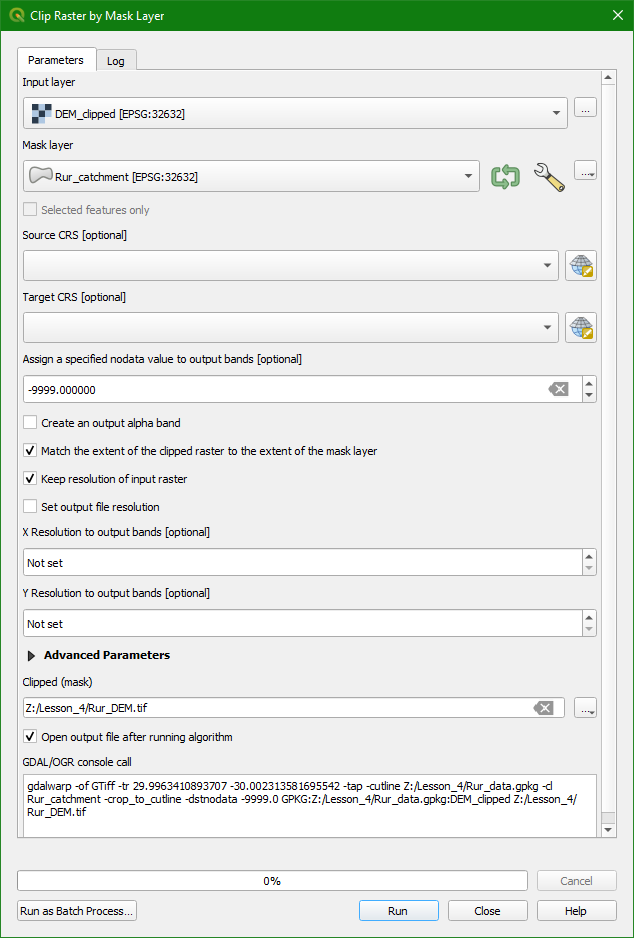
7. Click Run and click Close after processing.
8. Copy the style from DEM_clipped to Rur_DEM and also add the blending with hillshade in a similar way.
The result should now look like this:
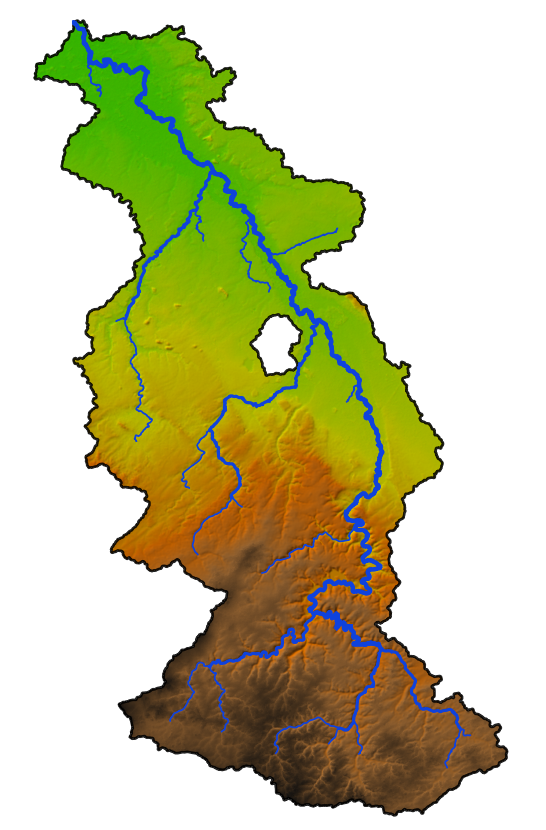
Note that we'll not use the Rur_DEM in the next section, because we are going to use a special styling technique to highlight the study area.