Tutorial Stream and Catchment Delineation using PCRaster in QGIS
10. Delineate the Catchment
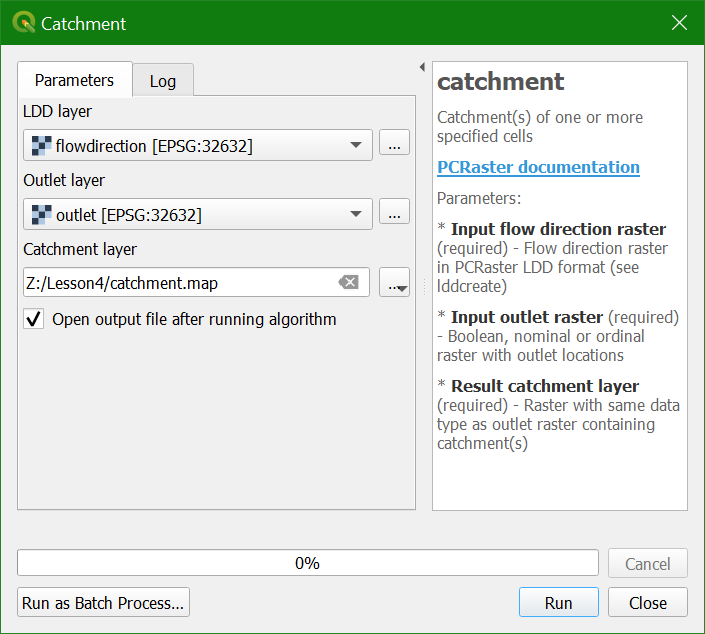
3. Click Run and Close the dialogue after processing.
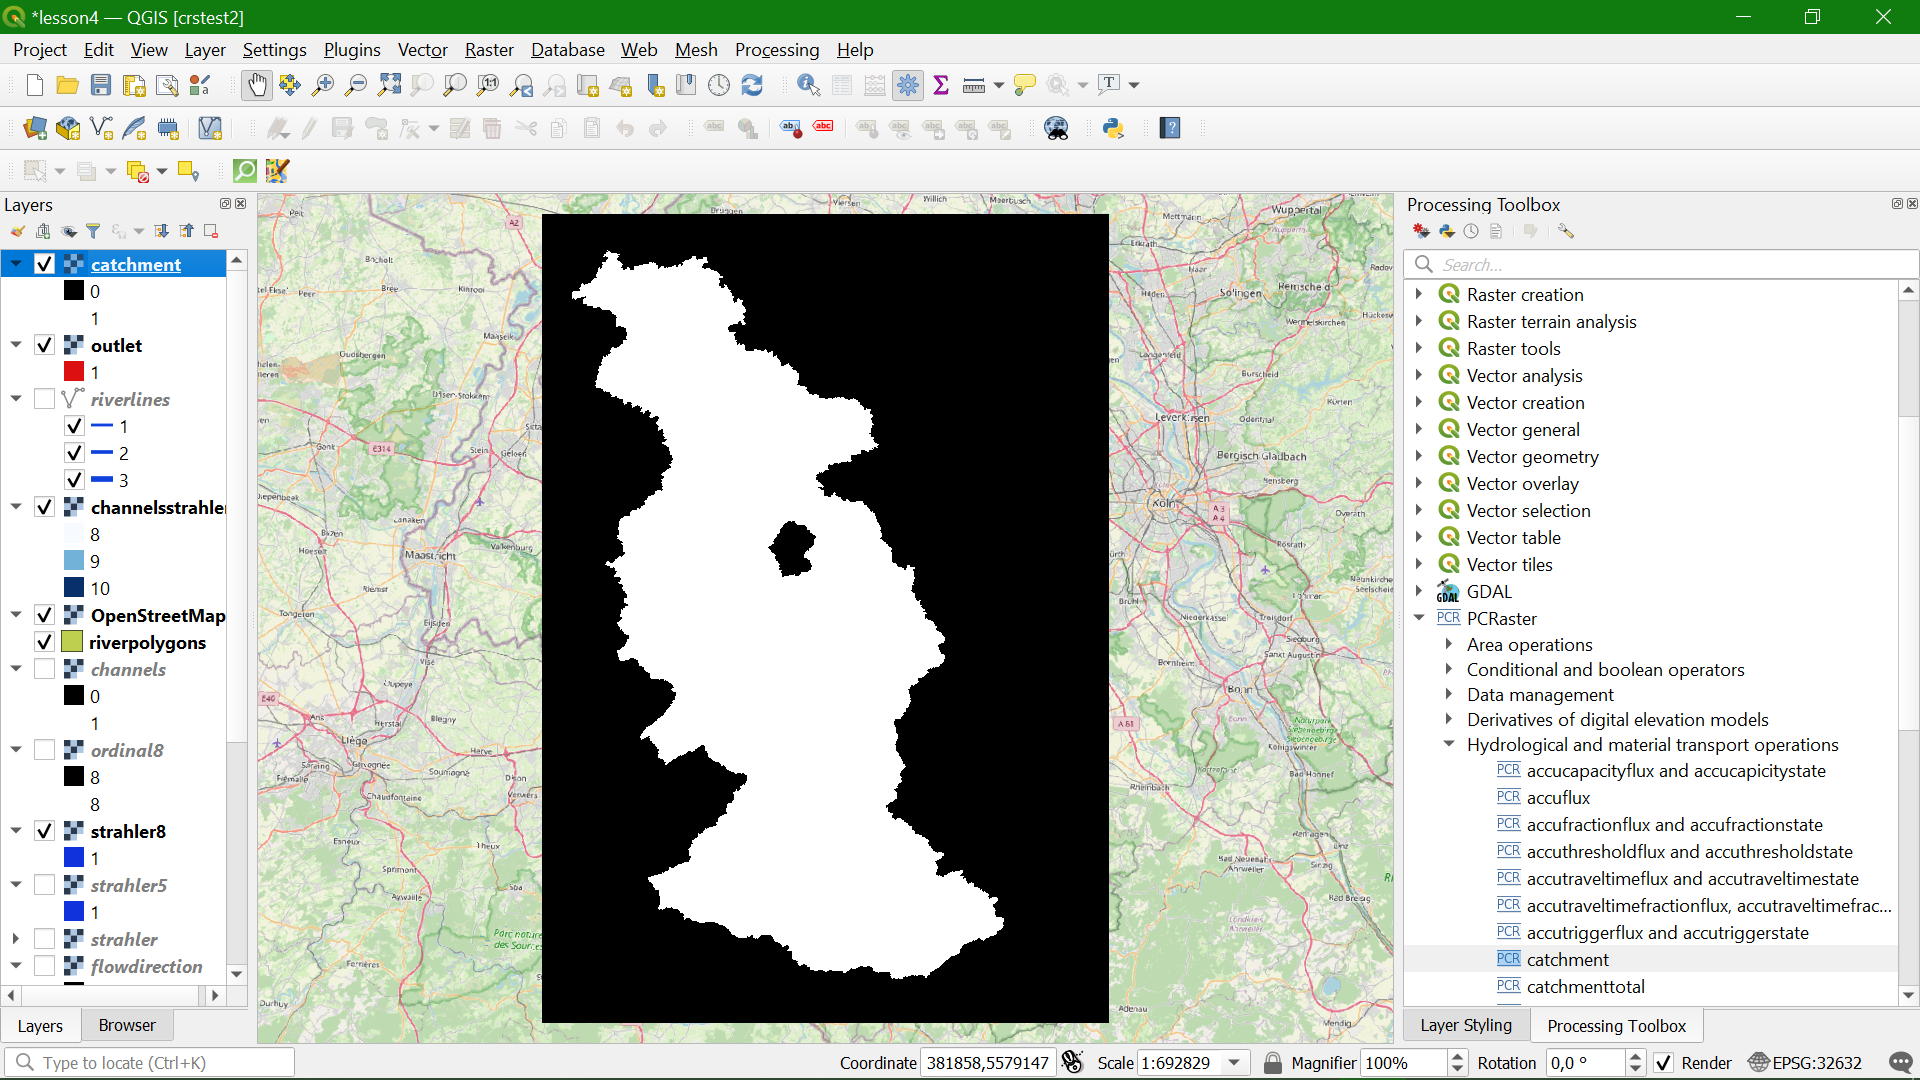
The result should look like the screenshot in the figure below if you zoom to the extent of the layer. The result is a boolean layer with cell value 1 for the catchment and 0 for outside the catchment.
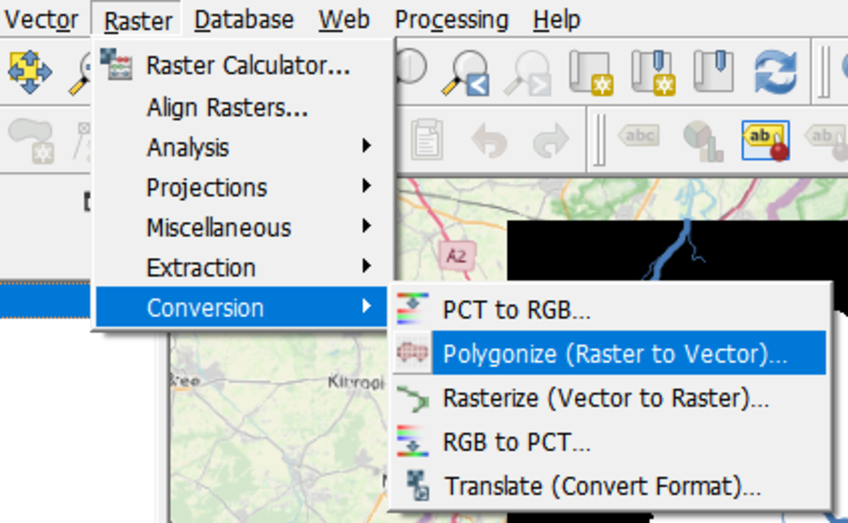
In order to overlay the catchment boundary with other data, it is better to convert it from raster to vector (polygon).
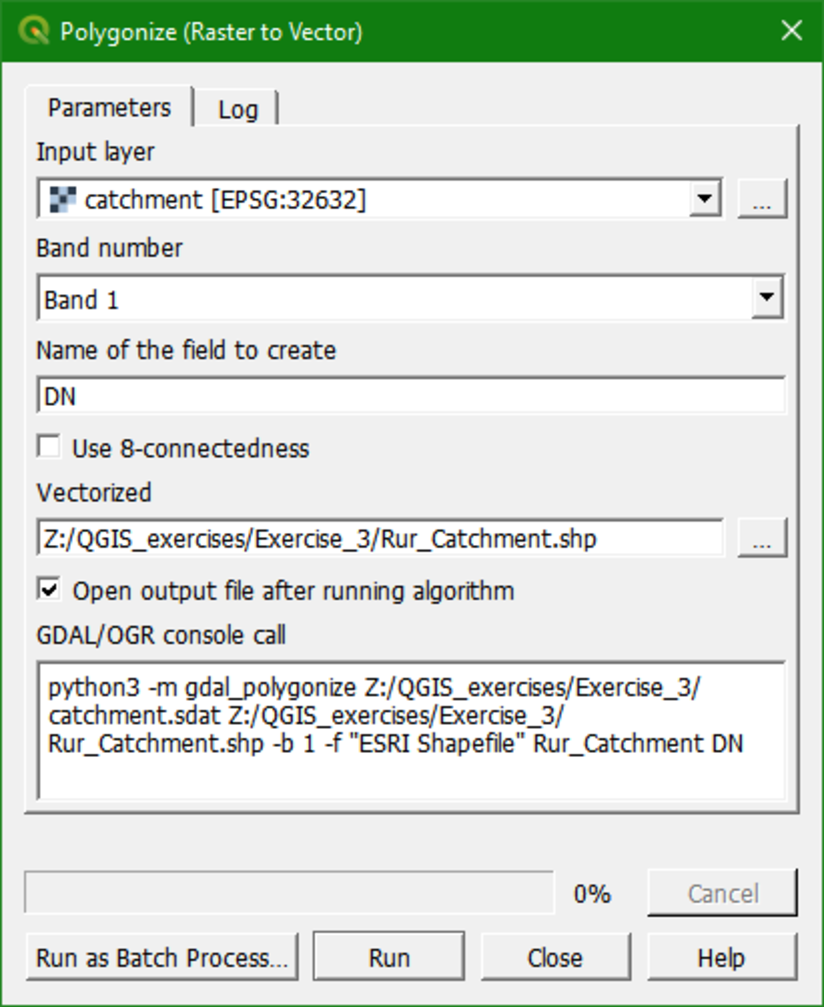
4. To convert the raster layer to vector, go to the main menu and choose Raster | Conversion | Polygonize (Raster to vector).
5. Make sure you choose the right input and call the output Rur_catchment.shp. Click Run. Click Close to get back to the main screen.
6. Look at the result. Also check the attribute table (right-click on layer name and choose Open attribute table).
7. In the attribute table, toggle to editing mode using the ![]() button, then select the record that you want to remove by clicking on the row. The selection will be highlighted in yellow on the map. Click the
button, then select the record that you want to remove by clicking on the row. The selection will be highlighted in yellow on the map. Click the ![]() button to delete the selected feature, toggle off editing by clicking
button to delete the selected feature, toggle off editing by clicking ![]() again, and save the changes.
again, and save the changes.

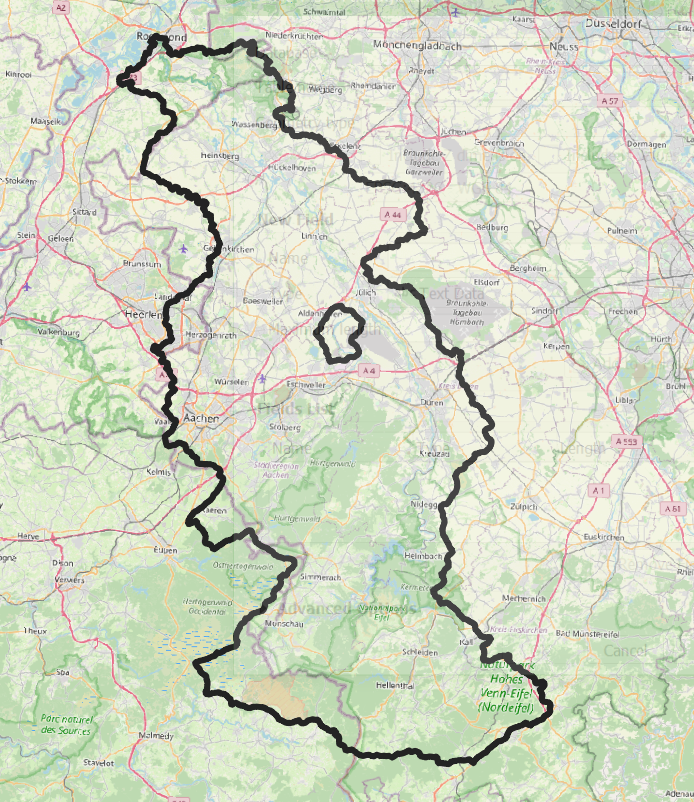
Now the catchment map should look like this after styling.