Tutorial Stream and Catchment Delineation using PCRaster in QGIS
13. Storing the Data in a GeoPackage
To keep the data together and enable easy distribution it is good to save the layers as a GeoPackage.
1. In the Processing Toolbox look for the Package Layers tool.
2. In the Package Layers dialogue click the ![]() and select all layers you want to add. Note that these are only the vector layers.
and select all layers you want to add. Note that these are only the vector layers.
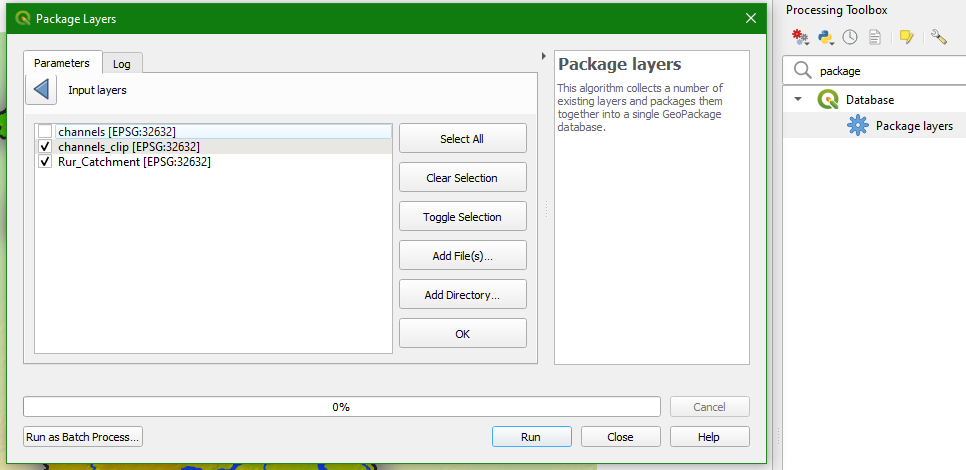
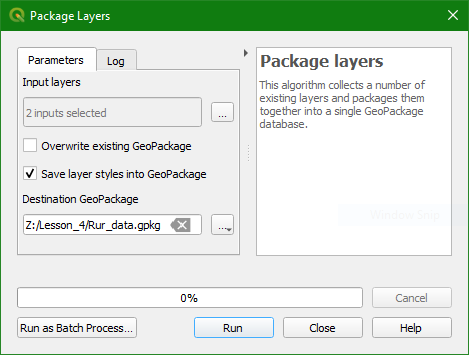
3. Save it as Rur_data.gpkg and click Run and Close when it's done. By default it will also save the styles.
4. We can add the raster layers from the Browser panel. Simply drag the raster layers (e.g. the DEM) to the Rur_data.gpkg. You might need to refresh the Browser panel to see the GeoPackage.
Finally, we can also save the project in the GeoPackage. In that way all data and settings are stored in one file that can be shared with others in a much easier way than separate shapefiles and styling files.
5. Add the layers from the GeoPackage to the project. Copy the styles of
the rasters if needed. Remove the layers that are not in the GeoPackage.
6. In the main menu choose Project | Save to | GeoPackage...
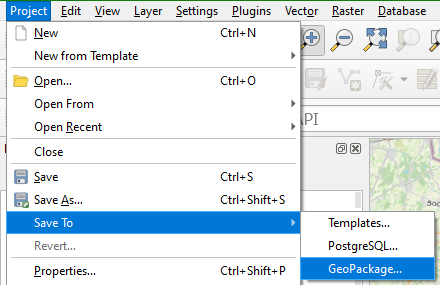
7. Choose for Connection Rur_data.gpkg and give the project a name, e.g. Rur