Tutorial: Create a field data collection app with Mergin Maps
Voltooingsvoorwaarden
4. Create a new Mergin Maps project
In this section we'll initialize our Mergin Maps project in QGIS.
Although it is possible to use an existing project, it is recommended to create a project from scratch, initialized by the Mergin plugin.
1. In the Toolbar click the Create Mergin Maps Project icon .
.
.2. In the Create Mergin Maps project dialog, choose New basic QGIS project.
3. Keep the workspace with your user name and type for Project Name: Crop_Mapping. You can change the location of the project or keep the default.
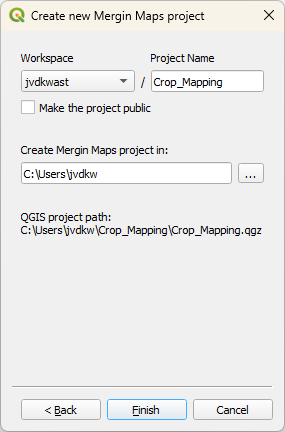
4. Click Finish.
The new project loads.
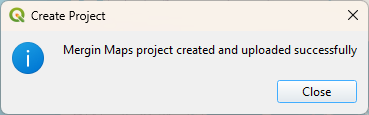
5. Click Close to close the dialog that informs you that the Mergin Maps project has been created and uploaded successfully.
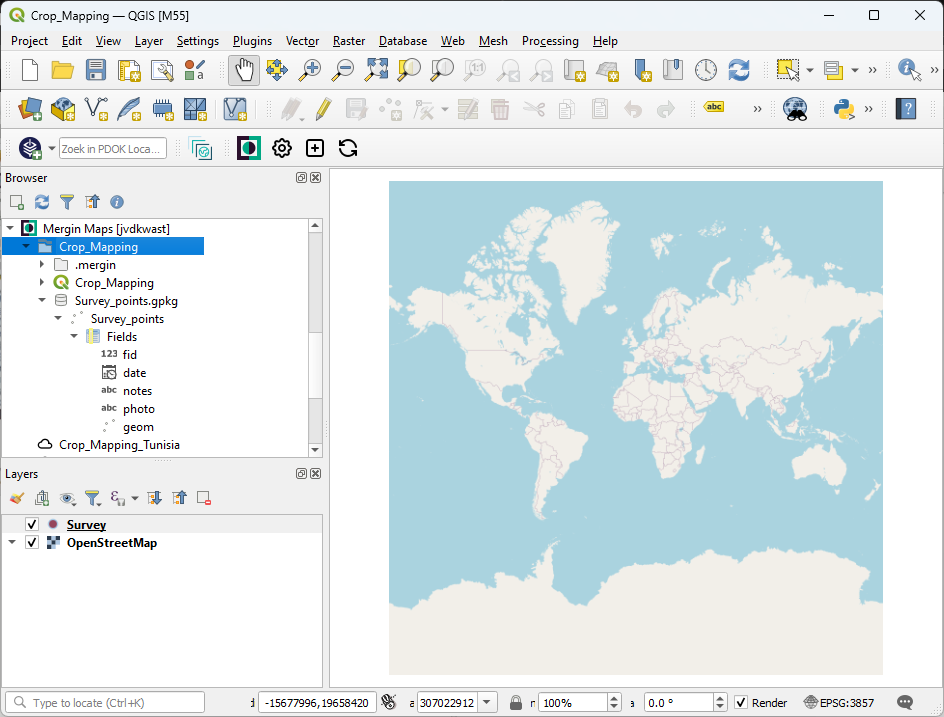
In the Browser panel you'll now find your new project in the folder Mergin Maps | Crop_Mapping. The folder contains the QGIS project Crop_Mapping and a GeoPackage with the name Survey _points.gpkg, which contains a layer Survey_points with some predefined fields.
In the Layers panel you can see the Survey point vector layer and a backdrop from OpenStreetMap.
In the next sections we'll customize this survey project.