The FAO Downloader Plugin
4. Digtize a polygon for your study area
Before using the plugin, we need a polygon with the extent of our study area for which we want to download the FAO data.
In this chapter you're going to digitize a polygon.
1. In the toolbar click the New GeoPackage Layer  icon.
icon.
2. Use the Browse  button to choose a folder and filename for the GeoPackage, e.g. Z:\FAO_data\WaPOR_data.gpkg.
3. For Table name write Study area.
4. For Geometry type, choose Polygon from the drop down menu.
If needed you can change the projection and add attributes. Here we'll keep the defaults.
5. Click OK to create the empty GeoPackage layer.
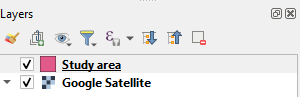
6. Make sure that in the Layers panel, the Study area layer is at the top.
7. In the toolbar click  to toggle to editing mode.
8. Click  to add a feature.
9. Digitize the polygon of your study area. With each left click you add a vertex. With backspace you can delete the last vertex. By clicking right you can close the polygon.
10. Click OK to add the polygon to the layer.
11. Click to toggle off editing mode. Click Save in the popup.
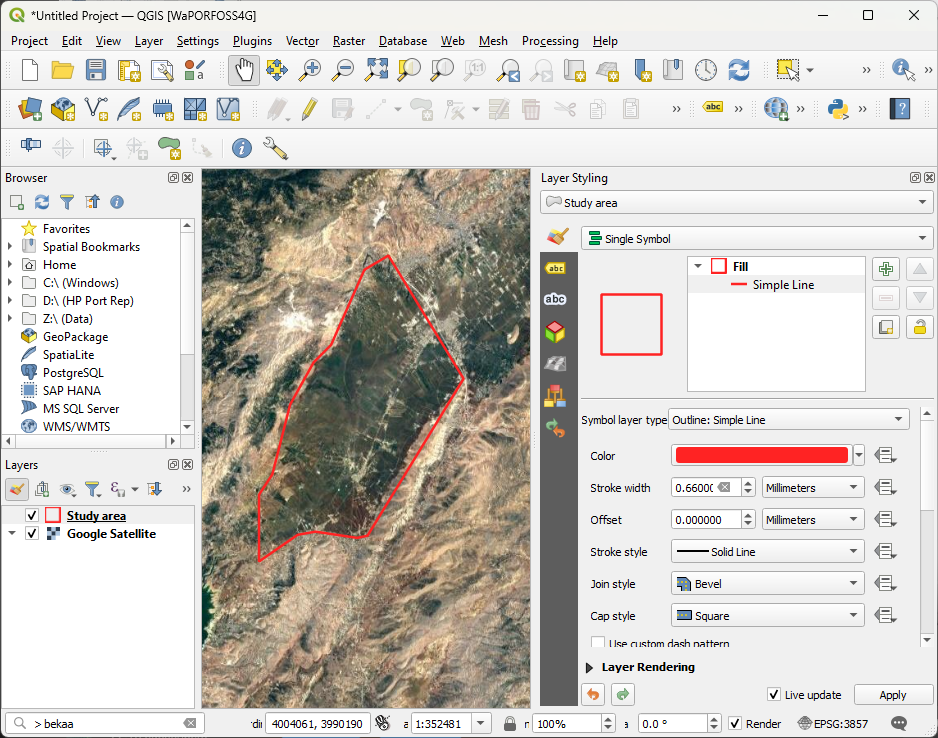
Now the Study are polygon has a random style. Let's change the style, so we only have a red outline.
12. In the Layers panel, click  to open the Layer Styling panel.
13. There, click on Simple Fill.
14. Change the Symbol layer type from Simple Fill to Outline: Simple Line.
15. Click on the Color.
16. Choose a red color. Click  to go back.
17. Increase the Stroke width to 0.66 mm.
Now we have are study area ready for downloading WaPOR data.