Symbolizing Points by Varying Size
7. Create a Print Layout
Now our map looks nice, we can make it ready for printing in the Print Layout.
1. In the main menu go to Project | New Print Layout....
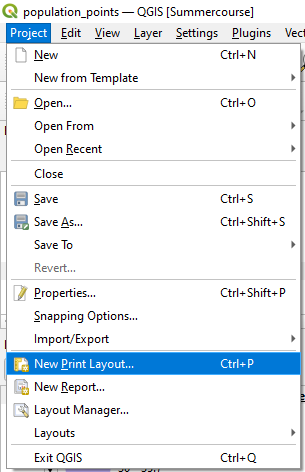
2. In the popup give it the name Population map and click OK.
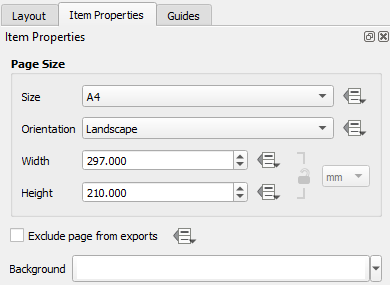
3. Right-click somewhere on the sheet and choose Page Properties....
In the Item properties tab you can see that the Size is A4 and the orientation is Landscape. Keep these settings.
The empty sheet of paper is a bit boring, it's time to put things on it. On the left side of your Print Layout screen you will see buttons from top to bottom to interact with objects on your layout. Most of those buttons have a green plus sign next to them. Those are the buttons with which you can add information to your layout. We're not going to use all of them now, but move your mouse slowly over those buttons to see what kinds of objects you can add. One of my favorites: HTML! You can just include a small web page on your layout, if you'd like. We're not going to do it today, but cool that it's possible...
4. Click the Add map button  and drag a rectangle on the sheet to add the map.
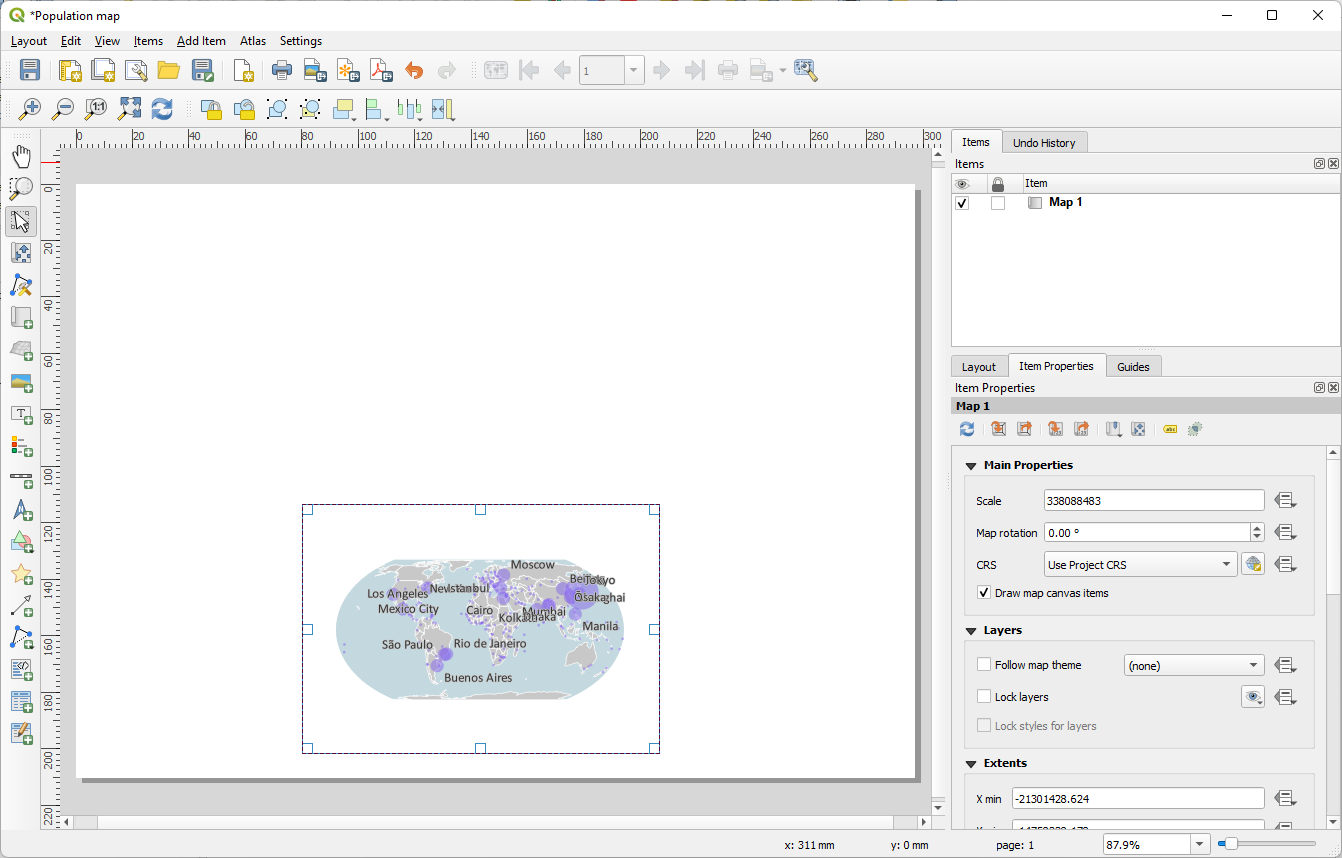
5. Drag the corners of the rectangle to the corners of the sheet. The corners will automatically snap to each other, so they will align correctly.
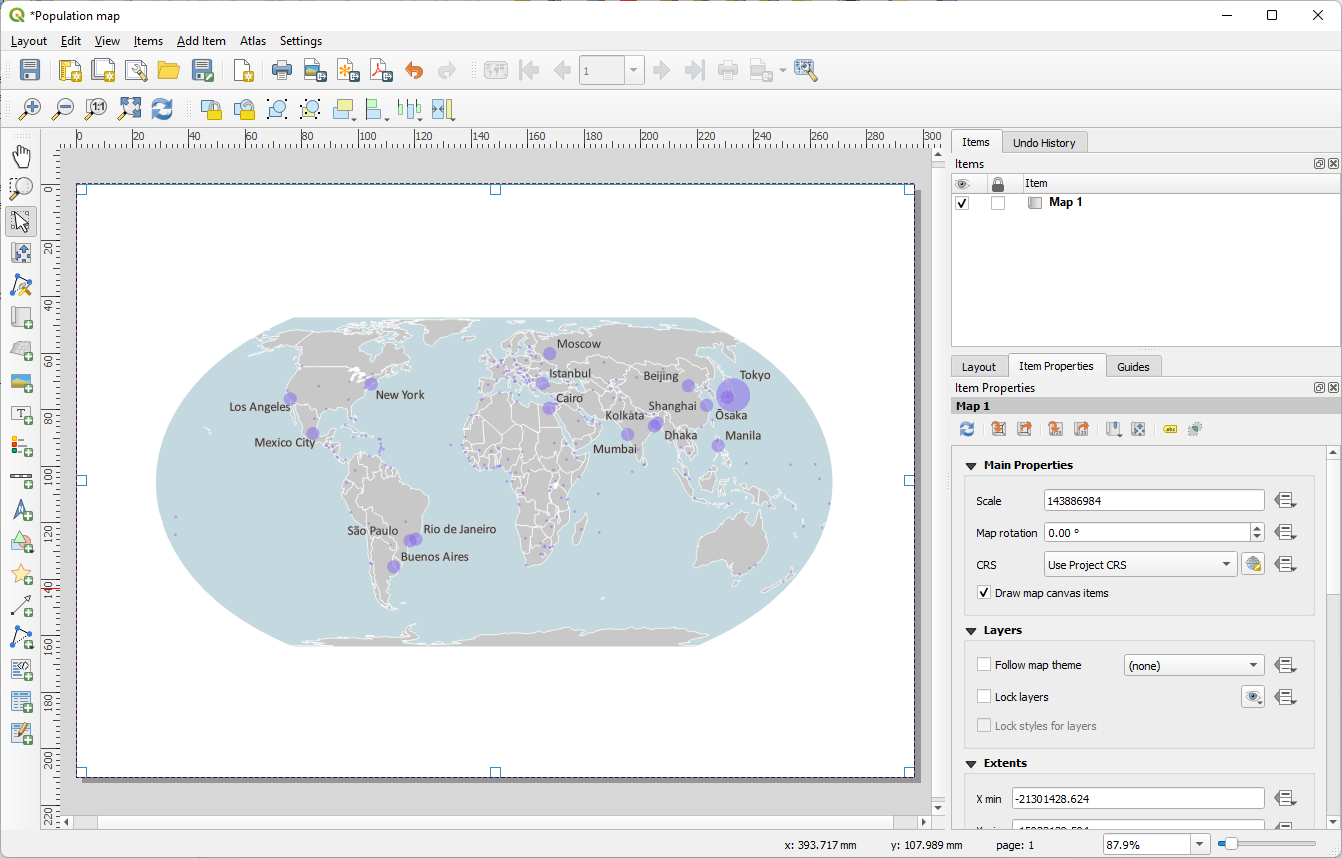
Due to the shape of the map and the shape of the A4 sheet, we now have a relatively large amount of white space below and above the map. It is less so on the sides. We may soon need the space for the legend and other items. At the very top, we need at least one more title for the map.
6. Zoom and pan the map inside the map frame using  .
.
Now let's add a title.
7. Click the Add Label button  and drag a box where you would like to place the title. An easy way to center the text later is to drag the rectangle over the complete width of the page.
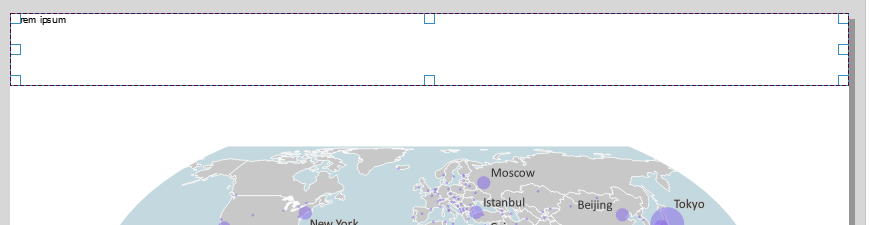
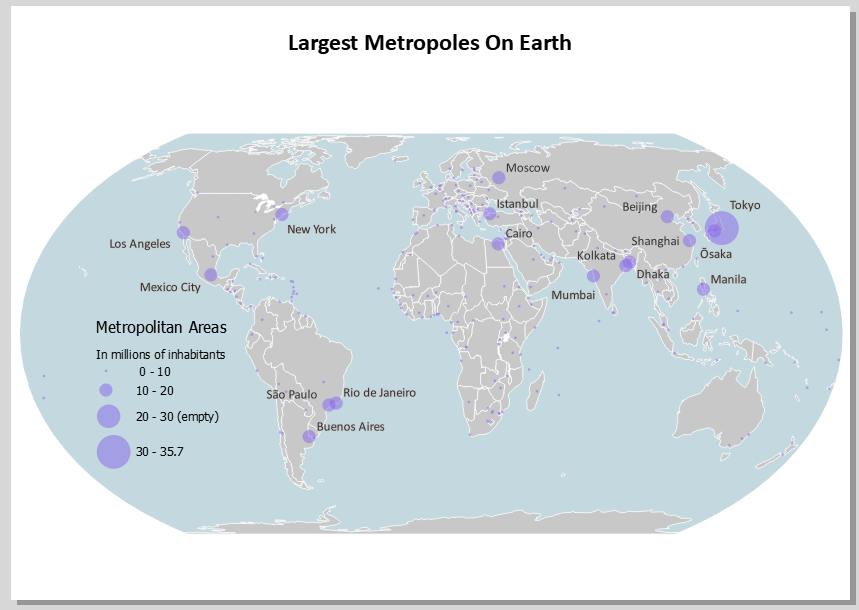
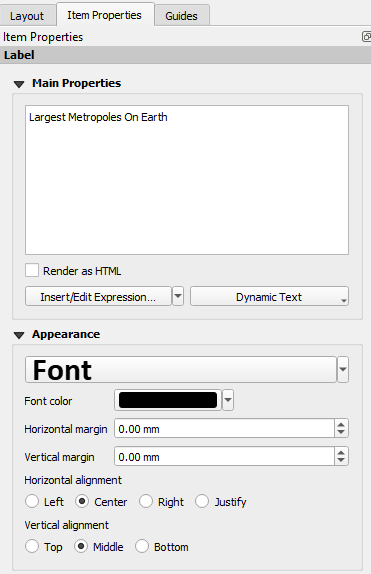
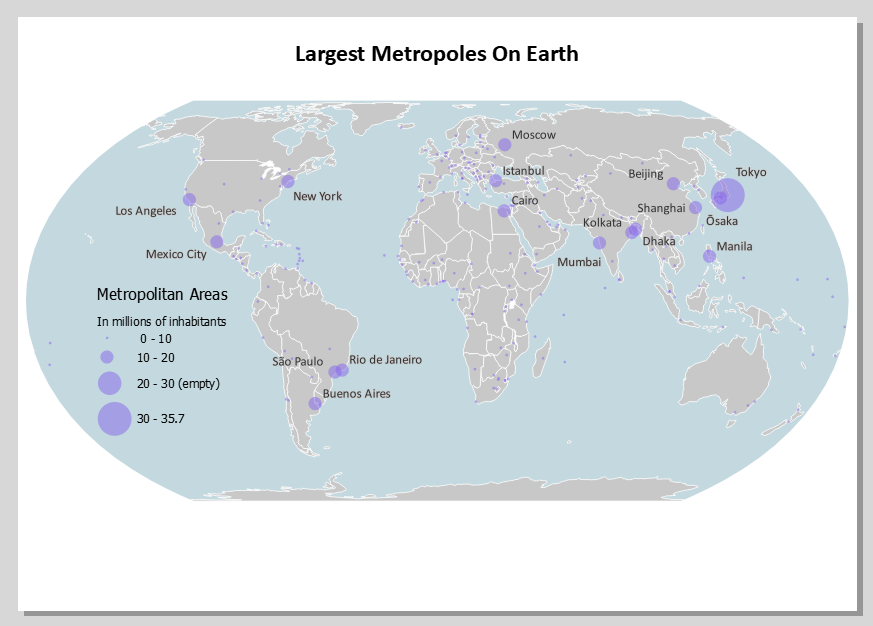
8. In the Item properties tab replace the dummy text Lorem ipsum with "Largest Metropoles on Earth".
9. Click on Font and change it to Calibri, Bold, 24 points.
10. Change the Horizontal alignment to Center and the Vertical alignment to Middle.
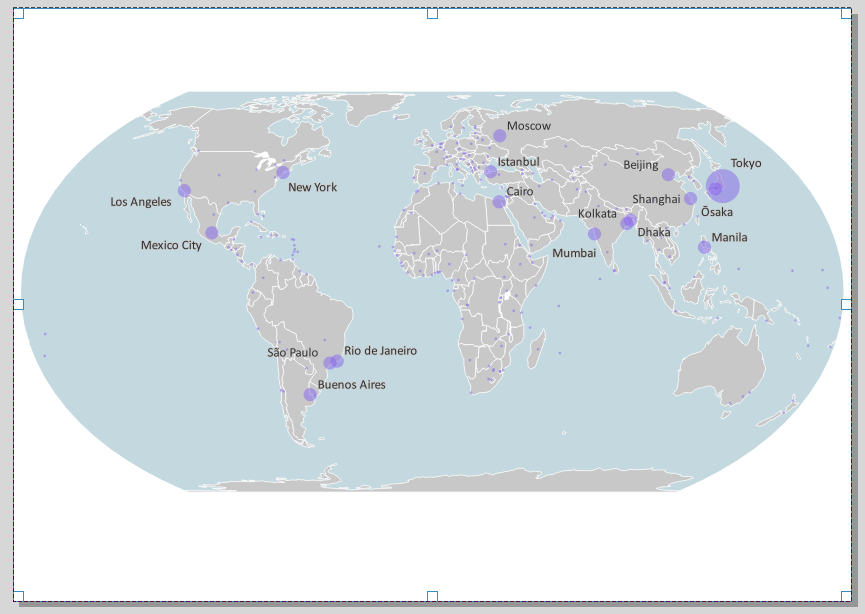
Now let's add a legend.
In the map we have three GIS layers: the ocean, the countries and the cities. While it may be worth discussing, probably everyone would agree that the ocean and the lands need no explanation. Only the cities, and the size of the cities, we have to explain.
We're going to add a legend first, and then we're going to focus on the cities.
12. Click the Add legend icon  and drag a rectangle in the lower left of the sheet.
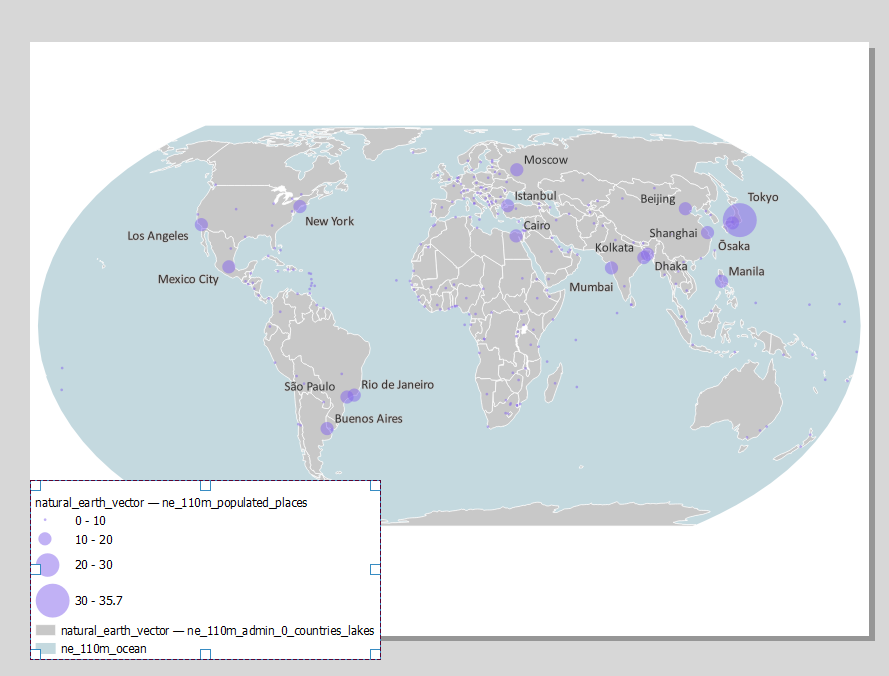
The legend with all items is drawn immediately. However, we only need the cities.
13. In the Item Properties tab go to the Legend Items section and uncheck the Auto update box.
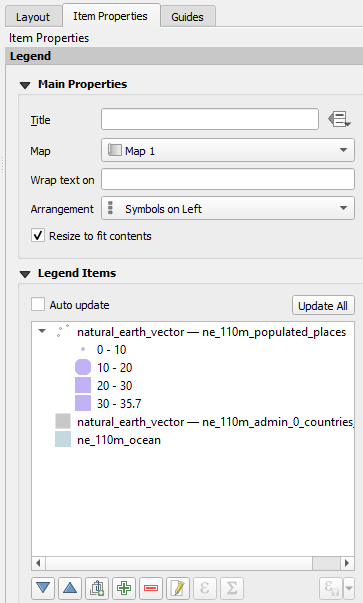
Now we can edit the legend items.
14. Select the ne_110m_ocean layer and click the  button to remove the item. Do the same for the countries item.
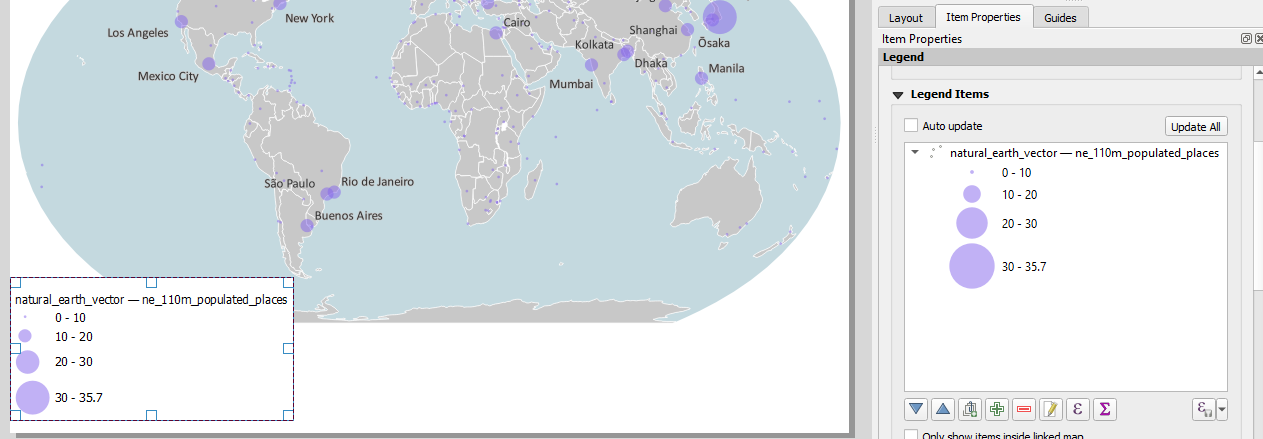
Your legend almost fits on the map sheet now, and looks a lot more charming.
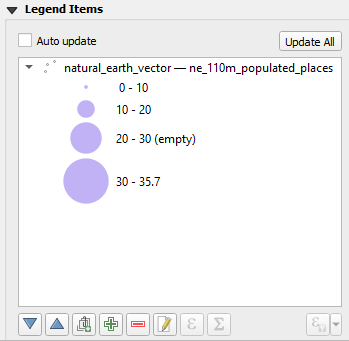
Of the four classes we now have in the legend, the third class is unused. Apparently there are no cities on Earth between 20 and 30 million inhabitants. Perhaps we should have changed the classification of the classes a bit on closer inspection, but for now it will suffice (to show that it is possible…) to edit the representation in the legend.
15. In the Item Properties of the legend double-click on the text 20-30 and change it to 20-30 (empty).
16. Also edit the first class 0 - 10. Add a space before the 0 so the numbers show a better alignment.
The legend block now almost fits, but still not quite. Maybe we should use the Pacific Ocean to put the legend block in? That's possible… Whether it makes the situation better: we don't know yet. Let's give it a try...
Then only that block should not have a white background. And preferably the title should be shorter, because it is now very long. Maybe with a subtitle.
17. To make the legend block transparent, uncheck Background in the Item Properties.
18. Add the Title Metropolitan Areas under Main Properties.
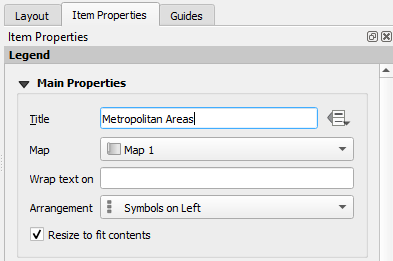
19. Double-click on natural_earth_vector — ne_110m_populated_places and replace it with In millions of inhabitants.
20. Now move the legend into the Pacific Ocean.
Perhaps there is now a slight imbalance in the layout. There is a lot of white at the bottom. We're going to move the map and legend down about a centimeter to see what that looks like.
21. Click the Move item content icon  , click somewhere on the map and move it a centimeter down.
 button, and then you can type in the map scale and extent on the right in the Item Properties.. That is not necessary now. Manual scrolling is also fine. button and move the legend down so it fits again well in the Pacific Ocean.