3D with QGIS and Aerialod
6. Creating the Print Layout
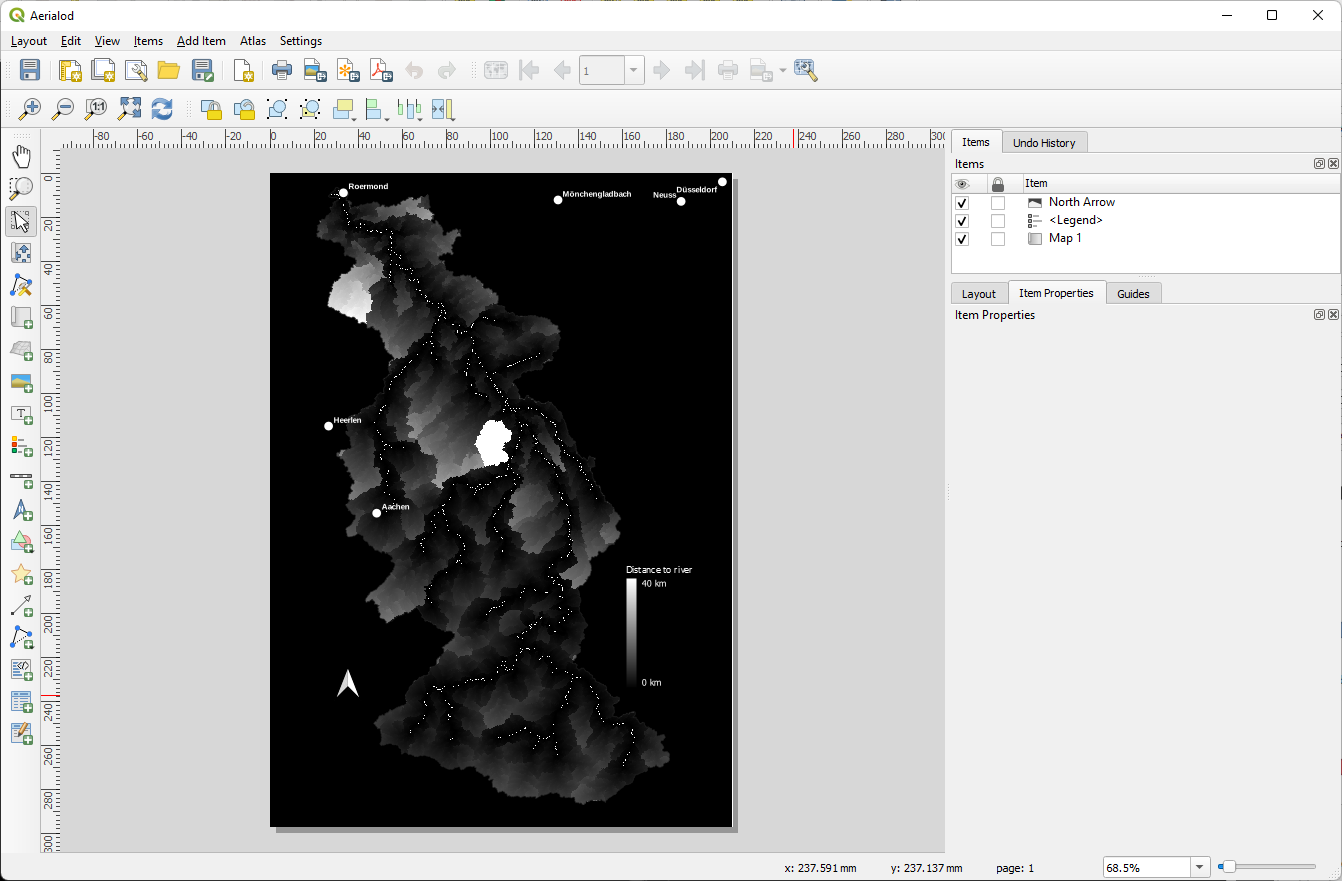
The
user also needs a legend to understand which height in 3D corresponds
with which distance. A north arrow is also important in 3D, because it's
harder to orient. We can finalize the map with these items in the Print Layout.
1. In the main menu go to Project | New Print Layout.

2. Call the new Print Layout Aerialod and click OK.

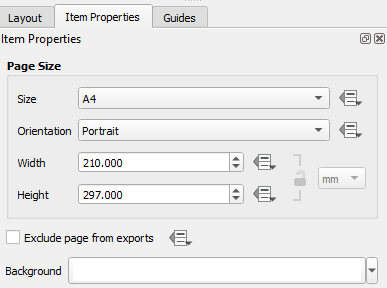
First we need to change the sheet from landscape to portrait given the orientation of our catchment.
3. Right-click on the page and choose Page Properties... from the context menu.
4. In the Item Properties change Orientation to Portrait.
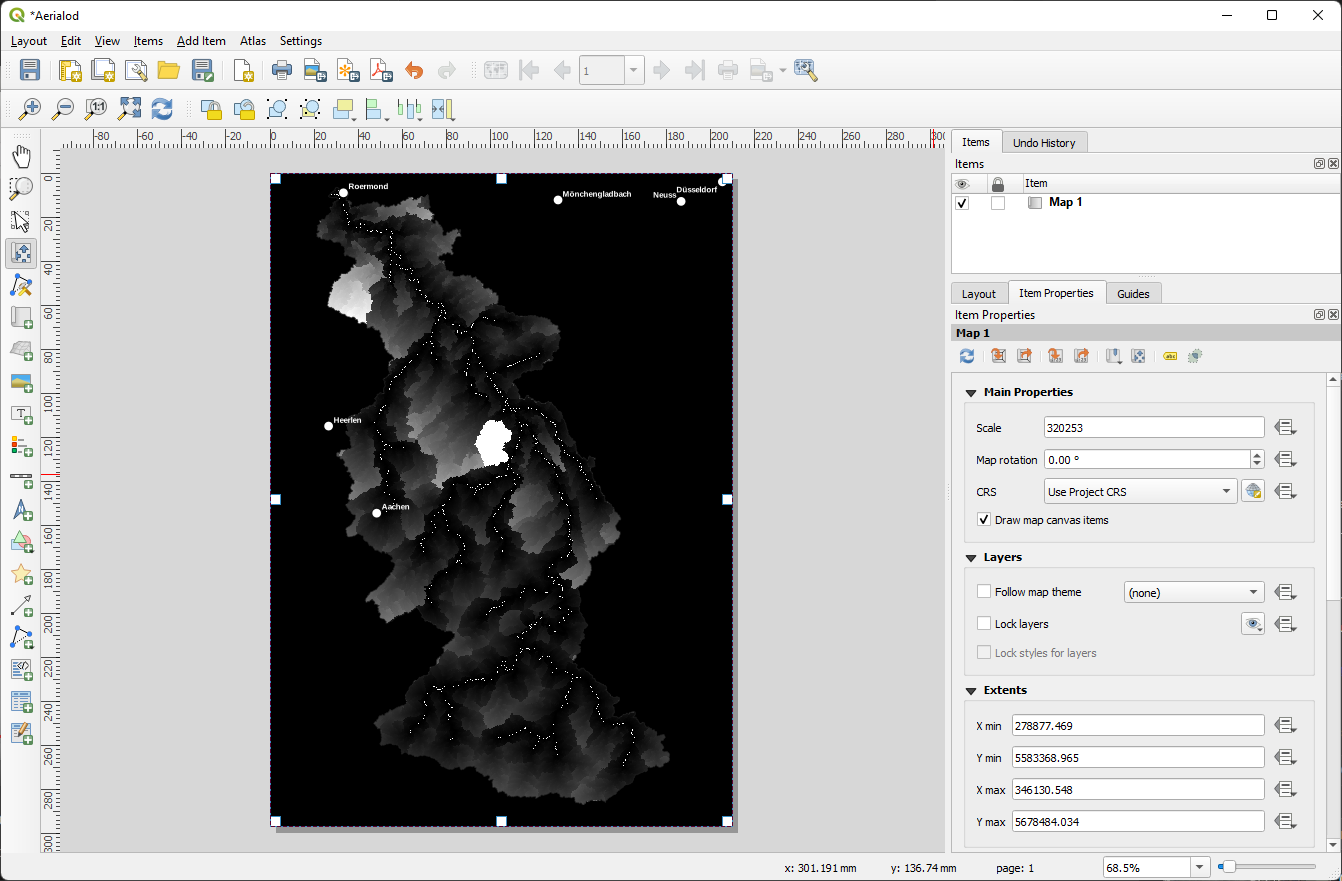
Now we can add the map.
5. Click the Add map  icon and drag a rectangle that covers the complete sheet. Note that the handles snap to the corners of the sheet.
6. Use the Move item content  tool in combination with the mouse scroll wheel to adjust the position and scale of the map. With Ctrl-Scroll you can make small steps when you want to zoom in or out.
Now let's add a legend.
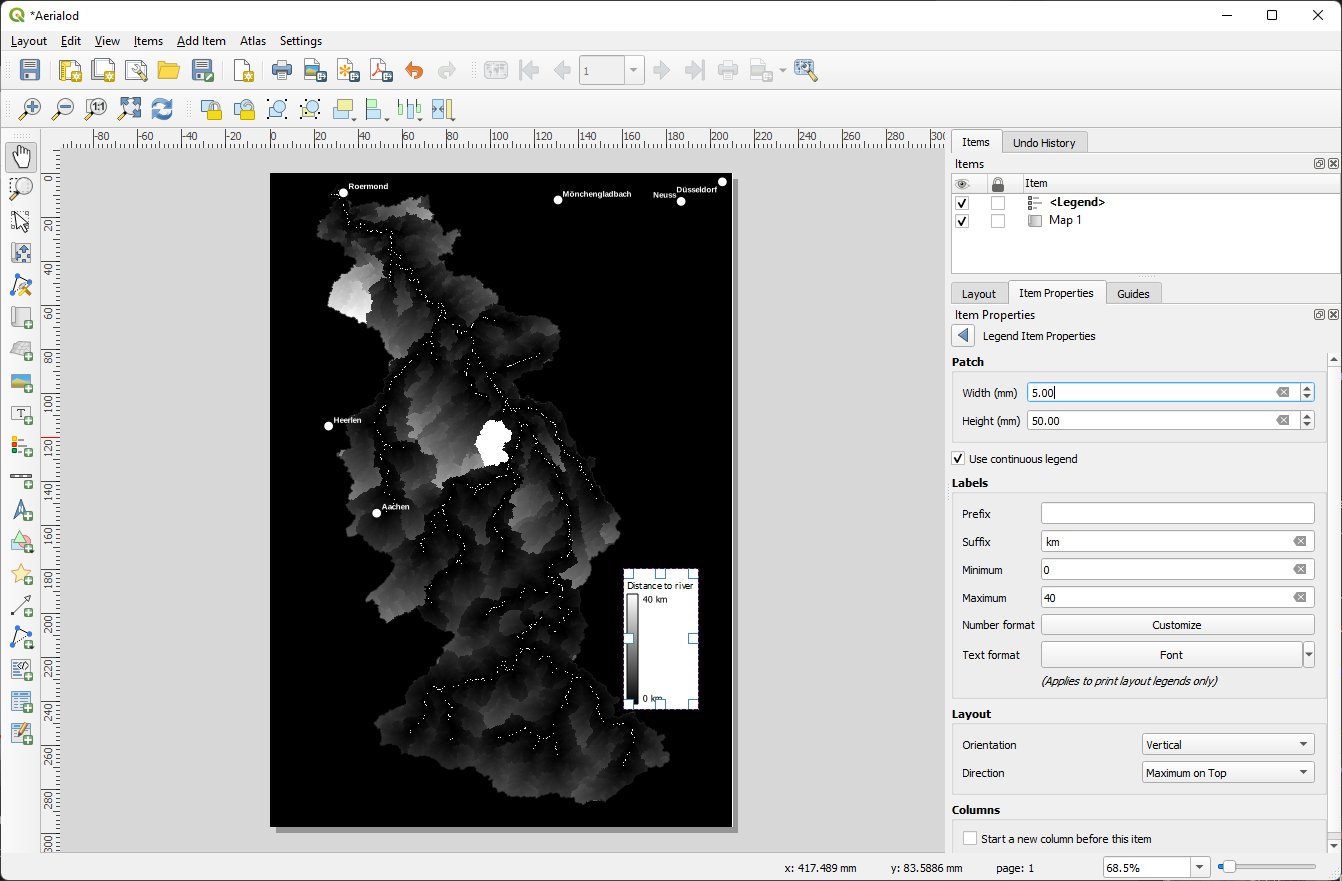
7. Click the Add legend icon and drag a box where there's space outside of the catchment area.
8. In the Item properties uncheck Auto update.
9. We only need the distance legend, so select all other items and use the  button to remove them.
10. Double-click on the distance text and change the text to Distance to river.
11. Remove the Band 1 item by selecting it and clicking the button.
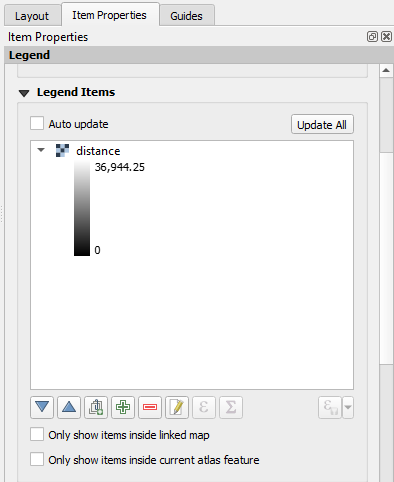
It's better to show the distance in km than in m. Let's change that.
12. Double-click on the ramp and type km at Suffix. Don't forget to type a space before the unit.
It's not possible to calculate the min/max values automatically as kilometers, so we need to type the min/max values.
13. Change the Minimum to 0 and the Maximum to 40 (a round number, the details are not visible anyways).
14. Change the Width to 5 and the Height to 50 mm.
15. Click  to go back.
The legend needs a few more tweaks.
16. Uncheck the box before Background to make it transparent.
Now the black fonts are not readable.
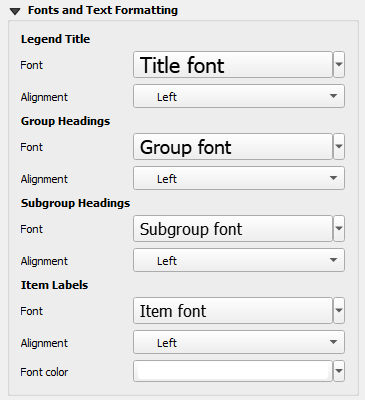
17. Expand the Fonts and Text Formatting section by clicking the black arrow.
18. Change the Font color to white.
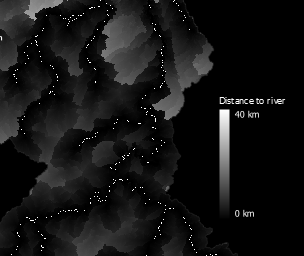
Now the legend looks like this:
Let's add the north arrow.
19. Click the Add North Arrow icon and drag a rectangle in a black space outside of the catchment where you want to place it.
We'll use the simple default north arrow. Don't make it too big!
On 3D maps we can't use the 2D scale bar, because of the perspective. So we're ready to export the map to a png file.
20. Click the Export as image icon. Give it an output file name and make sure to choose the PNG format.
21. In the Image Export Options keep the defaults and click Save.
When you have successfully exported our grayscale map, we're going to make it visually attractive in Aerialod. Save the project and close QGIS before you continue.