Create an Animated Choropleth Map
11. Export Frames and Create Animated GIF
Visualization of the temporal data with the QGIS Temporal Controller can be slow and difficult to use for non-GIS experts. Therefore, we're going to export the frames and create an animated GIF that we can add to presentations, include on web pages or send to end users.
1. In the Temporal Controller panel click the Export Animation button  .
.
2. This will generate png files with the frames following the Template file name, which we keep as default. Choose an Output directory. You can create a new subfolder in the folder where you are storing the data of this project. Make sure it uses the Map Canvas Extent and the box to Draw active decorations is checked.
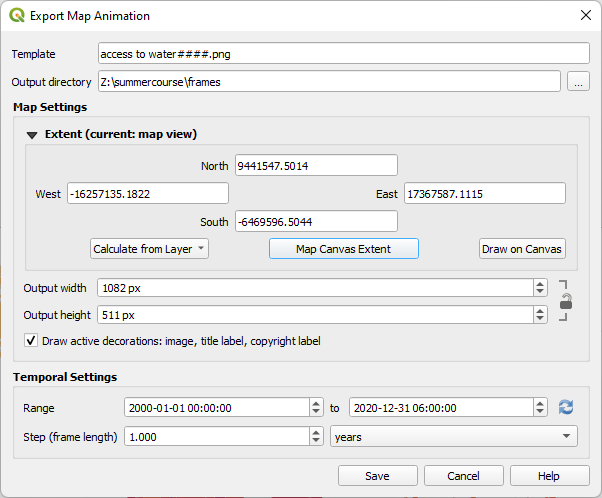
3. Click Save to export the png files to the folder.

After exporting a message that the animation was successfully exported will appear above the map canvas.
Now we can create an animated GIF in the open source image editing software GIMP (equivalent of Photoshop).
You can install GIMP from here: https://www.gimp.org/.
4. Open GIMP.
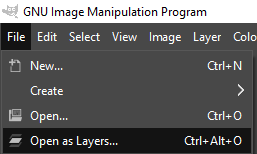
5. From the main menu choose File | Open as Layers....
6. Browse to the folder, select all png files and click Open.
Now all frames are opened. This can take a few minutes.
7. After loading the layers go in the main menu to Filters | Animation | Optimize (for GIF).

You can see the progress in the status bar of GIMP. Proceed with the next step when it's done.
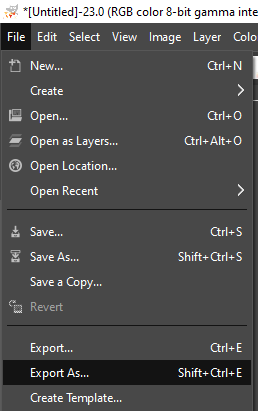
8. In the main menu choose File | Export As....
9. Expand Select File Type and choose GIF image. Browse to the folder where you want to store the file and give it a file name.
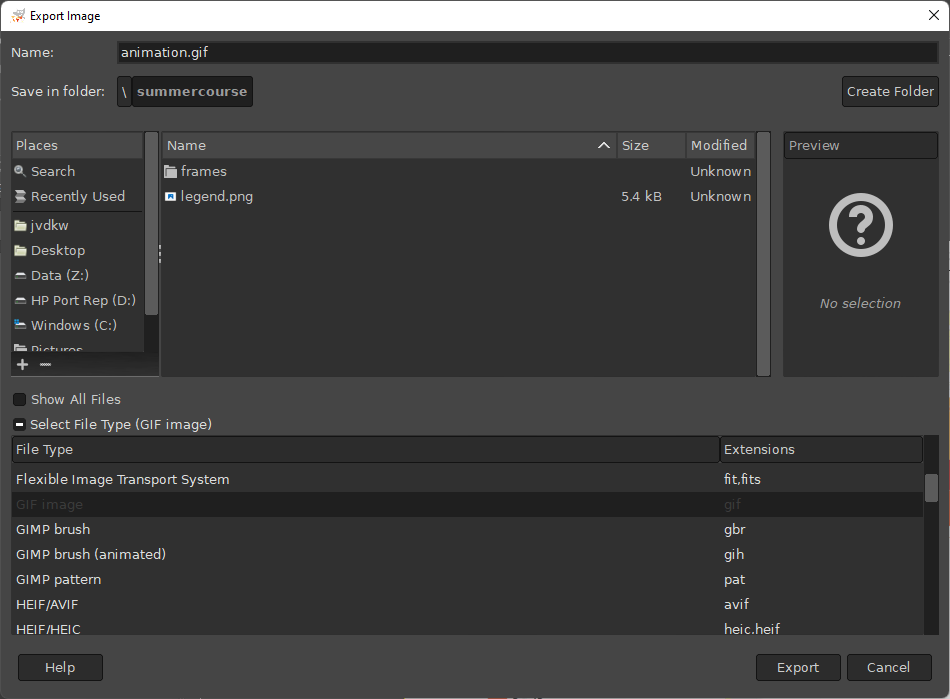
10. Click Export.
11. In the Export Image as GIF dialog uncheck the GIF comment box and check the As animation box. Change the delay between the frames to 300 ms and check the box to use the delay for all frames.

12. Click Export and check the resulting animation.