Tutorial Cartography for Map Figures in Academic Journals & Books
3. Hands On
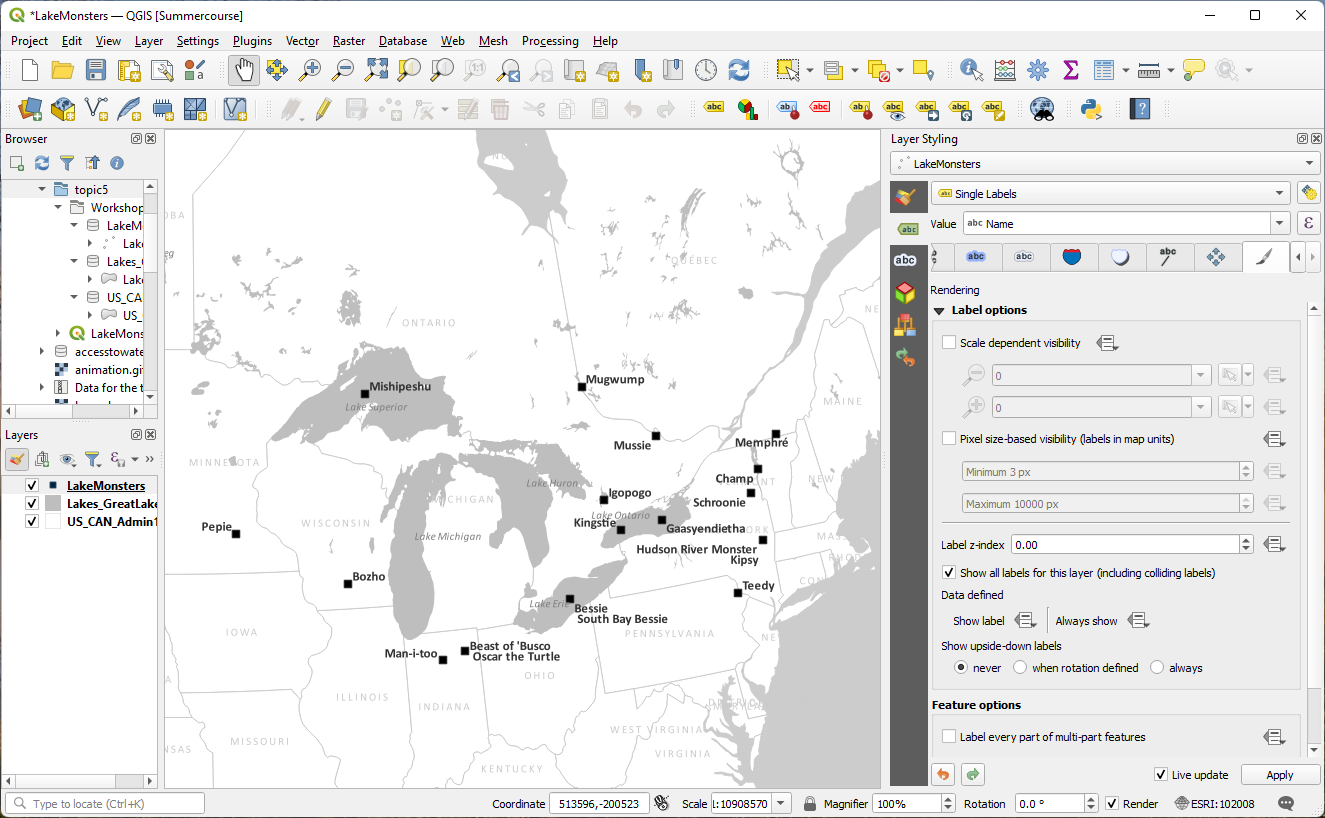
3.7. Labels
 icon on the strip of icons on the left
side of the panel.
icon on the strip of icons on the left
side of the panel. I like to pick a single font to work with for the whole map. I will use Calibri here and show you ways to vary this single font to meet our needs. Note that my default font is some system font, so I'll need to change that for each layer. You can use whatever you like. The reason I'm using Calibri is that (1) you are likely to have it as well, (2) it's sans serif (it has simple lines and no flourishes... compare it with Times New Roman which is a serif font), and (3) it has many variants - regular, bold, bold italic, italic, light, light italic - so it's like have 6 fonts that all go together.
Another choice I'll make up front is that I will use 8 point font unless I need something bigger (probably the point labels will be larger).
3. For each layer, go to the text tab and set the Font to Calibri, 8 points.
States
tab change the Font Color to the same as the ocean and state stroke (#cbcbcb). tab and change the Type case to All Uppercase.
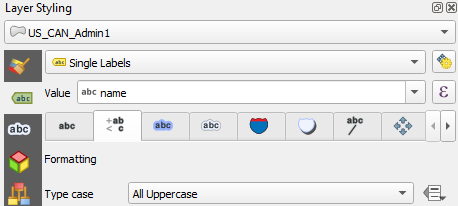

7. Now go to the Rendering  tab and check the box for Show all labels for this layer (including colliding labels).
Lakes
We'll used rule-based labeling with this one so we just label the big lakes. Labeling all the lakes would clutter the map.
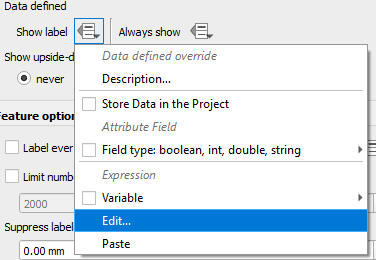
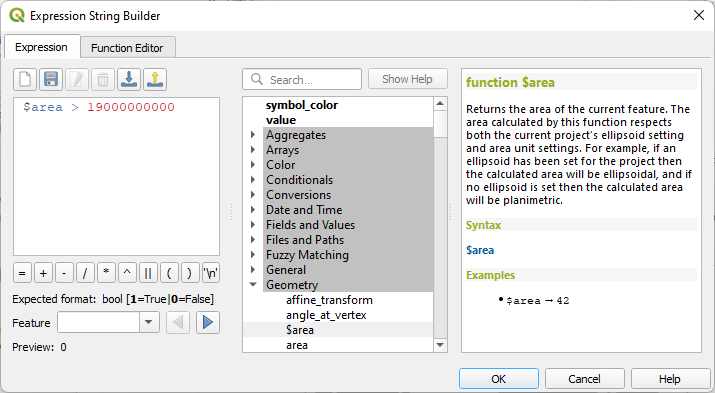
8. In the Rendering tab under Data defined click the Data defined override button at Show label.
9. From the drop-down menu choose Edit....
10. In the Expression String Builder write the following expression:
$area > 19000000000
 tab and change the Style to Italic (traditionally, water bodies are labeled with a slant or italic font... it's not a rule).
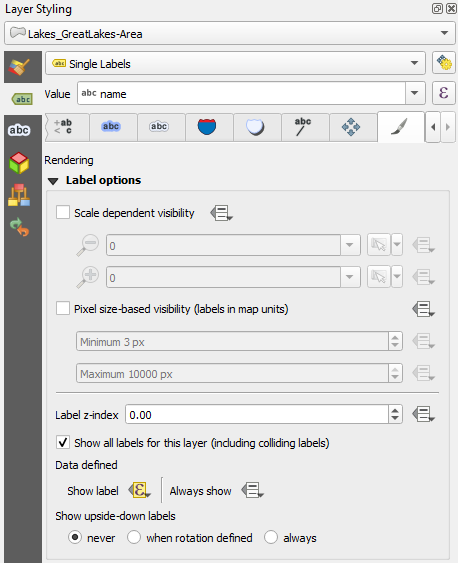
Lake Monsters
tab change the Style to Bold and the Size to 10 points. Keep the Color of the font black.tab and type a comma at Wrap on character. When labels contain a comma, the comma is replaced by a new
line character so the labels with two names print each name on its own
line.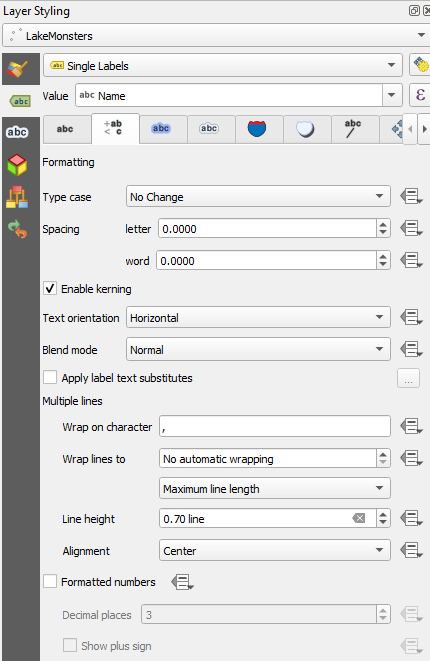 tab check the box for Show all labels for this layer (including colliding labels).