Tutorial: Open Data for Precision Agriculture
5. Save a layer for offline use
- Export a rendered image
- Export the map canvas
- Export raster tiles
1. Zoom out to an area with multiple parcels, for example: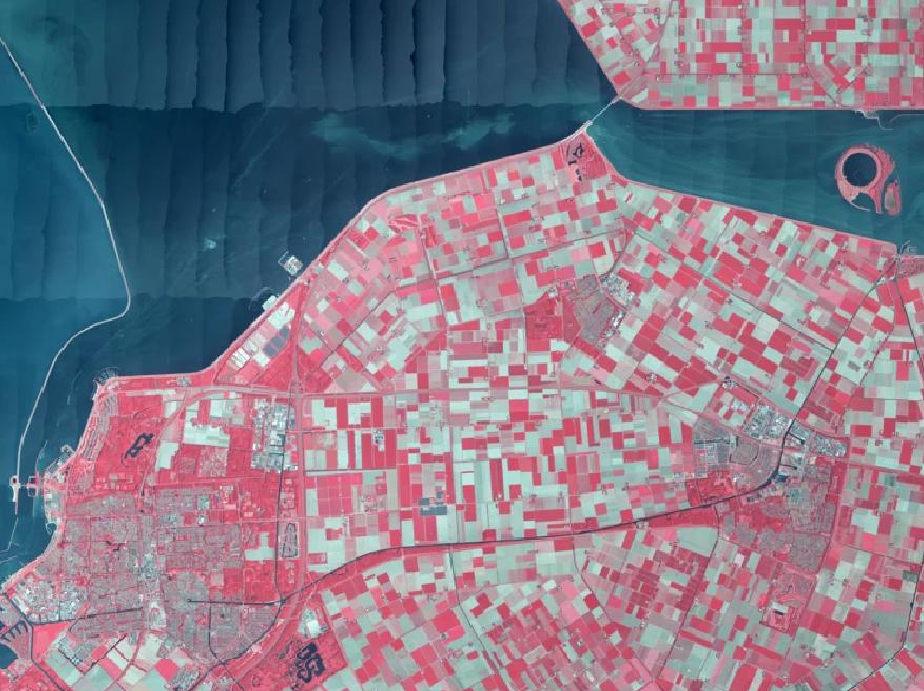
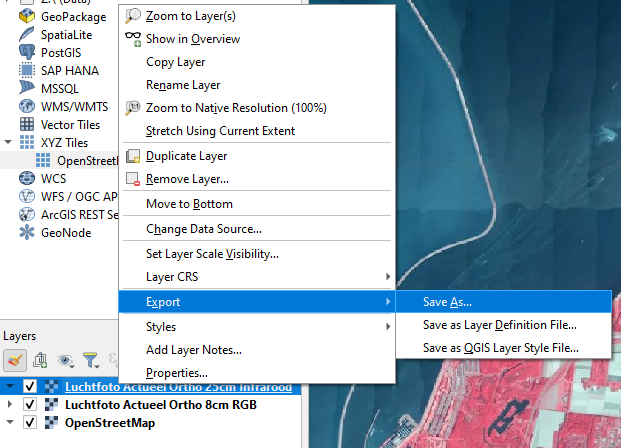
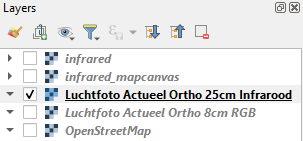
2. In the Layers panel, right-click on Luchtfoto Actueel Ortho 25cm Infrarood and choose Export | Save as... from the context menu.
3. In the Save Raster Layer as... dialog change the output mode to Rendered image. This is needed to split the colours in the 3 RGB channels.
4. Uncheck the Create VRT box and use the  button to browse to the folder where you store the data for this project and type infrared.tif as the output File name.
5. For the extent, click on Map Canvas Extent and for the Horizontal and Vertical resolution type 5 meter (we can use 0.25 m, which is the original resolution, but the file will be very large).
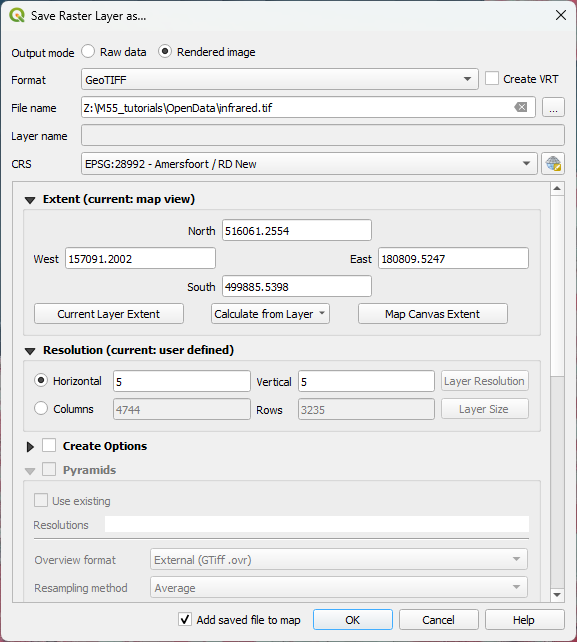
6 .Click OK to create the layer and add it to the map canvas.
7. Click  to open the Layer Styling panel and you'll see that it is now using the Multiband color renderer.
You can also save a georeferenced rendered image of the map canvas to a GeoTIFF. It will save everything visible in the map canvas to the GeoTIFF.
8. In the main menu go to Project | Import/Export | Export Map to Image....

In the Save Map as Image dialog you can set the extent, the resolution, etc. The checkbox to Append georeference information should be checked for a georeferenced image. You can also click Copy to Clipboard if you want to paste the map in a document.
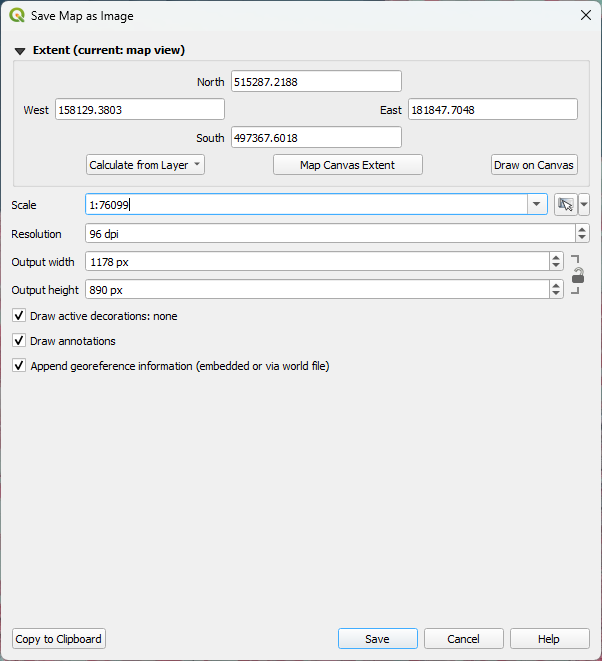
9. Click Save.
10. Save it with the name infrared_mapcanvas.tif (choose the TIF format!).
The result is not automatically added to the map canvas. You can find it in the Browser panel.
11. Drag the infrared_mapcanvas.tif layer to the map canvas to add it to the project.
12. Compare the resolution differences.
A more sophisticated way of exporting the false colour image for our area is to create raster tiles (XYZ tiles). Then tiles are generated for different zoom levels and you can keep the performance and detail for the different zoom levels.
13. Make sure only the Luchtfoto Actueel Ortho 25cm Infrarood layer is selected in the Layers panel. Hide the other layers by unchecking the boxes.
13. Click  in the Toolbar to open the Processing Toolbox.
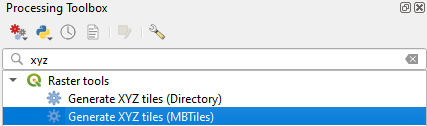
14. Search for XYZ tiles and double click on Raster tools | Generate XYZ tiles (MBTiles).
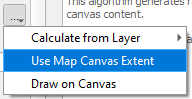
15. Choose Use Map Canvas Extent as Extent:
16. Choose a Minimum zoom of 12 and a Maximum zoom of 17. It will then generate the tiles for these zoom levels only.
17. Keep the rest as default and save the Output file to your folder with the name infraredtiles.mbtiles.
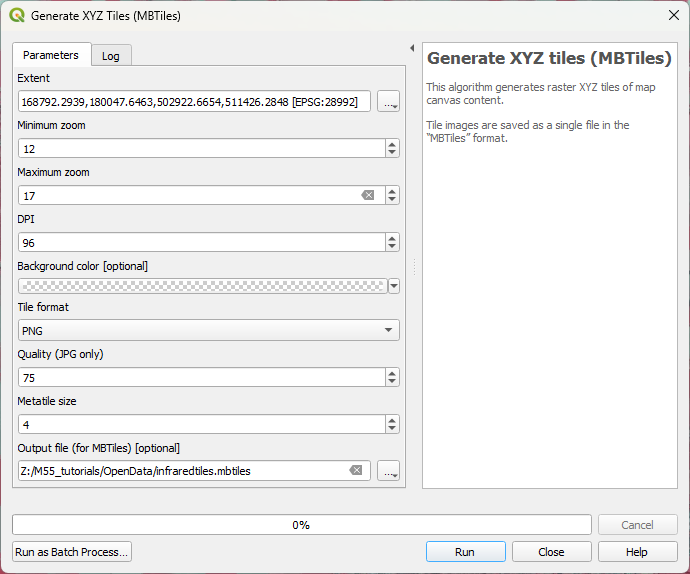
18. Click Run. Click Close when the algorithm has finished.
Also the mbtiles layer is not automatically added to your project. You can find it in the browser panel.
19. Drag infraredtiles.mbtiles from the Browser panel to the map canvas and explore it at different zoom levels.
Next we're going to explore elevation data.