Tutorial: Open Data for Precision Agriculture
7. Add point cloud data
In this section we'll add point cloud data to our project. We'll use the AHN4 LiDAR data for the Netherlands.
1. In your webbrowser, go to GeoTiles.nl.
2. Find the tiles that cover our study area.
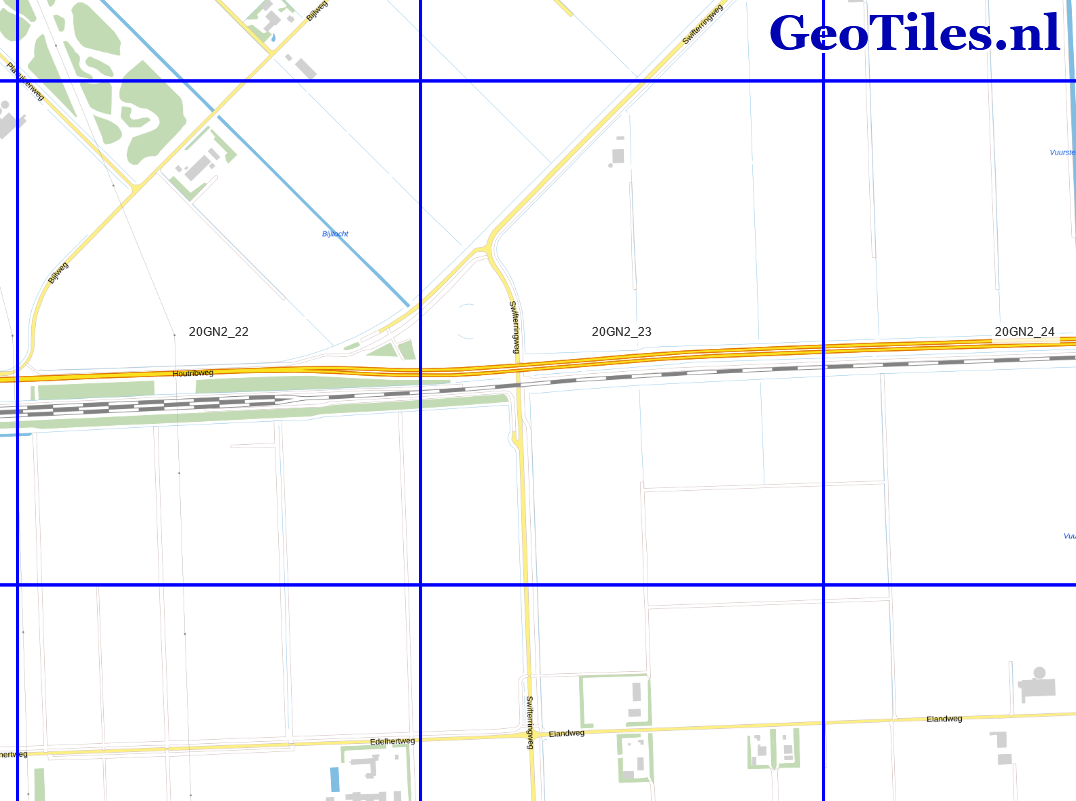
We need to download multiple tiles. Let's start with tile 20GN2_23.
3. Click on tile 20GN2_23.
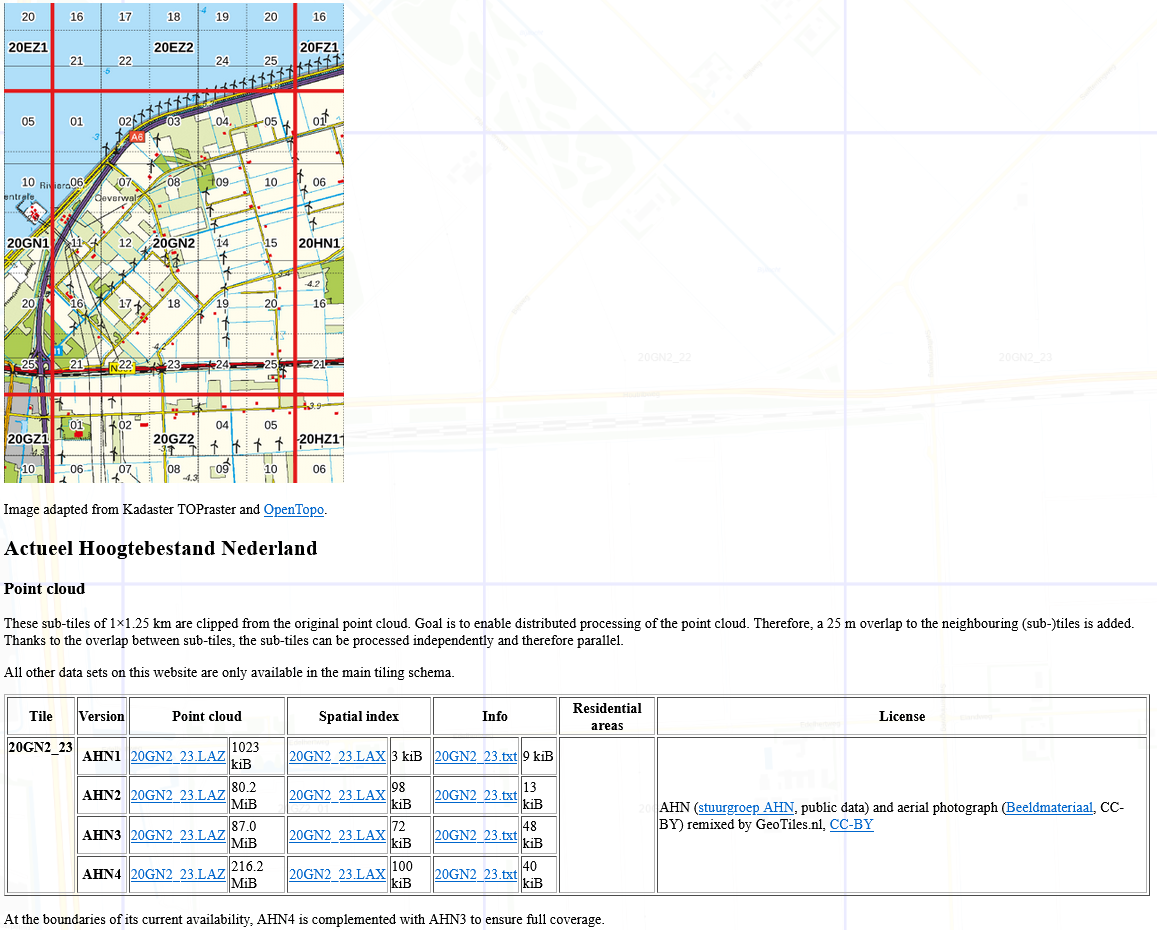
4. Download the 20GN2_23.LAZ file. LAZ is a point cloud format, supported by QGIS through the PDAL library.
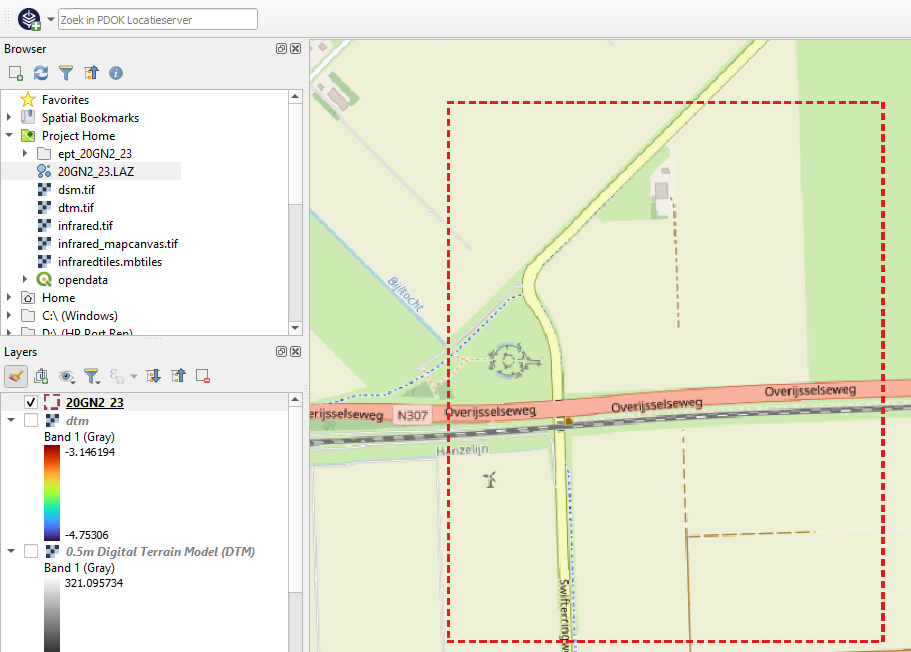
5. After downloading locate the LAZ file in the QGIS Browser panel and drag it to the map canvas.
While QGIS is converting the file it will show the extent:
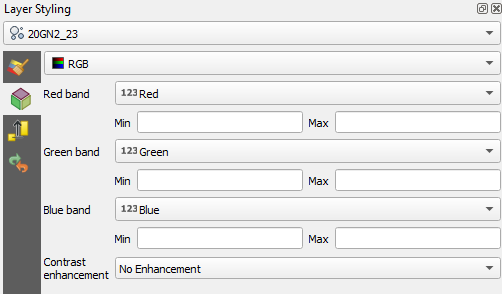
After processing, it will show the points with the RGB colors:
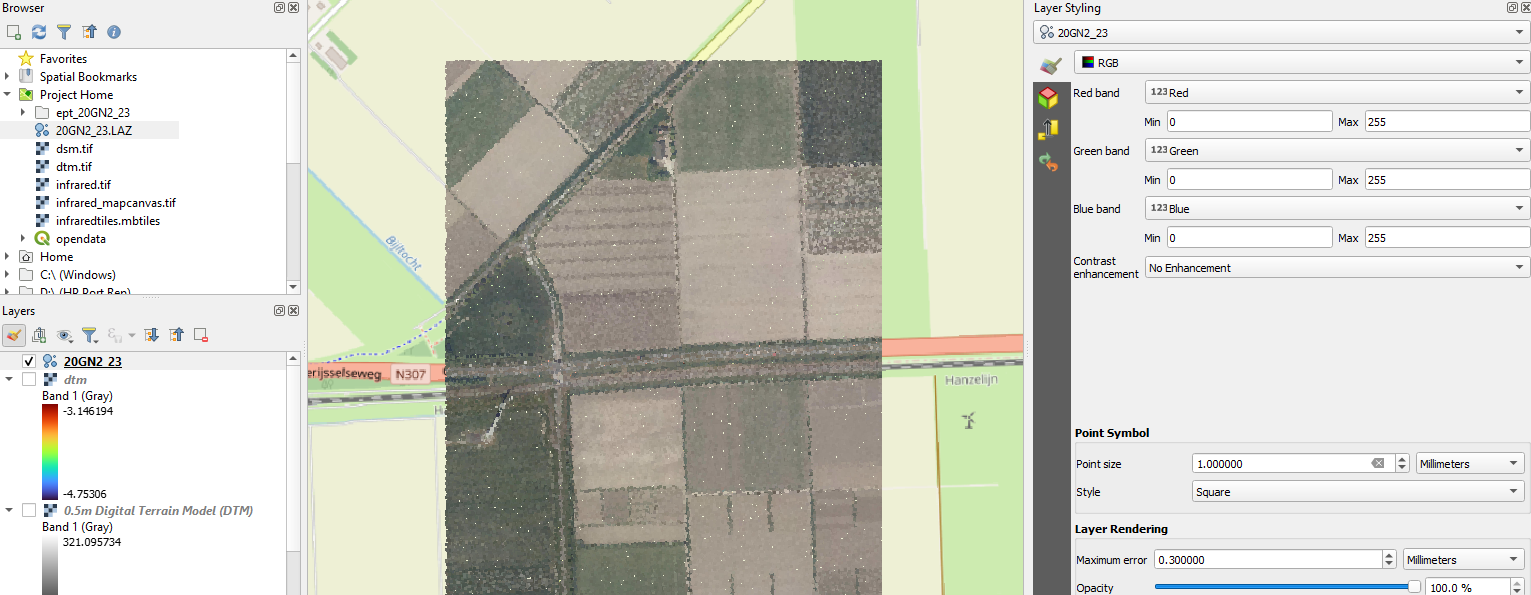
In the Layer Styling panel you can also choose other attributes of the point cloud layer.
6. Try:
- Classification
- Attribute by ramp with different settings
- QGIS 3.28 or newer gives some more settings
- Use the aerial photograph in RGB as a background
- Download the other tiles and repeat
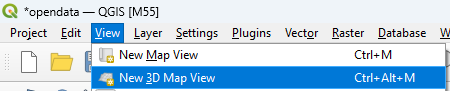
A new panel opens at the bottom of the QGIS window.
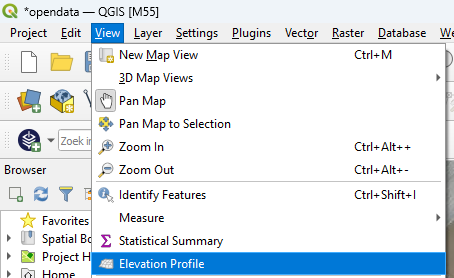
10. In the Elevation Profile panel, click the Capture Curve  icon and draw a transect. With right-click you end the transect and it will show up in the panel.
11. Click the Options  icon and increase the Tolerance to 25 meter.
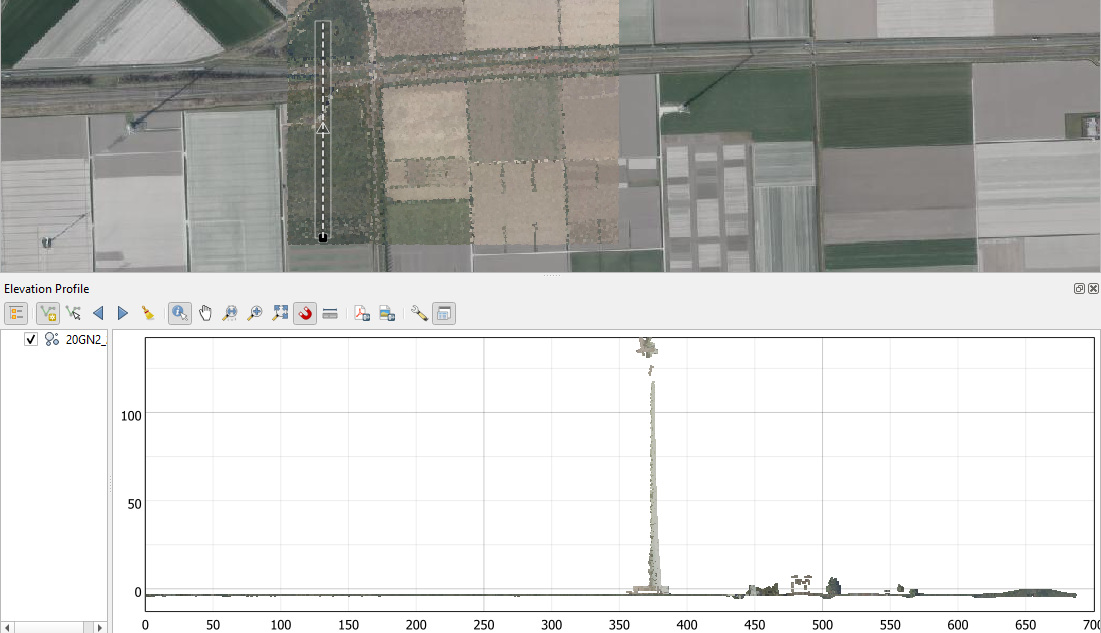
Zoom in and play with the tolerance to see what's in the scene.
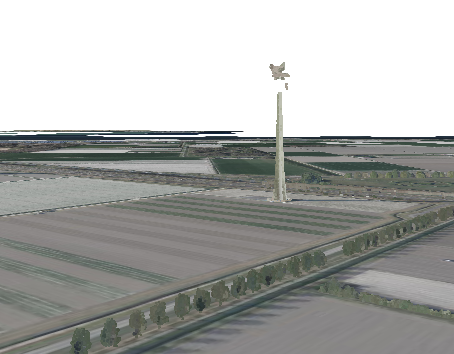
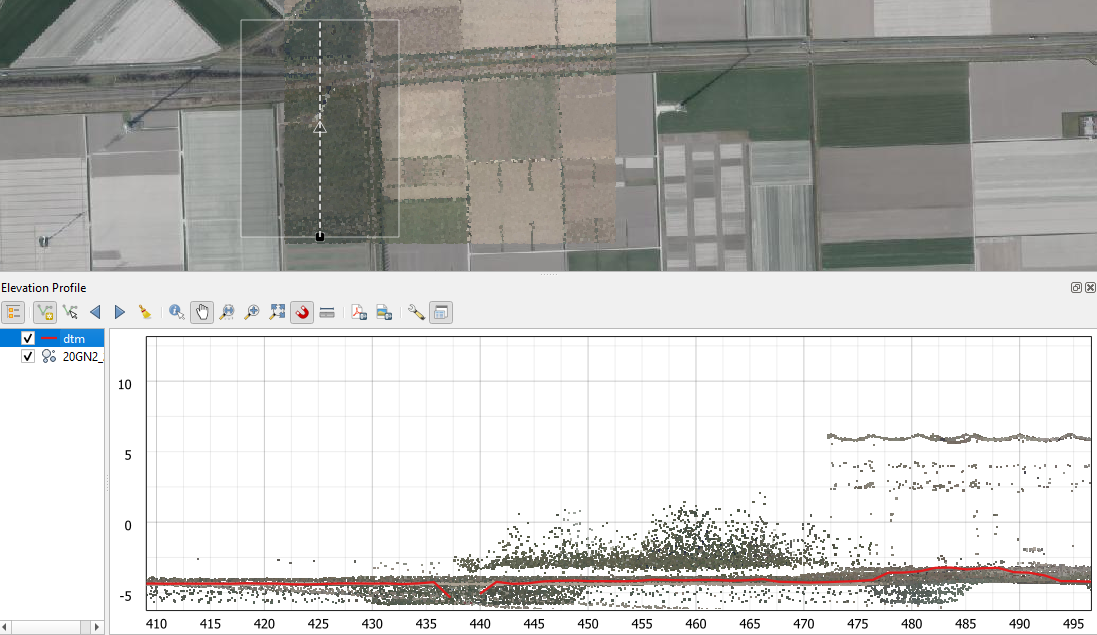
You can use also other layers that have elevation information, like our DTM and DSM.
12. In the Layers panel right-click on the dtm layer and choose Properties... from the context menu.
13. In the Layer Properties dialog, go to the Elevation tab and check the box before Represents Elevation Surface and click OK to close the dialog.
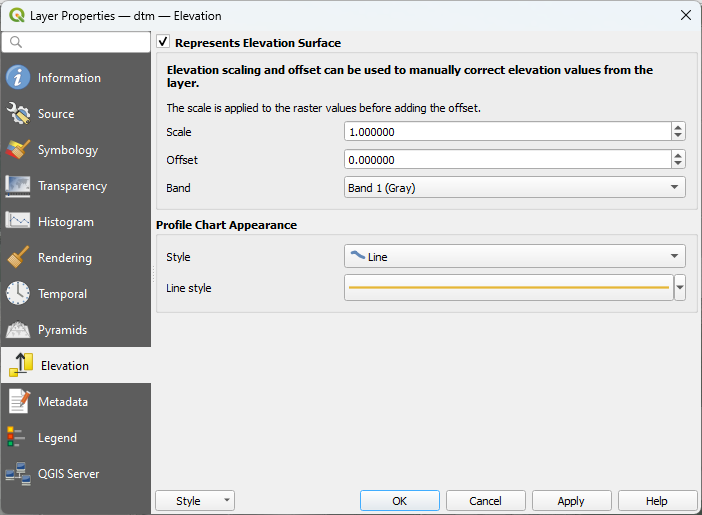
Now the dtm layer is also added to the profile panel.
More resources about point clouds are in this playlist: