Tutorial: Open Data for Precision Agriculture
8. Add parcel polygons
A very useful dataset for agricultural applications is a crop map. For the Netherlands there's a parcel map with crop data available every year and we can load it through the PDOK Services plugin.
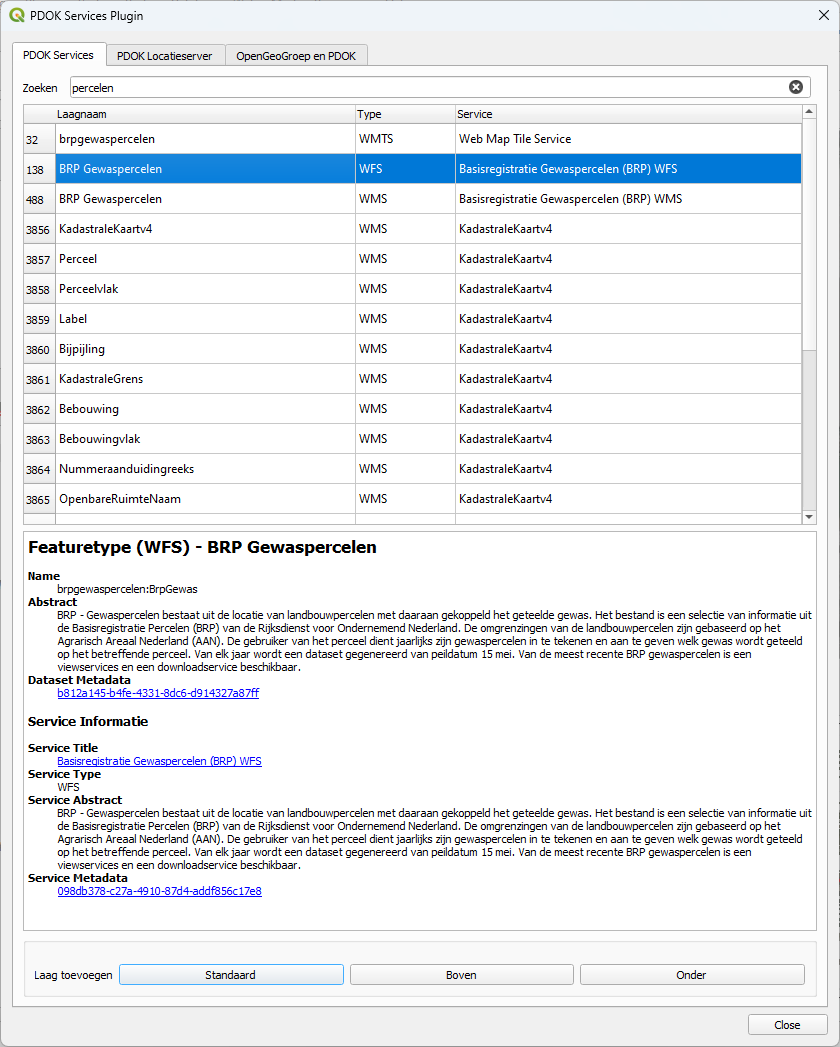
1. Go to the PDOK Services plugin dialog.
2. Look for the layer BRP Gewaspercelen in WFS format and add it to the map canvas. Make sure you're zoomed in to the area of interest, because the layer is very large to load.
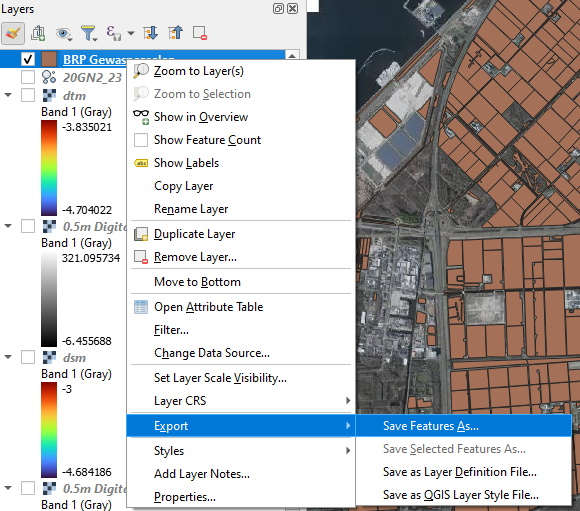
3. Export the polygons for the area of interest. In the Layers panel, right-click on the BRP Gewaspercelen layer and choose Export | Save features as... from the context menu.
4. Let's save it to a GeoPackage with the name farmdata.gpkg and the layer name parcels. Under extent use the extent of the dsm layer again.
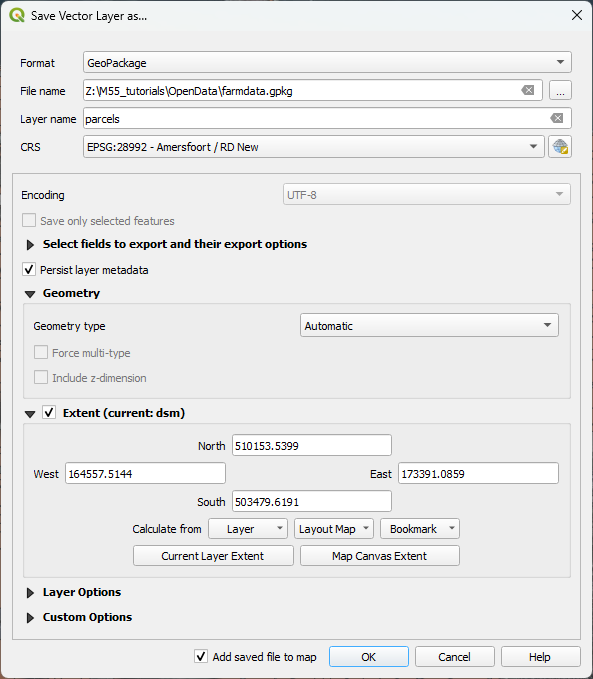
5. Click OK.
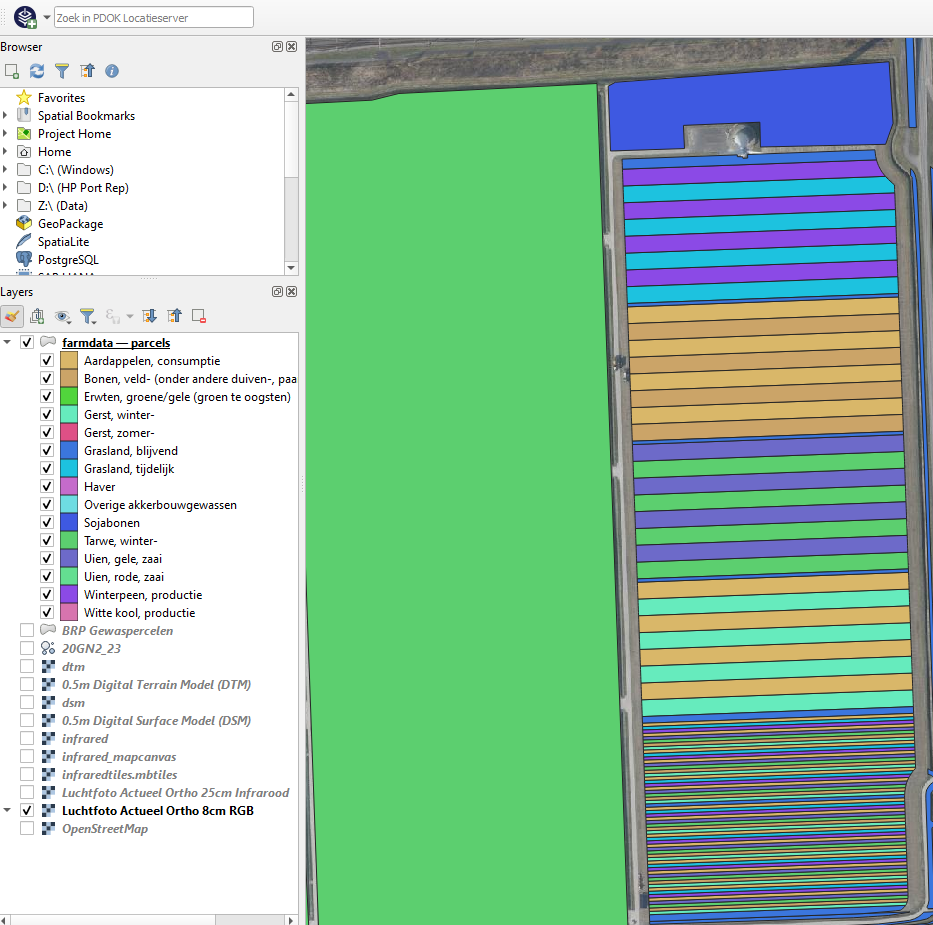
Let's style the layer so we can distinguish the different crops.
6. Go to the Layer Styling panel and make sure that the parcels layer is active.
7. Change the renderer from Single Symbol to Categorized.
8. For Value choose gewas, which means crop type and click Classify.
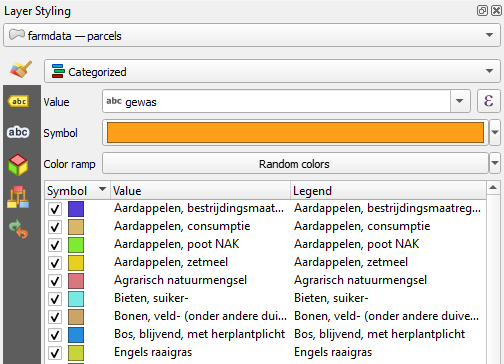
- Which crops do you see in our study parcels? Translate them to English.
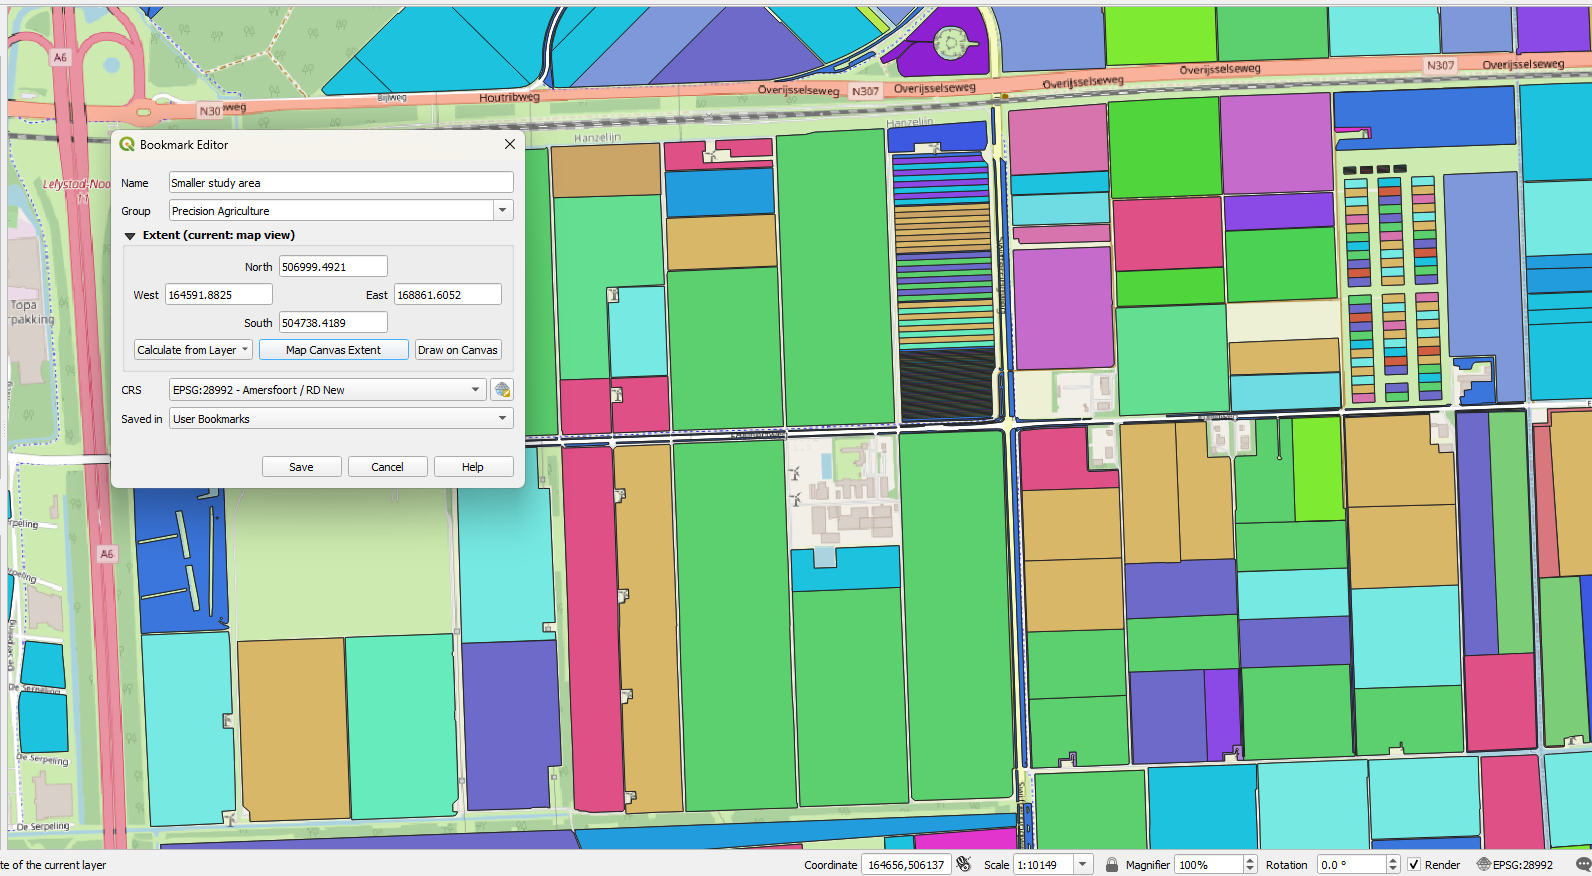
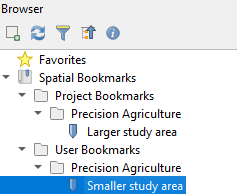
9. Create a Spatial Bookmark for the Smaller study area. This time save it in your User Bookmarks, because we need it later in another project. Use approximately the area below.
In the next section we'll add a soil map.