Tutorial: Create a field data collection app with Mergin Maps
3. Configure the Mergin Maps plugin for QGIS
The next step is to install the Mergin plugin in QGIS. With the plugin we can:
- Initialize a field survey project for Mergin Maps
- Synchronize the project with the Mergin cloud service
1. Start QGIS Desktop with an empty project.
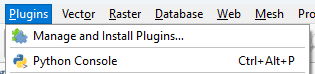
2. Go to the Plugins manager: in the main menu choose Plugins | Manage and install plugins...
3. Search for the Mergin plugin and click Install Plugin.
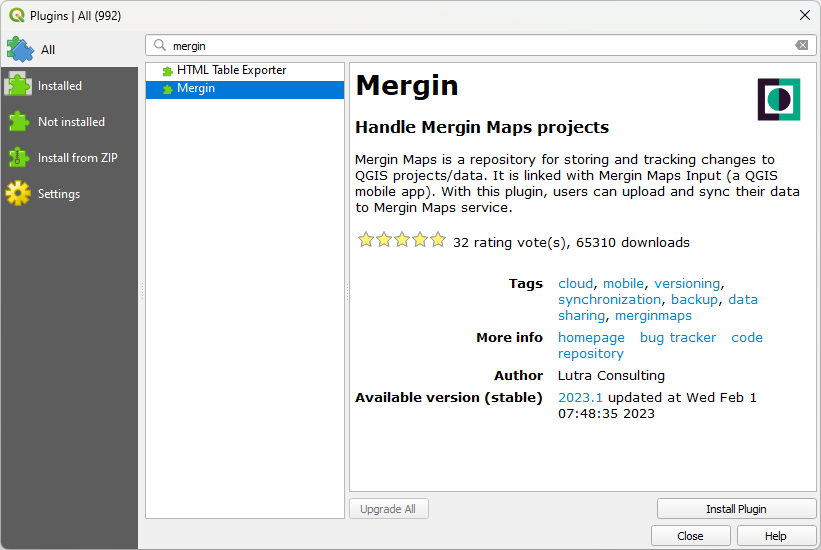
4. After installation click Close to close the dialog.
The plugin adds some icons to the Toolbar:

We'll use these later.
The plugin also adds a Mergin Maps folder to the Browser panel. There we need to make a connection with our account first.
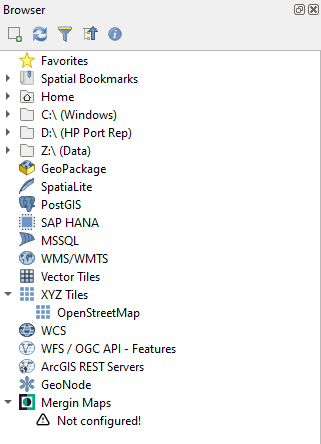
5. In the Browser panel, right-click on Mergin Maps and choose Configure from the context menu.

6. In the Mergin Settings dialog fill in your credentials. Check the box to Save credentials, so you don't have to type them each time you use Mergin Maps.
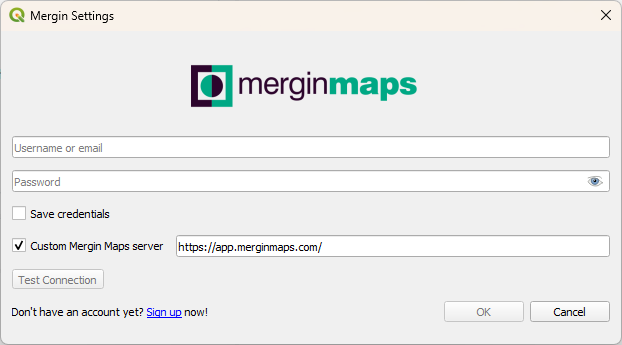
7. Click Test Connection.
8. If it returns OK, you can close the dialog by clicking OK, otherwise check your credentials or recover your password.

Now you can see your project in the Browser panel in the Mergin Maps folder:
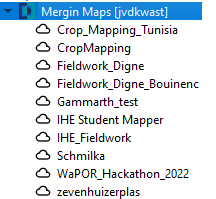
In the next section we'll create a new Mergin Maps project.