Tutorial: Field surveys using Mergin Maps
2. Project preparation
2.2. Adding an online background layer
If you have internet connectivity in the field, you can use a WM(T)S or online XYZ tiles as your background map. In this section we'll add an online layer from OpenStreetMap to our survey project. We'll also make the online layer offline available just in case we don't have internet connectivity in the field.
We'll continue with the project from the previous section.
1. From the Browser panel, expand the XYZ tiles and double-click on OpenStreetMap
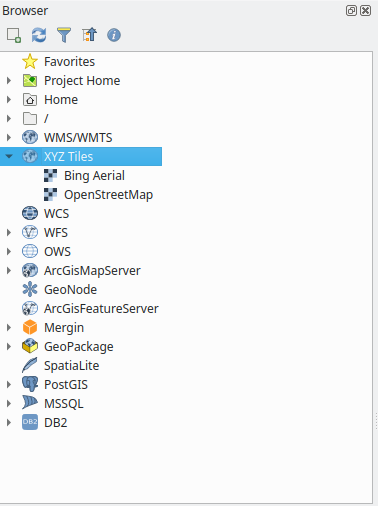
The OpenStreetMap layer now shows up in your Layers panel and is shown in the Map Canvas.
QGIS offers other ways to add online maps: if you open the Data Source Manager with this button ![]() you can choose to add WM(T)S layers. A useful plugin for using online maps is the QuickMapServices plugin. In this tutorial we only use the OpenStreetMap layer.
you can choose to add WM(T)S layers. A useful plugin for using online maps is the QuickMapServices plugin. In this tutorial we only use the OpenStreetMap layer.
Make online layers offline available
In the case that we don't have internet connectivity in the field but still want to use the online map, we need to export it to a .mbtiles file like we did in the previous section.
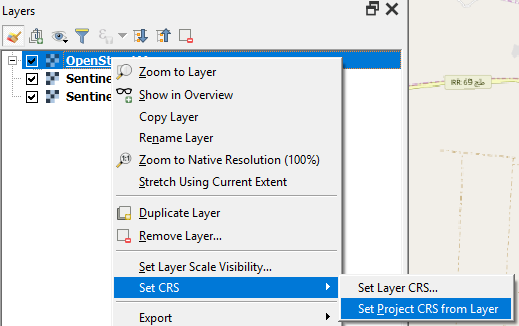
2. First change the on-the-fly reprojection to EPSG:3857. You can do this by clicking right on one of the layers and selecting Set CRS | Set Project CRS from layer. This is necessary, because the XYZ Tiles are using Web Mercator CRS (EPSG:3857).
3. Go to Processing Toolbox | Raster tools | Generate XYZ tiles (MBTiles).
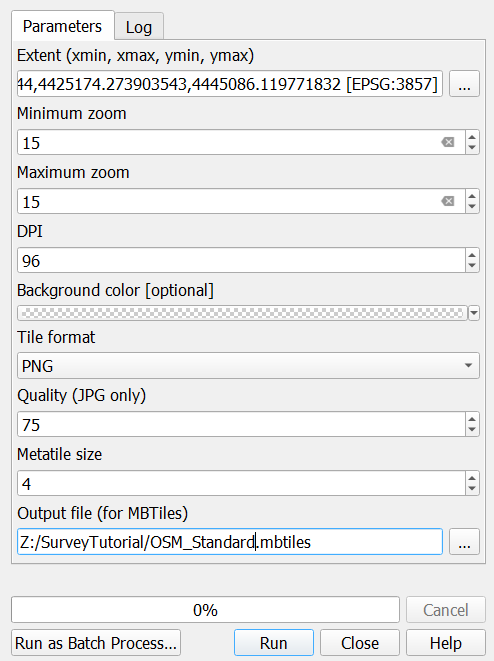
4. Choose for the Layer extent one of the Sentinel layers from the previous section. Then the tiles will only be generated for that area.
5. Choose again 15 for the Zoom levels, keep the rest at default and save the layer as OSM_Standard.mbtiles.
6. Click Run and Close when the calculation is finished.
7. Drag the OSM_Standard.mbtiles raster from the Browser panel to the Map Canvas and compare with the online OSM Standard layer.
8. To avoid confusion, rename the online layer to OSM Online and the offline layer to OSM Offline. You can do that by clicking right on the layer name and chosing Rename...
9. Save the project.
Now we have offline and online rasters in our survey project. In the next section we'll add a background vector layer.