Tutorial: Delineate multiple subcatchments
Completion requirements
4. Delineate multiple subcatchments for pour points
Now we're ready to calculate the catchments of the snapped pour
points. We'll use plugin, which is not in the official repository.
1. In the main menu go to Settings | User Profiles | Open Active Profile Folder.

2. Browse to the subfolder processing\scripts so you end up in e.g. C:\Users\hansa\AppData\Roaming\QGIS\QGIS3\profiles\subcatchments\processing\scripts
3. Now go to this GitHub repository: https://github.com/jvdkwast/PyQGIS_Hydro
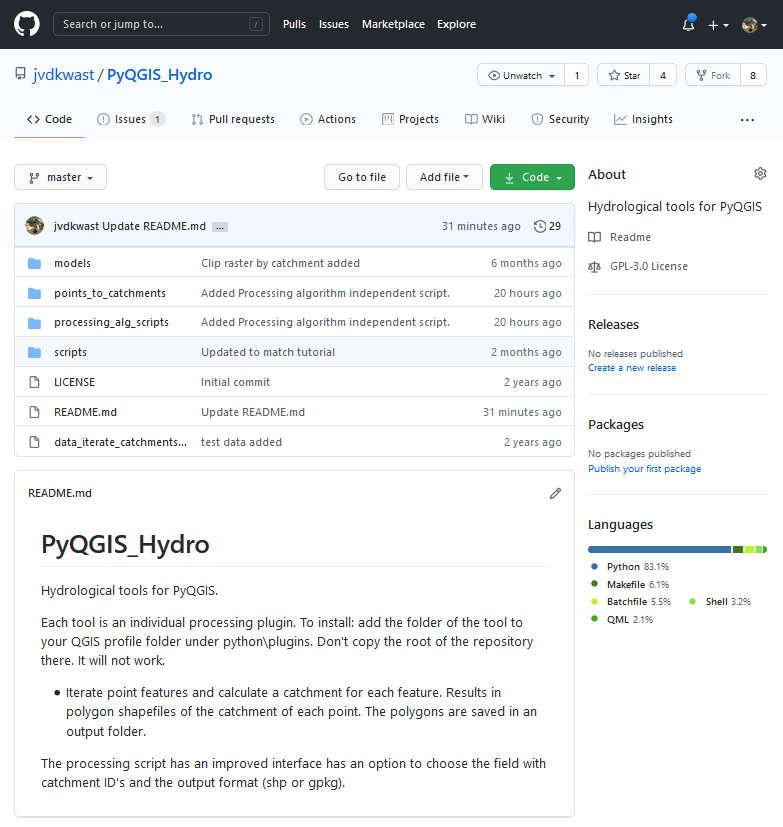
4. Click the green Code button and then choose Download ZIP.

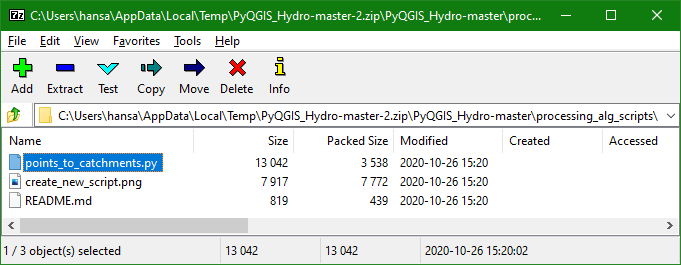
5. Open the downloaded zipfile. 7Zip is a great open source tool to use. Browse in the zip file to PyQGIS_Hydro-master\processing_alg_scripts\ and extract points_to_catchments.py to your scrips folder, which you have identified in step 2.
6. In QGIS go to the main menu and choose: Plugins | Manage and install plugins...
The tools is now added to the Processing Toolbox.
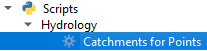
9. In the Processing Toolbox go to Scripts | Hydrology |Catchments for points.
10. In the Catchments for Points dialogue select the Snapped Pour Points layer as Outflow point layer. Choose the Filled DEM as DEM layer. Choose a new Output Folder where the tool will save a GeoPackage with each output subcatchment layer.
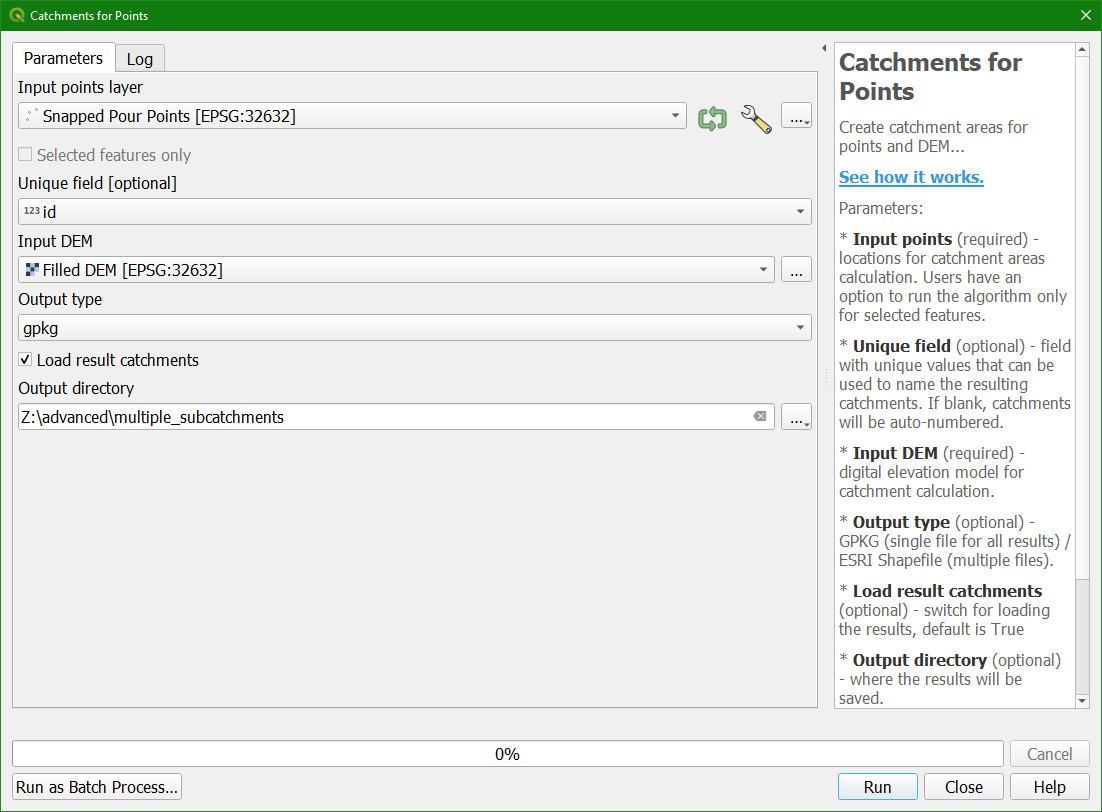
11. Click Run and Close the dialogue after processing.
The result is added to the map canvas.


In the next section we'll do this for all subcatchments in the catchment.