Create Your Own Processing Tools in QGIS
3. Edit an existing tool
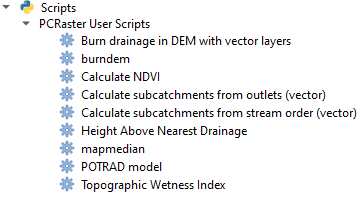
The PCRaster User Scripts that have now been added to your Processing Toolbox can be edited. We can use one as an example and modify it for our own tool.
An easy one to modify is the mapaverage tool.
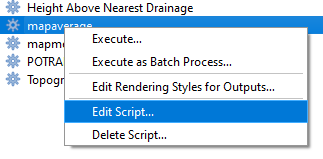
1. Right-click on the mapaverage tool and choose Edit Script... from the context menu.
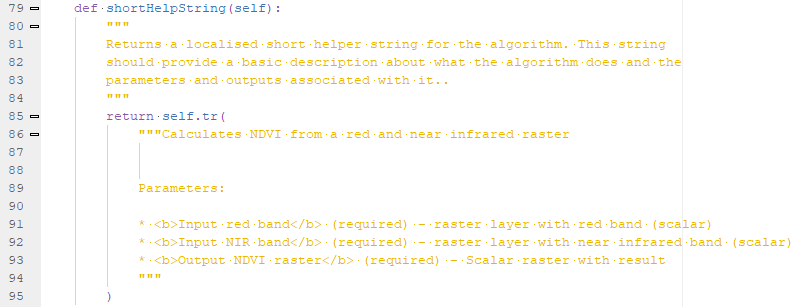
Let's modify the script so it will calculate the Normalized Difference Vegetation Index from two raster layers.
The equation for NDVI is:
NDVI = (NIR - Red) / (NIR + Red)
Where:
NIR = near infrared band
Red = red band
It results in a raster with values between -1 and 1. Cells larger than 0 represent increasing biomass.
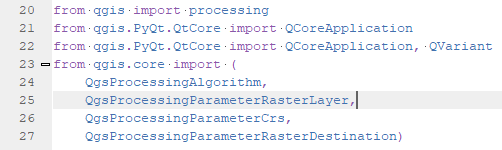
It is good practice to only import the functions that you need. Here we can delete many from the example.
2. Edit the functions that need from PCRaster so that we only have readmap, setclone and report.
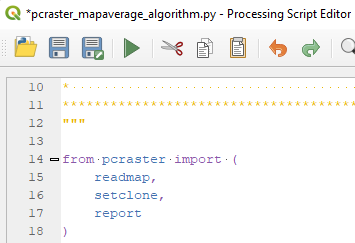
- readmap is to read the rasters from disk with the path provided by the user.
- setclone is to make sure that all rasters have the same dimensions for map algebra. We'll set the clone to the first raster that is loaded.
- report is needed to write the result of the calculation to disk, using the path provided by the user.


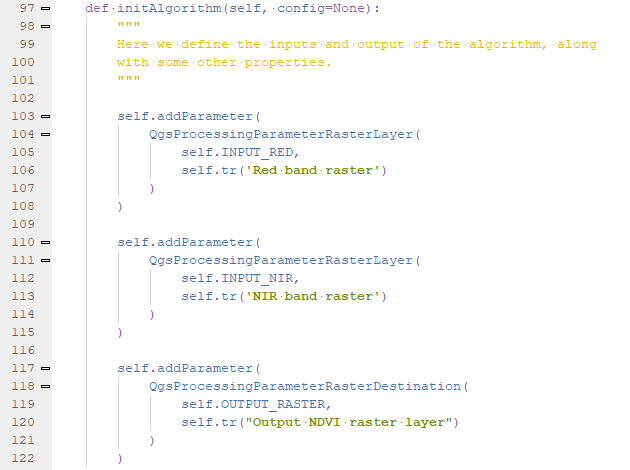
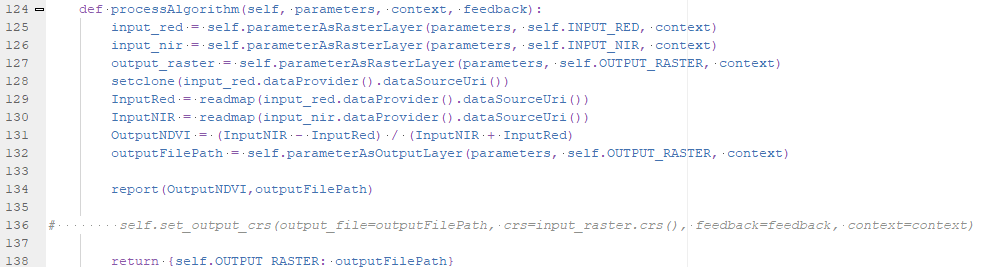
- self.parameterAsRasterLayer(parameters, self.INPUT_RED, context) reads the raster layer information for the red band selected by the user and this goes into the input_red variable.
- Same is done for input_nir in line 126 and the output_raster in line 127.
- In line 128 we use the PCRaster setclone function to set the clone/mask for the map algebra calculations to the properties of the the first raster (input_red). setclone needs the path to the raster., which is the string returned by input_red.dataProvider().dataSourceUri().
- In lines 129 and 130 we read the red and NIR band repectively from disk, using the readmap function and the path (same method as in line 128 to get the path). The variables InputRed and InputNIR are now the PCRaster maps that we can use in the calculation.
- In line 131 we calculate NDVI and store the PCRaster map in the variable OutputNDVI.
- In line 132 we assign the path of the output file, as defined in the dialog by the user, to the variable outputFilePath.
- In line 134 the result is written to disk using the PCRaster report function that needs the name of the variable and the path of the output file.
- Line 138 returns the result dictionary entry so it is opened in the QGIS map canvas.
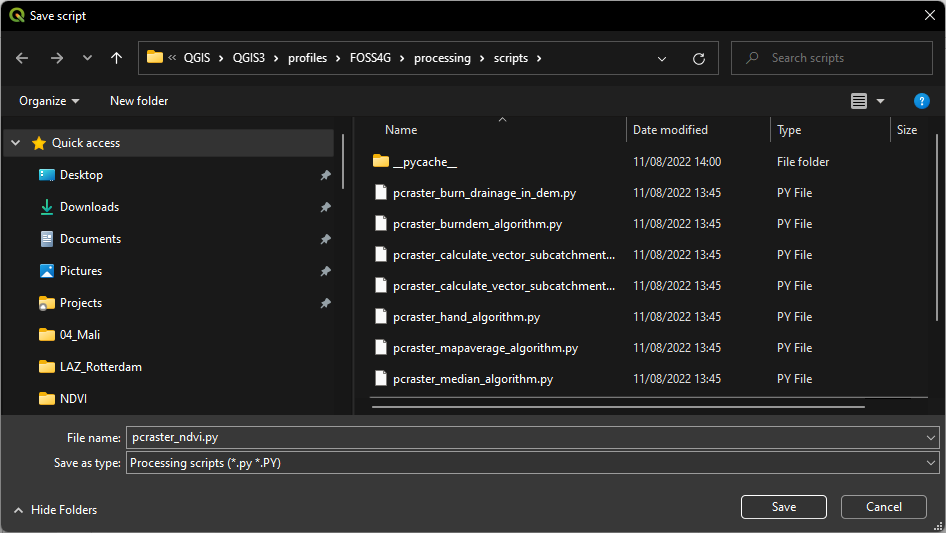
 button an save it as pcraster_ndvi.py in the profile folder. Make sure you're not overwriting the mapaverage script!