
Tutorial: Create a field data collection app with QGIS and Mergin Maps
Requisitos de conclusão
13. Synchronise the survey in QGIS
Back in the office we want to check the data and further process it in QGIS.
1. Open the Crop_Mapping project in QGIS.
2. Click the synchronise icon  in the Toolbar.
A popup shows the changes.
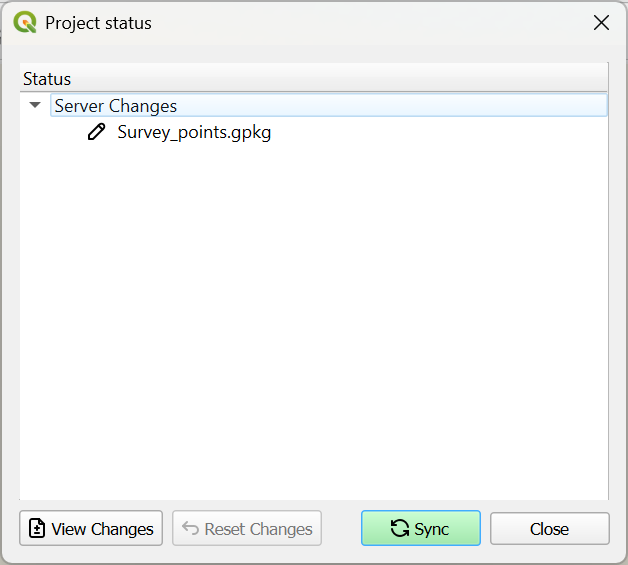
3. Click Sync.
After synchronisation a popup will show that the synchronisation was successful.
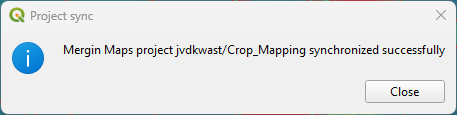
4. Click Close.
You can now see the survey points on the map.
5. Open the attribute table for the Survey layer.
6. In the lower right of the attribute table swith to Form View by clicking the  icon.
icon.
Now you can see your observations also with the form widgets.
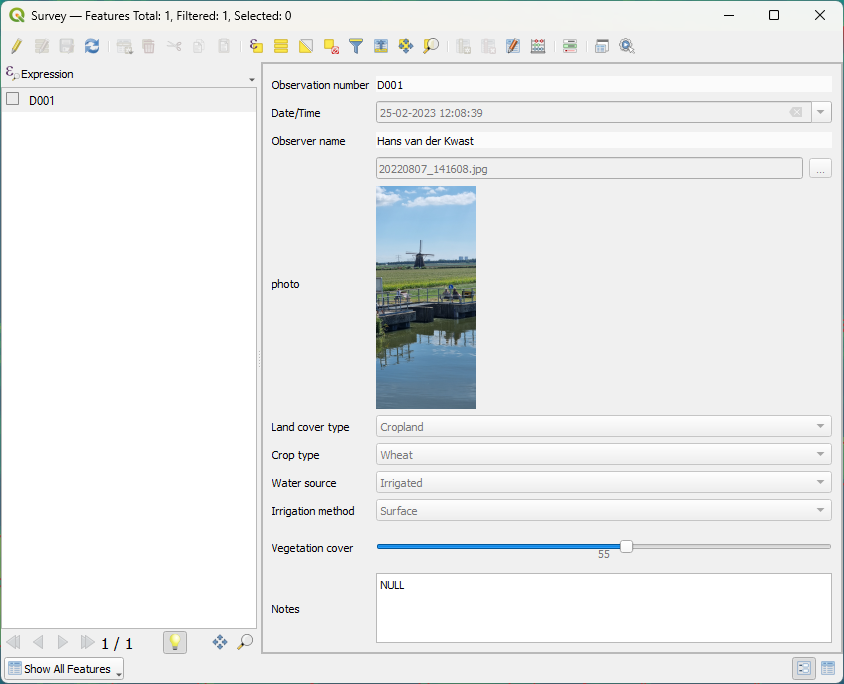
You can now use this for further analysis or remote sensing based crop classification.
In the final section of this tutorial you'll learn how to see changes in the dashboard of the cloud service.