Tutorial: WebODM
8. Start Processing
In this chapter we're going to process the images.
1. Review if the settings are like the screenshot below. Click Cancel to make corrections if needed.
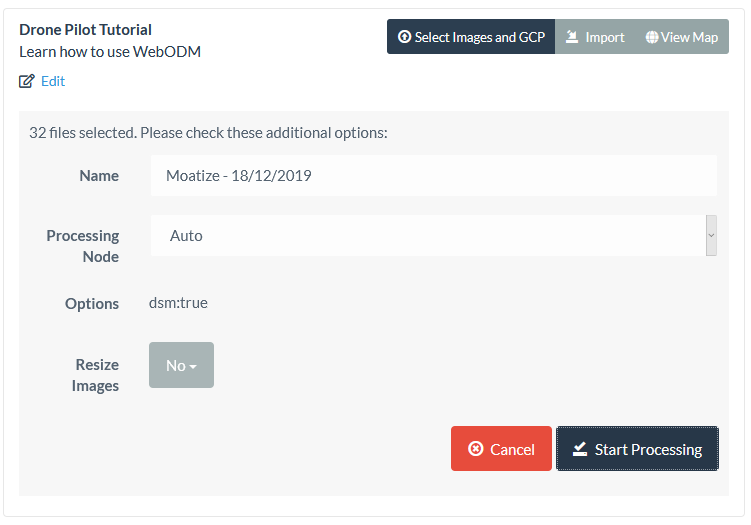
2. If the settings are correct, click Start Processing.
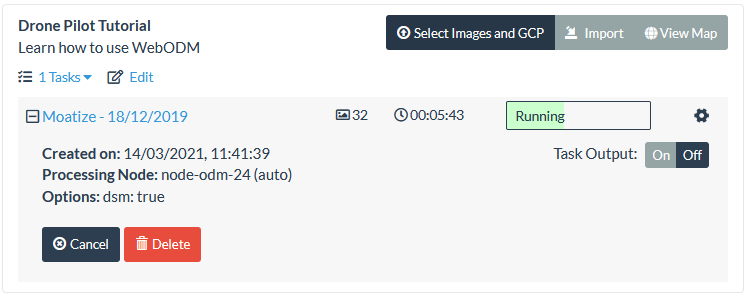
Now the task is executed, which will take a bit.
In the mean time we'll explain what is happening now.
First your images are uploaded to the correct folder on the server. Next, the images are sent to the selected processing node. These two steps are needed, because the processing nodes can be distributed over severall remote computers and the images need to be available at the node for further processing. Then the task is run on the node and the Dashboard will show the progress, including the elapsed time.
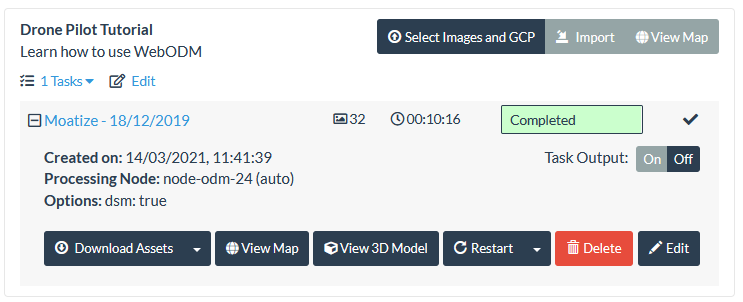
When the processing task is completed, we'll proceed with the next chapter of the tutorial.