Tutorial: WebODM
12. Use the results in QGIS
12.2. View results in QGIS in 3D
Let's have a closer look at the DSM.
1. Make sure we can see the DSM by moving it to the top and/or switching off the other layers.
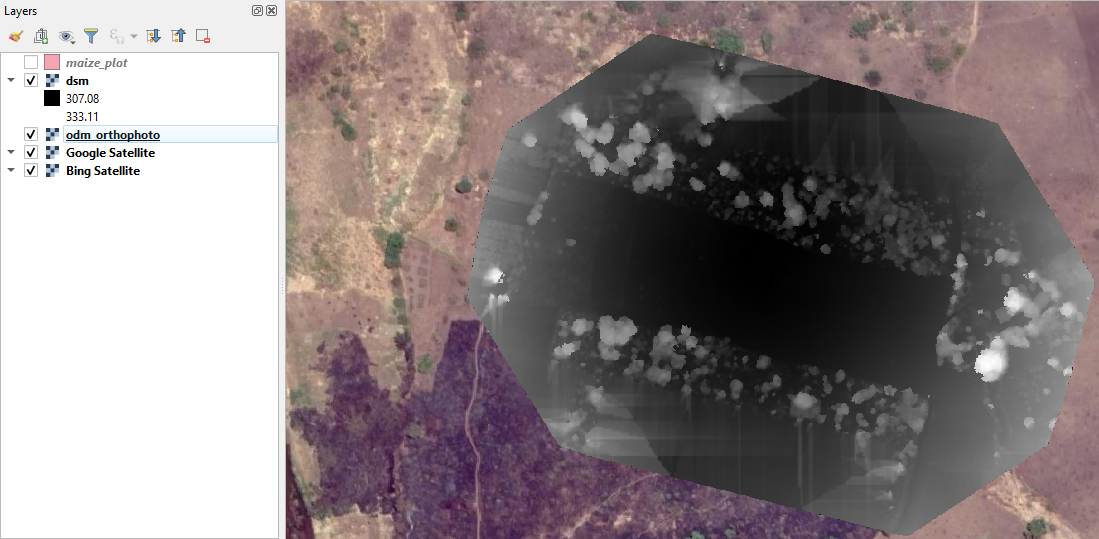
2. Select the dsm layer in the Layers panel and click  to open the Layer Styling panel.
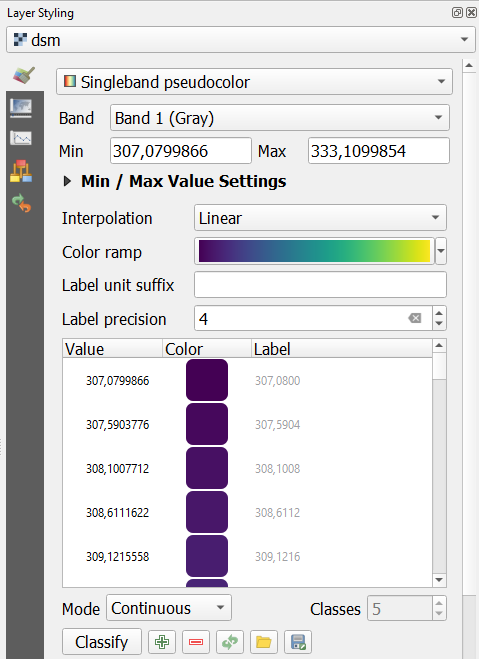
3. Choose the Singleband pseudocolor renderer and style the layer with the Viridis colour ramp.
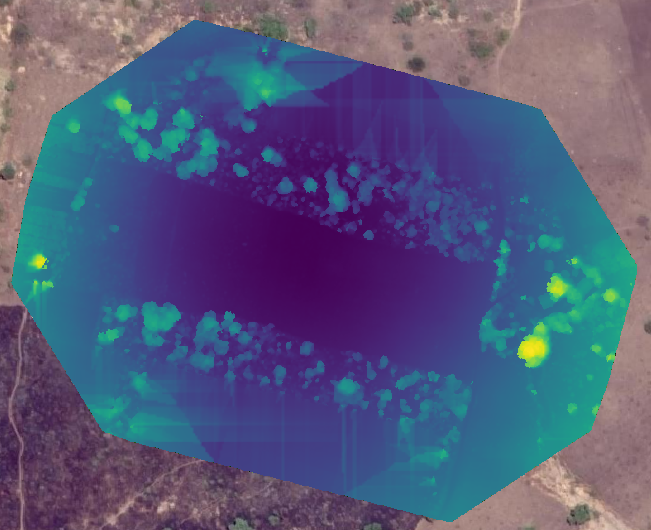
The result now looks like the screenshot below:
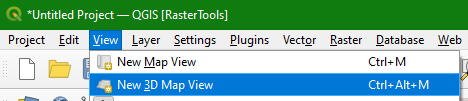
Let's now visualise the elevation in the QGIS 3D View.
4. In the main menu choose View | New 3D Map View
5. Click on  to go to the settings.
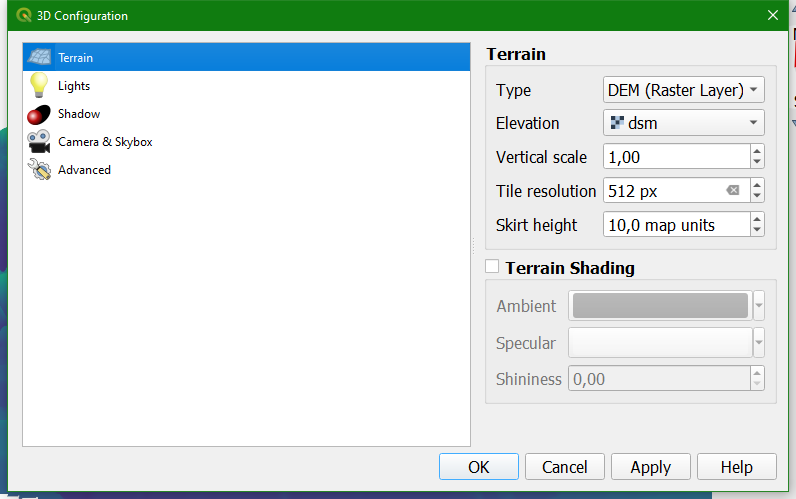
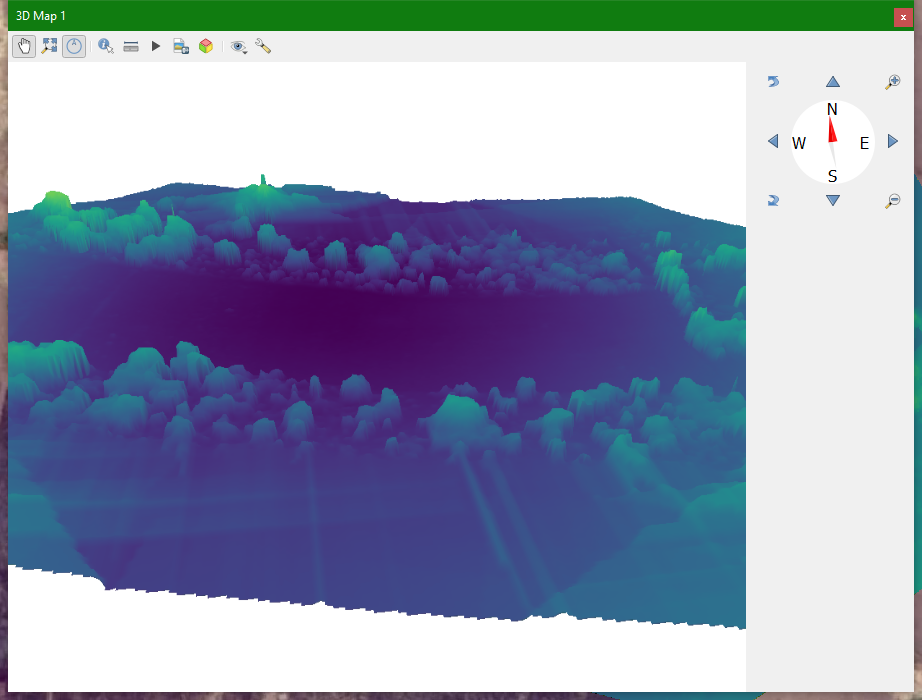
6. Fill in the dialogue as the screenshot below and click OK.
Now you'll see the scene in 3D:
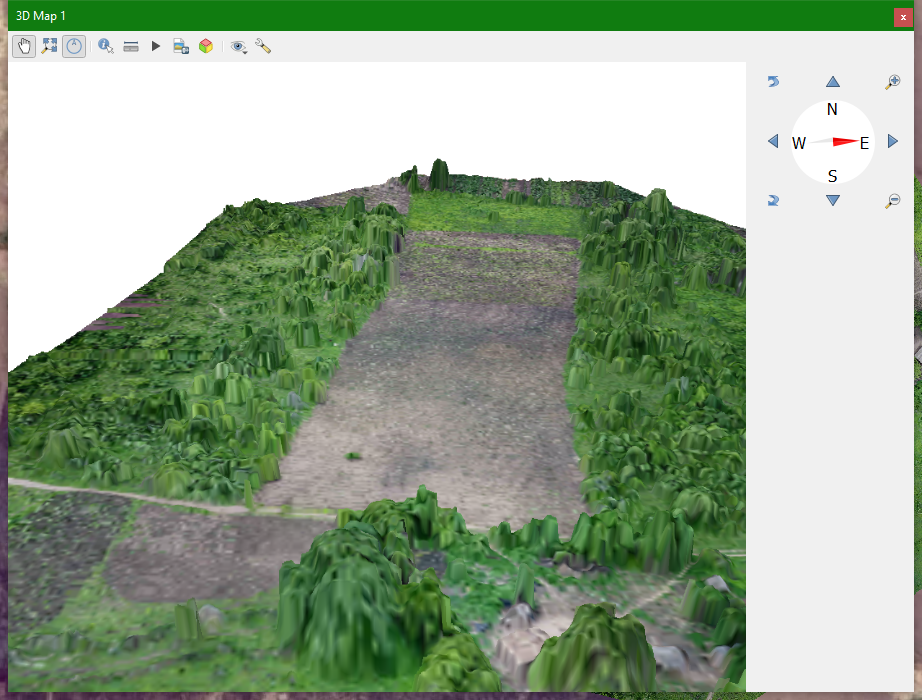
7. Enable the orthophoto in the Layers panel and the 3D View will update so you can see the orthophoto in 3D.
8. Save the QGIS project. We're now going to process the images of 2020. Later we'll compare the results here in QGIS.