Tutorial: Create a groundwater level map from borehole data and a DEM
Completion requirements
8. Style the DEM
For visualisation it is nice to style the DEM with a colour ramp and hillshading.
1. Click right on DEM and choose Duplicate Layer.

2. Rename DEM copy to Hillshade.
3. Select DEM in the Layers panel and click  to open the Layer Styling panel.
to open the Layer Styling panel.4. Change the renderer to Singleband pseudocolor.
5. At Color ramp click on the arrow and choose Create New Color Ramp...

6. In the Color ramp type dialogue choose Catalog: cpt-city and click OK.

7. In the Cpt-city Color Ramp dialogue choose one of the palettes under Topography, e.g. elevation and click OK.

8. In the Layer Styling panel click Classify of apply the colour ramp.
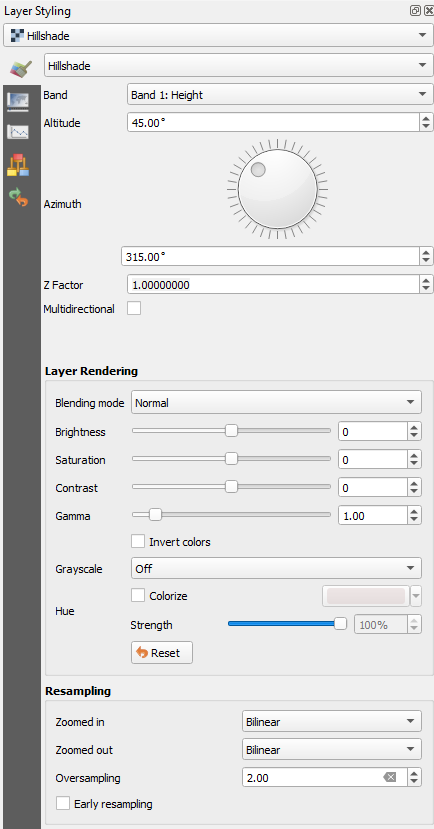
9. Under Layer Rendering change the Blending mode to Multiply. This is needed for the next step where we'll style the hillshade and want to see it through the DEM.

10. From the Layers panel activate the Hillshade layer.
11.
In the Layer Styling panel make sure that you're styling the Hillshade
layer now. Change the renderer to Hillshade. Change the Resampling to Bilinear for Zoomed in and Zoomed out. This will create a smoother visualisation. Keep the other settings as default.
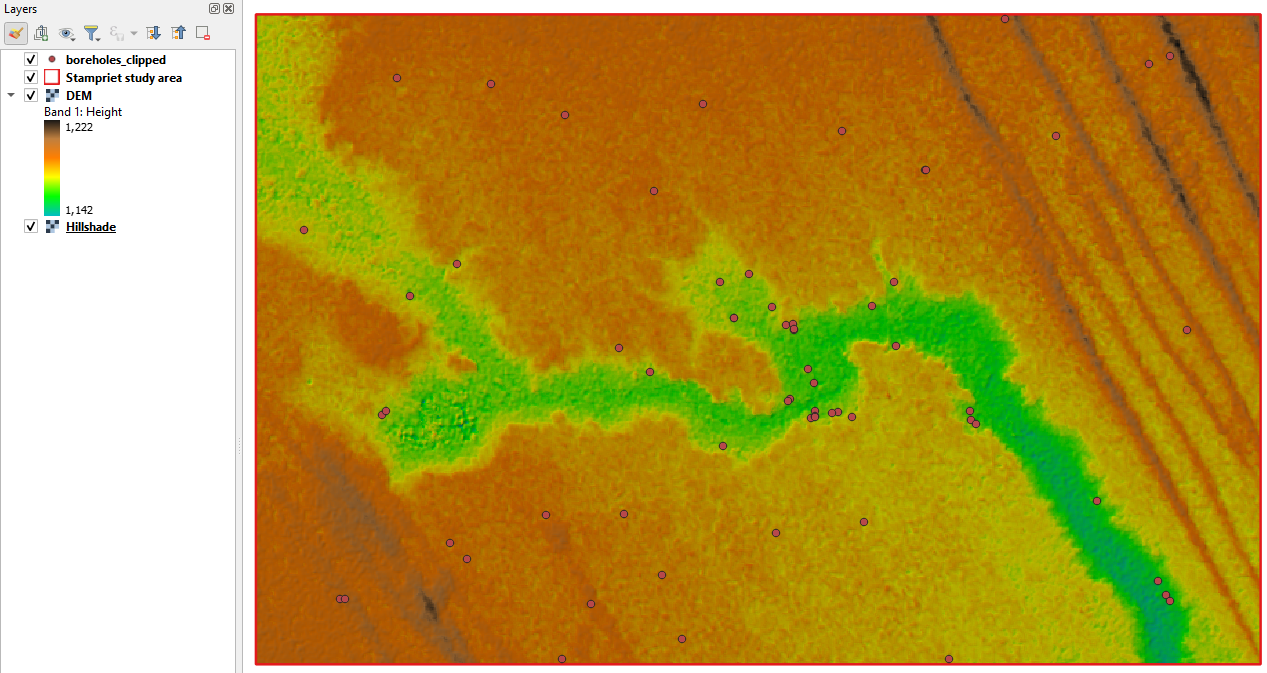
Now your project should look like the figure below.
In the next section we're going to add the DEM elevations to the attribute table of the boreholes.