
Tutorial: Create and Use Virtual Point Clouds (VPC)
4. Check point cloud information
Now we can check what projection and attributes are provided with the point cloud data.
1. Click the Toolbox icon  in the main toolbar to open the Processing Toolbox panel.
2. In the Processing Toolbox expand Point Cloud Data Management by clicking the arrow and double-click on the Information tool.

3. In the Information dialog, select one of the point cloud tiles and use the Browse  button to browse to the location where you want to save the resulting HTML file.
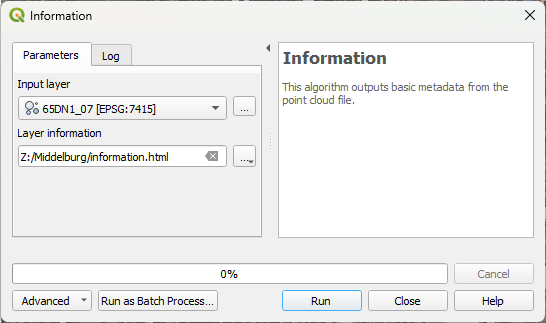
4. Click Run.
The result can be found in:
- The Log tab of the Information dialog window.
- In the Results Viewer panel by double clicking on Layer information.
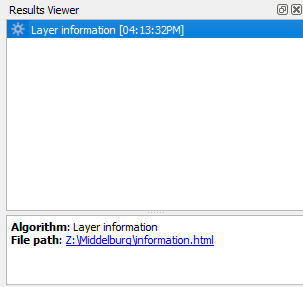
- In the HTML file that was saved.
5. Check the result and close the dialog. Also close the Results Viewer panel.
- How many points are in the tile?
- What is the projection?
- Which attributes are present?
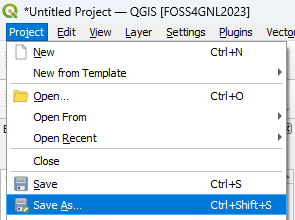
Save the project before we continue.
6. In the main menu, go to Project | Save As... and save the project in the folder with the LAZ files with a name of your choice, e.g. Middelburg.qgz.
In the next section, we're going to merge the tiles in a Virtual Point Cloud layer.