
Tutorial: Create and Use Virtual Point Clouds (VPC)
5. Build a Virtual Point Cloud layer
Our point cloud data is still divided in tiles. For further processing we need to merge them into one layer. We could do that with the Merge tool, which will create a large LAZ or COPC layer. Here, however, we're going to create a Virtual Point Cloud (VPC) layer. The advantage is that we're not copying the data, but can use the VPC layer in algorithms that we need for further analysis.
The Build virtual point cloud (VPC) tool works with the LAZ files, but will only show the boundaries. It will work with further processing. However, if we want to see the RGB colours or other attributes, we need to use the COPC format.
1. In the Layers panel, select all LAZ layers and right click on the selection. Then choose Remove Layer from the context menu. In the popup, click OK to confirm.
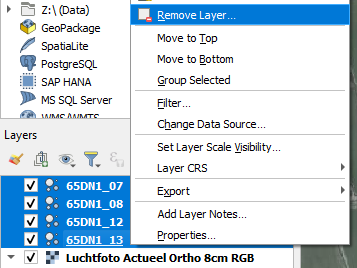
Now you'll only have the aerial photograph.
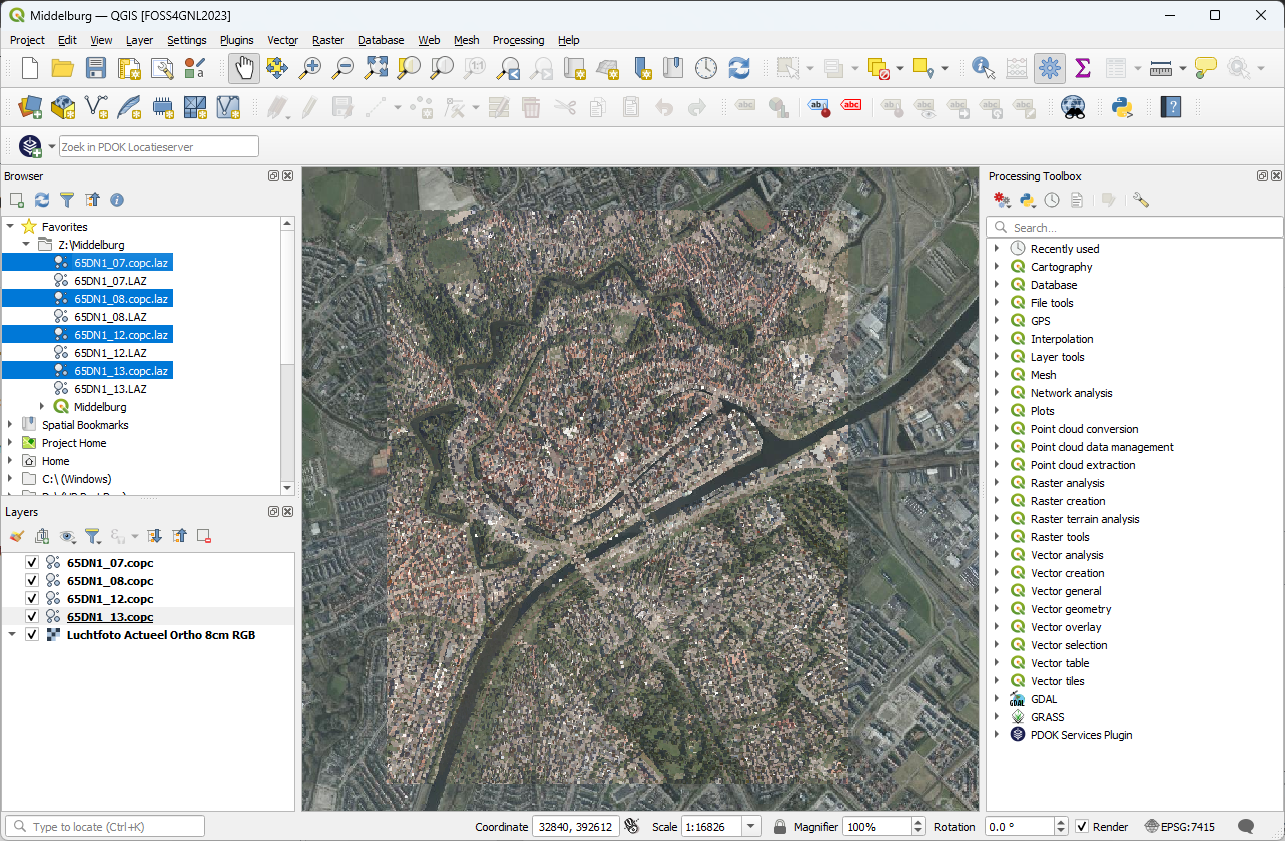
2. In the Browser panel, select the COPC layers with the CTRL-button pressed and drag them to the map canvas.
3. Save the project by clicking  .
.
Your screen now looks like this:
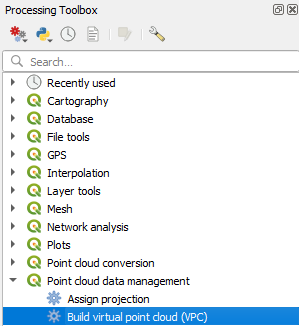
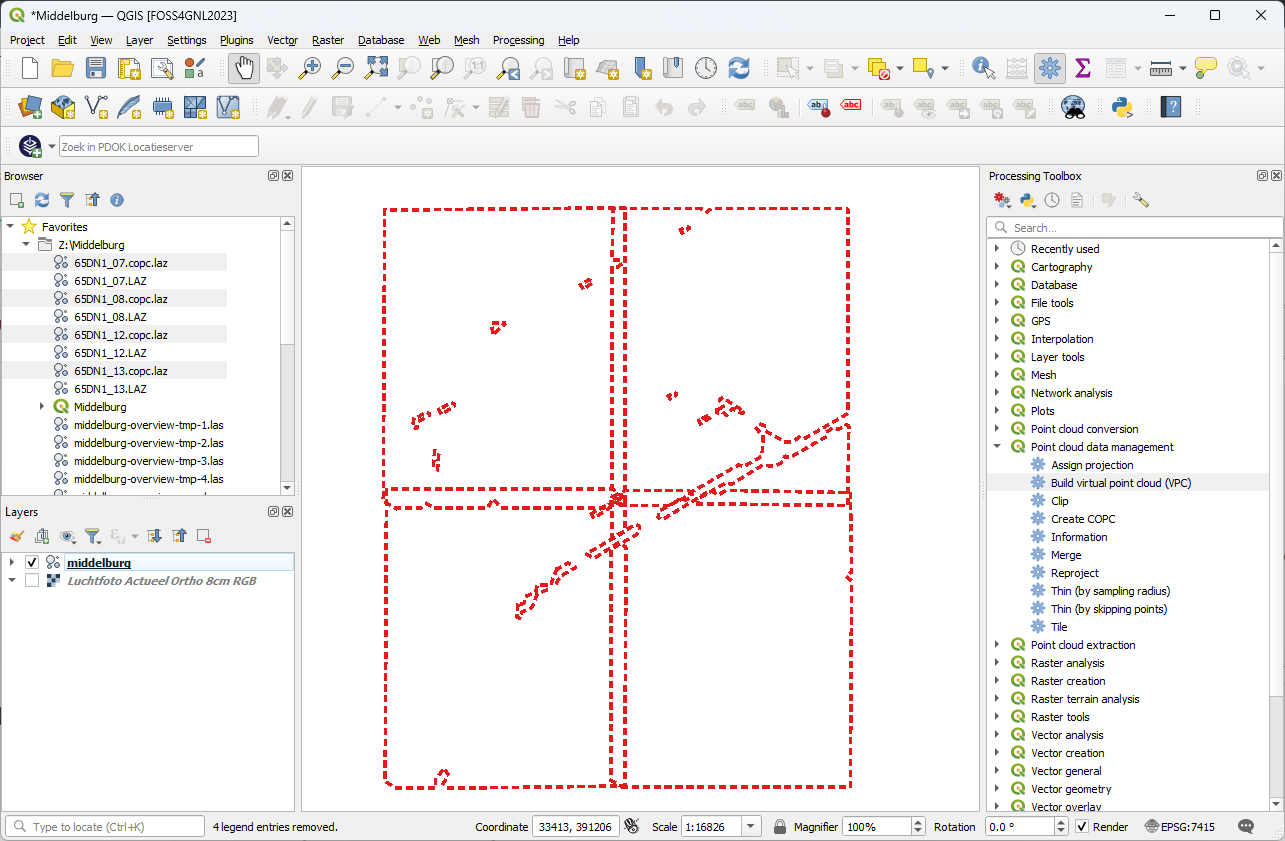
4. In the Processing Toolbox go to Point cloud data management | Build virtual point cloud (VPC).
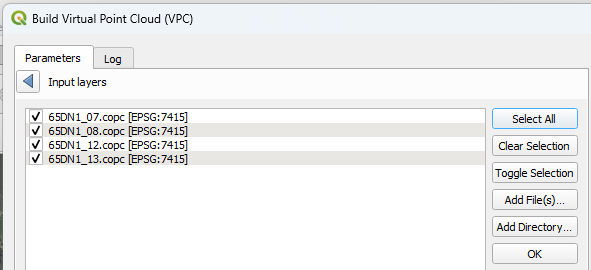
5. In the Build Virtual Point Cloud (VPC) dialog, click the Browse  button at Input layers.
6. Click Select All and OK.
7. Now check the boxes to Calculate boundary polygons, Calculate statistics and Build overview point cloud. The boundary polygons will only cover the areas with data points, so they'll not necessarily be rectangular as with the extent. To calculate statistics is useful for visualisation and processing. The overview point cloud is comparable with pyramid layers for rasters and helps with efficiently visualising the point cloud data at different zoom levels.
8. Save the result in the folder of the project with a filename with the extension .vpc (make sure you choose that extension in the Save file dialog).
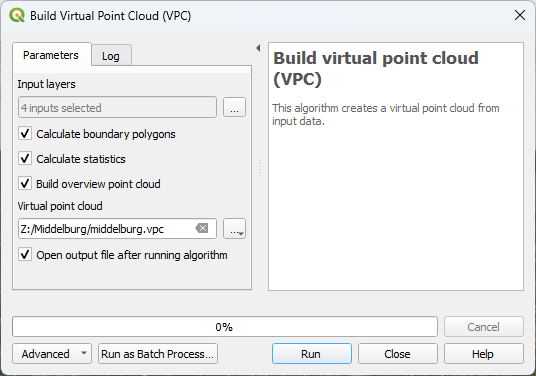
9. Click Run. Click Close to close the dialog after processing.
10. Remove the individual point cloud tiles from the Layers panel (select them with the Ctrl-button pushed, right-click on the selection and choose Remove Layer from the context menu).
11. Hide the aerial photograph by unchecking the box before the layer name in the Layers panel.
Now your screen will look like this:
12. Zoom in on the map canvas.
You'll now see the points coloured with the classification attribute.
In the next chapter, we'll change the visualisation attribute and visualise the result in 2D and the 3D View.