
Tutorial: Use PDAL wrench to automate workflows
2. Setup PDAL wrench
Let's first see how we can execute the PDAL wrench commands.
1. Open QGIS Desktop.
2. In the Browser panel, right-click on the folder where you want to run the commands. That's usually the folder where you have saved the downloaded LAZ files, e.g. Z:\Middelburg. Then choose Open in Terminal from the context menu.
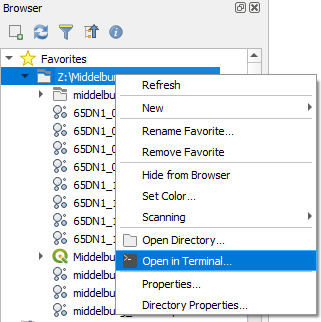
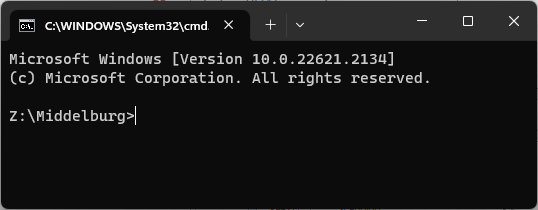
This will open a terminal (command prompt, command line interface) where you can type commands at the prompt.
Check which LAZ files are in the directory.
3. Type the following command at the prompt and press <Enter>:
dir *.laz
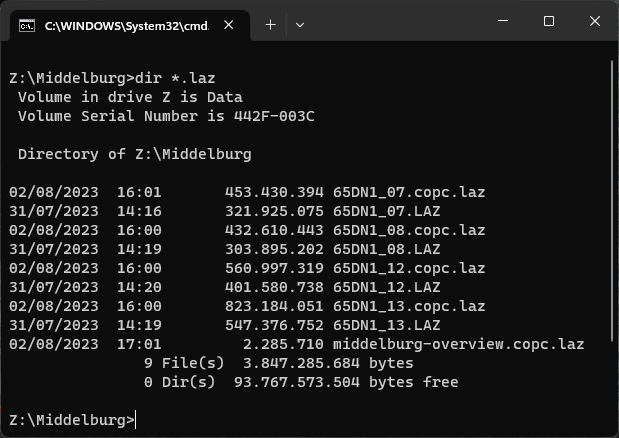
You should be able to see the LAZ and COPC files from the previous tutorials. We'll work with the same downloaded LAZ files.
Let's try if we can run the pdal_wrench command.
4. Type the following command at the prompt and press <Enter>:
pdal_wrench
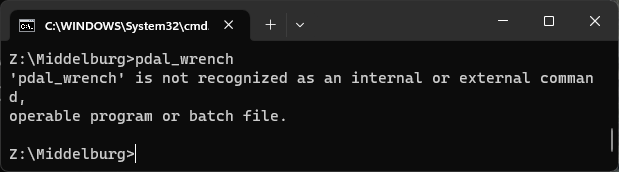
Unfortunately, the command is not recognised. This means that it's not included in the OSGeo4W shell path. This is probably on purpose, because it could cause DLL conflicts.
This means we need to give the full path to the pdal_wrench command in order to be able to use it.
In your Windows installation of QGIS pdal_wrenche.exe is normally located in C:\OSGeo4W\apps\qgis.
5. Type the following command at the prompt and press <Enter> (tip: use tab completion to avoid typos):
C:\OSGeo4W\apps\qgis\pdal_wrench.exe
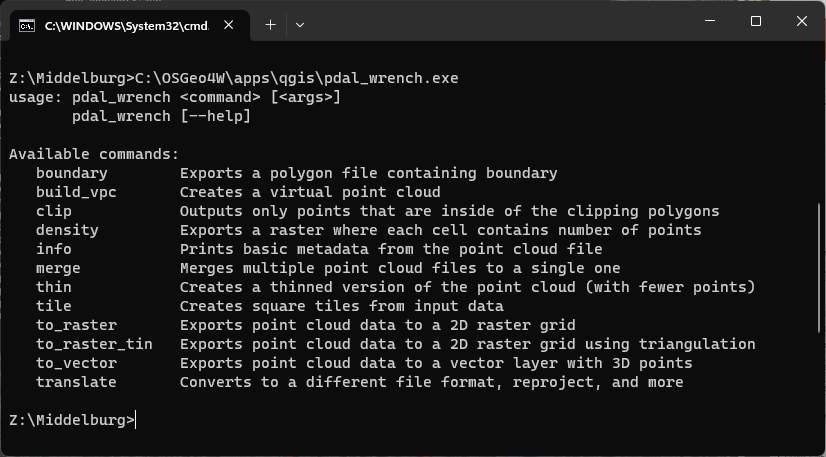
Now it shows the usage of the command, which means you're able to use the command.
It's not so easy to use the full path to pdal_wrench each time. Therefore, we're going to make a batch file. You can do that in notepad and store the .bat file in the folder of the LAZ files or follow the next steps to create the file from the command line.
6. Type the following command at the prompt and press <Enter>:
copy con pdal_wrench.bat
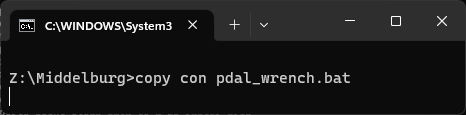
Now you've entered the editor and each line you type goes into the file, until you press <Control><Z>.
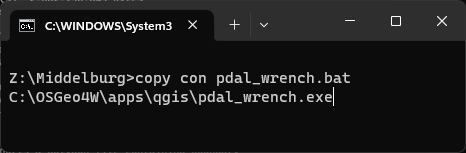
7. Select C:\OSGeo4W\apps\qgis\pdal_wrench.exe from above in the terminal and click right to paste it on the line under the prompt:
8. Now add a space and %* to the line:
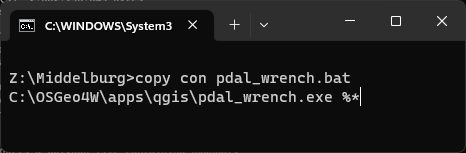
With %* we indicate that it needs to substitute all arguments given after the batch file command.
9. Press <Enter> and press <Control><Z> and again <Enter> to close the editor. Note that it shows ^Z when you press <Control><Z>.
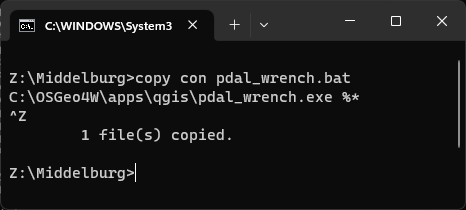
When you're back at the prompt the batch file has been created. Let's check.
10. Type the following command at the prompt and press <Enter>:
pdal_wrench
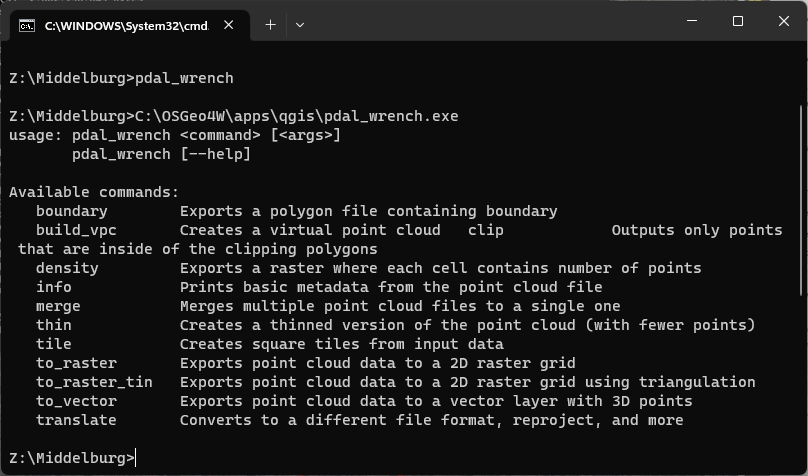
This also shows the usage of the pdal_wrench command, so it works and we're set to use the commands in the next chapters!