
Tutorial: WaPLUGIN User Interface
समापन की आवश्यकताएँ
4. WaPOR3 Catalog Tab
In this chapter, we'll guide you through the WaPOR3 Catalog tab of the WaPLUGIN.
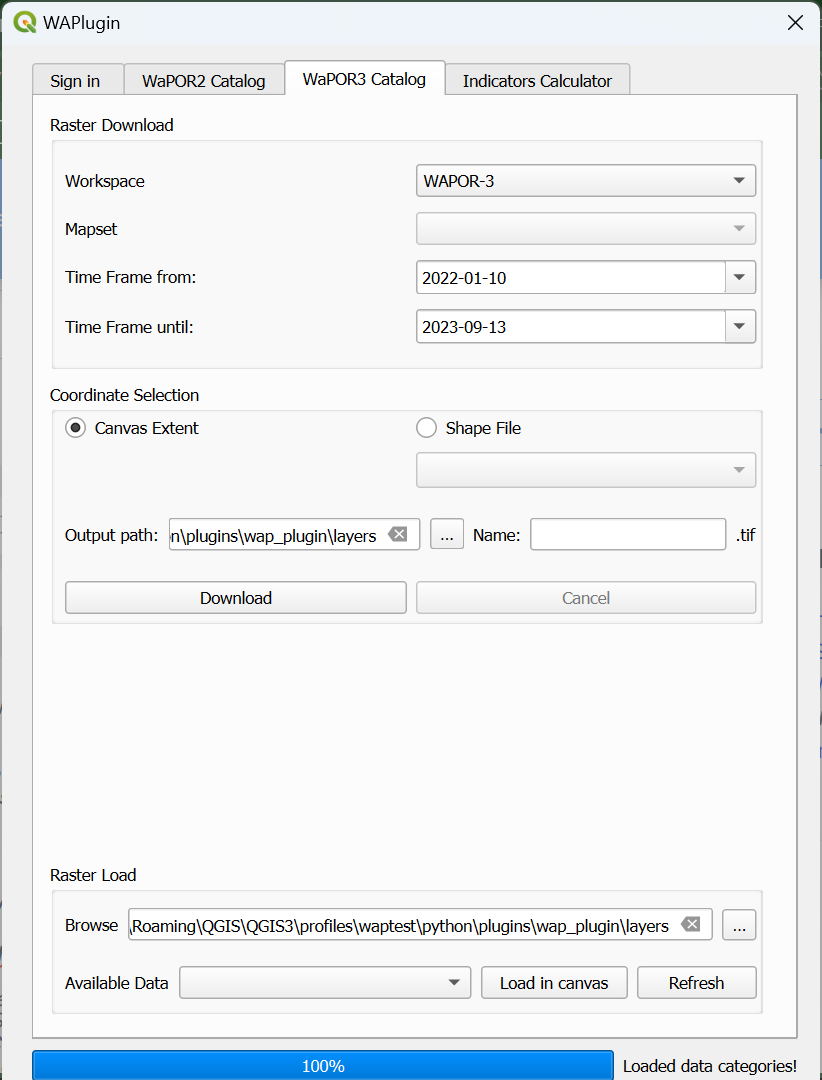
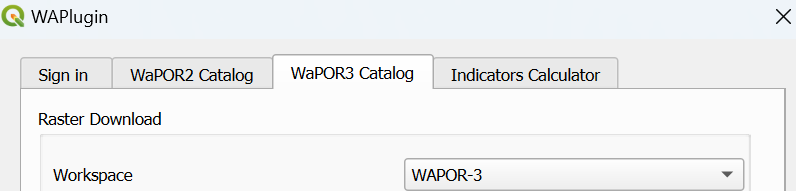
1. Go to the WaPOR3 Catalogue tab in the WaPLUGIN. Note that no API token is required to access the WaPOR3 data (unlike WaPOR V2).
2. Set the Workspace to WAPOR-3.
By default, the downloaded data will be saved as [Name] [level] [place] [raster type] [time filter].tif. You can customize the [Name].

7. After setting the necessary parameters, click the Download button. The progress bar will display the download status.
9. Once the download is complete, go to the Raster Load Section to load the data into QGIS.
The plugin will automatically set the folder path to the layers folder where the downloaded data is stored.
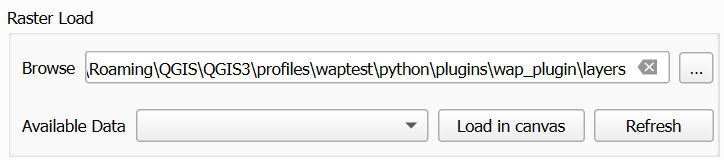
10. In the Available Data dropdown menu, select the raster(s) you wish to load into the QGIS canvas. Click the Load in Canvas button to display the rasters on the QGIS map canvas.
11. If you download additional datasets, use the Refresh button to update the list of available rasters.
Now you've downloaded the data, you can proceed with analysis in the map canvas or use the Indicators Calculator tab, which is explained in the next chapter.
1. Go to the WaPOR3 Catalogue tab in the WaPLUGIN. Note that no API token is required to access the WaPOR3 data (unlike WaPOR V2).
2. Set the Workspace to WAPOR-3.
- Level: Choose from Global, National, or Sub-national.
- Time Scale: Select between Dekadal, Monthly, Annual, or Daily.
- Resolution: Choose the resolution (300m, 100m, 20m) depending on your study area and data needs.

- Click the Time Frame From and Time Frame Until buttons to select the start and end dates.


- Canvas Extent: This option limits the download to the visible area in the QGIS map canvas.
- Shapefile: Use the dropdown menu to select a shapefile from your project and clip the raster data to your area of interest (For L3 data, ensure that the map canvas is zoomed in on the study area or country of interest. It’s recommended to use the QuickMapServices plugin to easily access basemaps and locate your study area).

By default, the downloaded data will be saved as [Name] [level] [place] [raster type] [time filter].tif. You can customize the [Name].
7. After setting the necessary parameters, click the Download button. The progress bar will display the download status.
9. Once the download is complete, go to the Raster Load Section to load the data into QGIS.
The plugin will automatically set the folder path to the layers folder where the downloaded data is stored.
10. In the Available Data dropdown menu, select the raster(s) you wish to load into the QGIS canvas. Click the Load in Canvas button to display the rasters on the QGIS map canvas.
11. If you download additional datasets, use the Refresh button to update the list of available rasters.
Now you've downloaded the data, you can proceed with analysis in the map canvas or use the Indicators Calculator tab, which is explained in the next chapter.