
NetCDF in QGIS
3. Visualise raster time series
If you have installed QGIS 3.38 Grenoble or newer, you can try this chapter to visualise animations of raster time series. If you're using an older version, you can proceed with the next chapter.
We'll create an animation for the ET layer.
First we need to configure the multiband raster as a temporal layer.
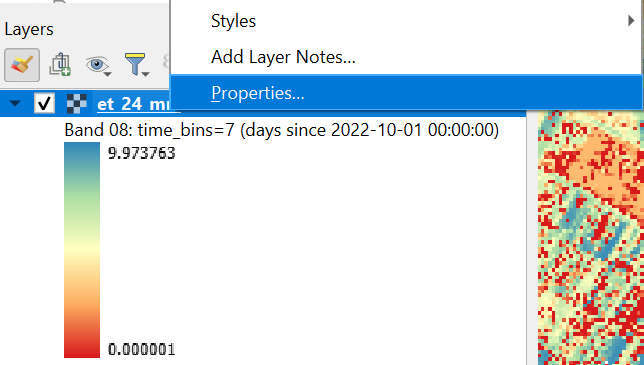
1. In the Layers panel, select the et_24_mm layer.
2. Click right on the layer and choose Properties... from the context menu. Alternatively, you can double-click the layer.
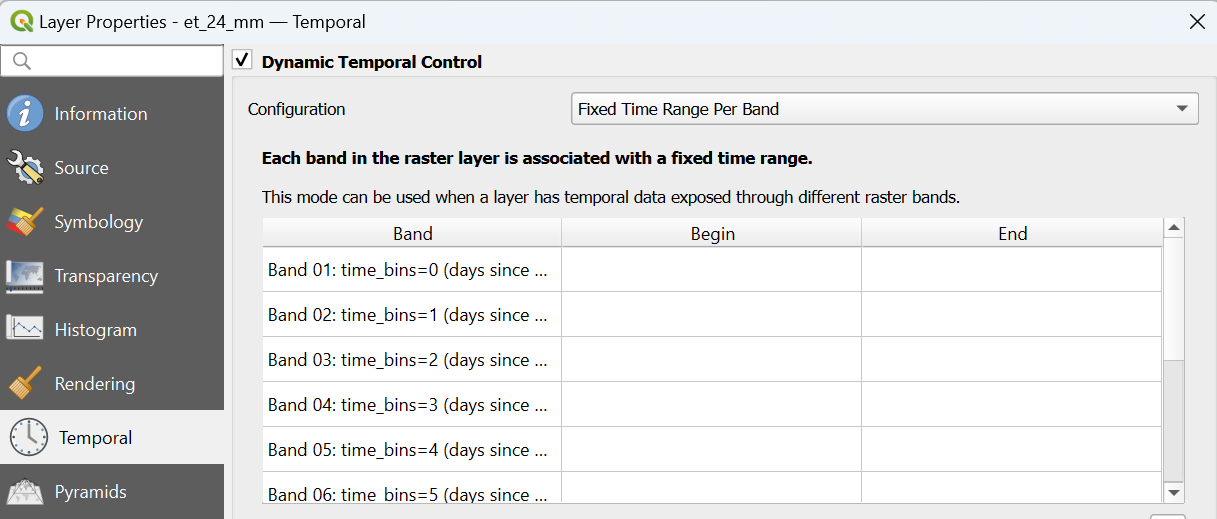
3. In the Layer Properties window, go to the Temporal tab.
4. Check the box for Dynamic Temporal Control.
5. Choose in the drop-down menu at Configuration Fixed Time Range Per Band.
The screen should now look like this:
Now we need to indicate the beginning and end times of each raster layer. Each band is a day, starting from 1 October 2022 in our example and it covers 24 hours of evapotranspiration.
6. Click in the table and edit the begin and end times. You can use the drop-down arrow to pick the date from a calendar and then type the time.
7. After setting the first band, you can copy the date/time to the other bands and you only have to update the day. Note that the date format depends on your language settings.
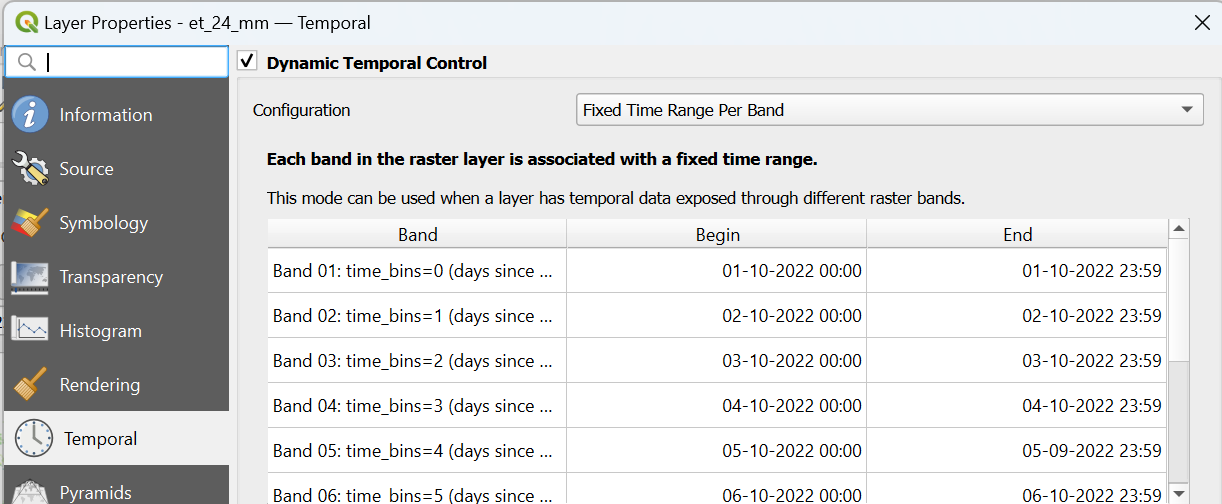
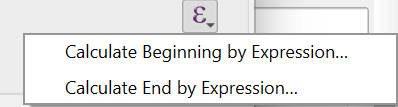
Pro tip: you can use expressions to fill in the table by using the expression editor.
8. Click OK to apply and close the window.
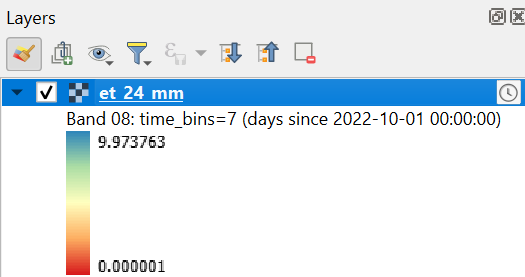
Now you'll notice a clock icon in the Layers panel, next to the layer name, indicating that it's a temporal layer that can be controlled with the Temporal Controller.
9. In the Toolbar, click ![]() to open the Temporal Controller panel.
to open the Temporal Controller panel.
10. In the Temporal Controller panel, click ![]() to configure the range. Then click
to configure the range. Then click ![]() to set the range to the one defined by the data.
to set the range to the one defined by the data.

11. Now click on ![]() in the Temporal Controller panel.
in the Temporal Controller panel.
12. Set the time step to source timestamps.

13. Click ![]() to animate the temporal raster.
to animate the temporal raster.
You can now also add text with the date/time a title and a legend. You can export the animation to an animated GIF. This is covered in this tutorial.