NetCDF in QGIS
4. Export NetCDF layers to GeoTIFF
Often we don't want to work with all layers in a NetCDF, but with GeoTIFFs. In this chapter you'll learn how to export NetCDF rasters to GeoTIFF layers.
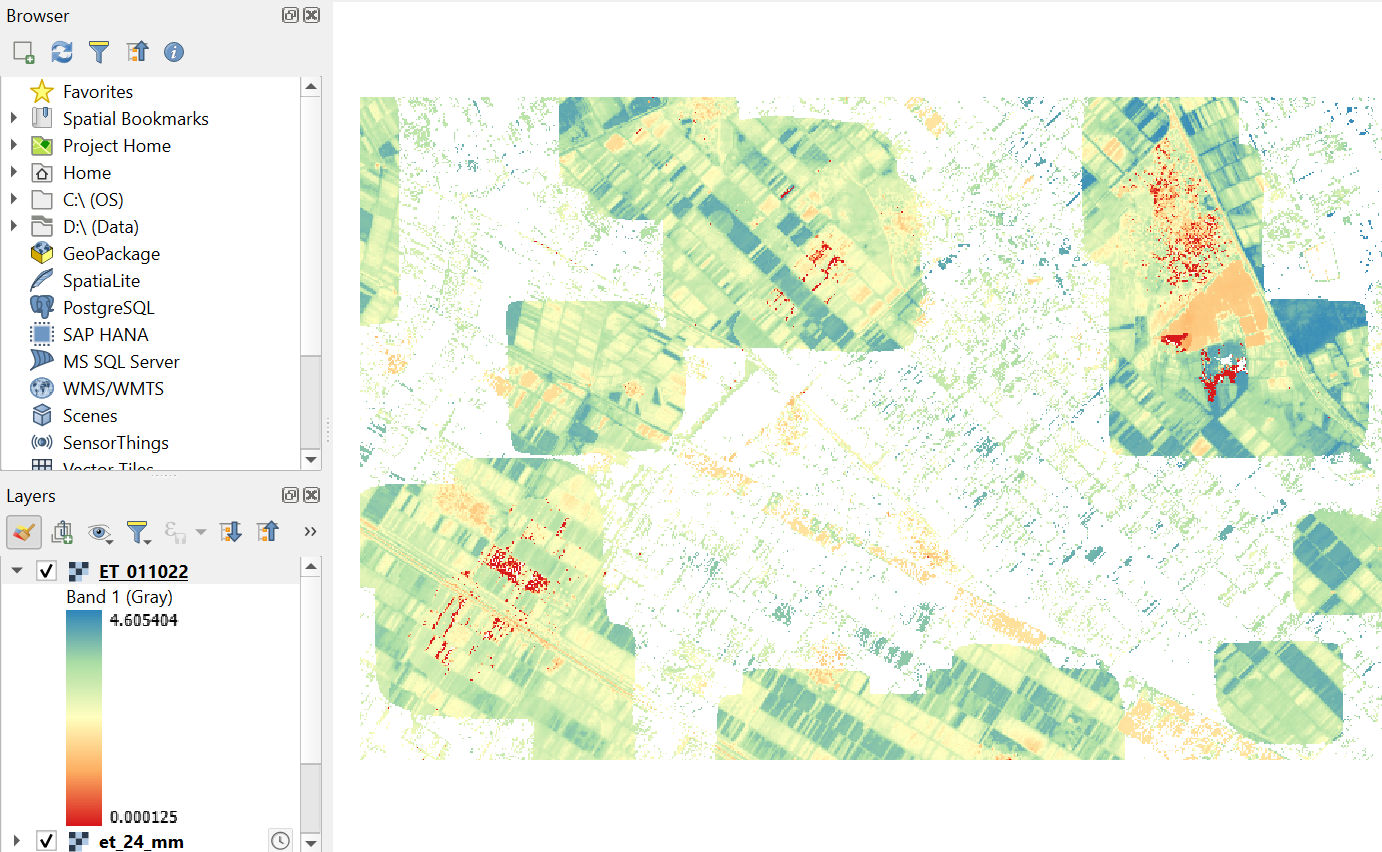
1. In the Layers panel, select the raster layer you want to export to GeoTIFF, e.g. et_24_mm.
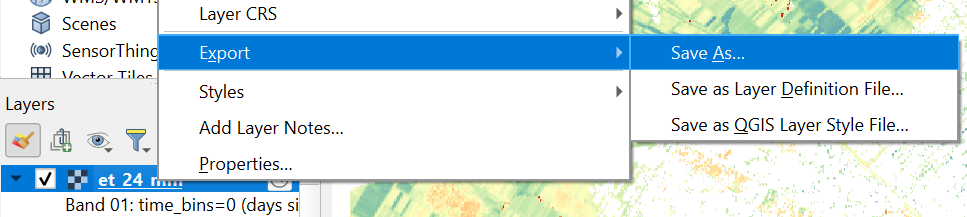
2. Right-click on the layer and choose Export | Save As... from the context menu.
3. In the Save Raster Layer as... dialog, use ![]() to browse to the folder where you want to save the result and give it a file name, e.g. ET.tif. Optionally, you can reproject the result to a CRS of your choice.
to browse to the folder where you want to save the result and give it a file name, e.g. ET.tif. Optionally, you can reproject the result to a CRS of your choice.
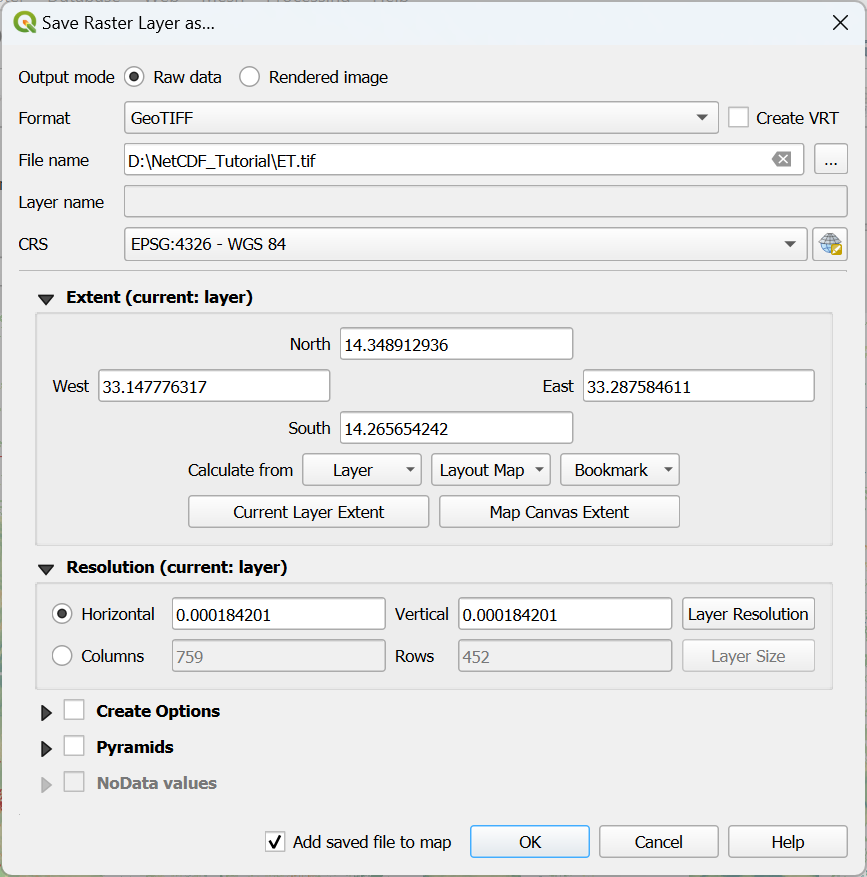
4. Click OK to run the export.
The result is automatically added to the map canvas. It is a GeoTIFF multiband raster. If you want to export the individual layers, you need another approach, which will follow now.
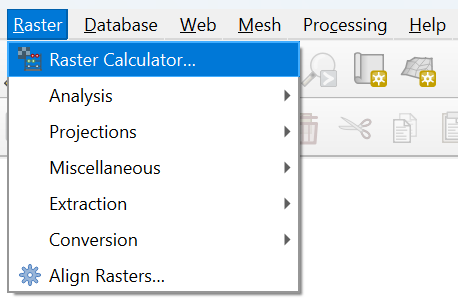
5. In the main menu choose Raster | Raster calculator.
6. Under Raster Bands double click on the band that you want to export, e.g. et_24_mm@1 (@1 means band 1).
The band will then be added to the Raster Calculator Expression at the bottom.
7. Use the browse ![]() button to define the output location and file name. It is useful to indicate the date in the file name, e.g. ET_011022.tif.
button to define the output location and file name. It is useful to indicate the date in the file name, e.g. ET_011022.tif.
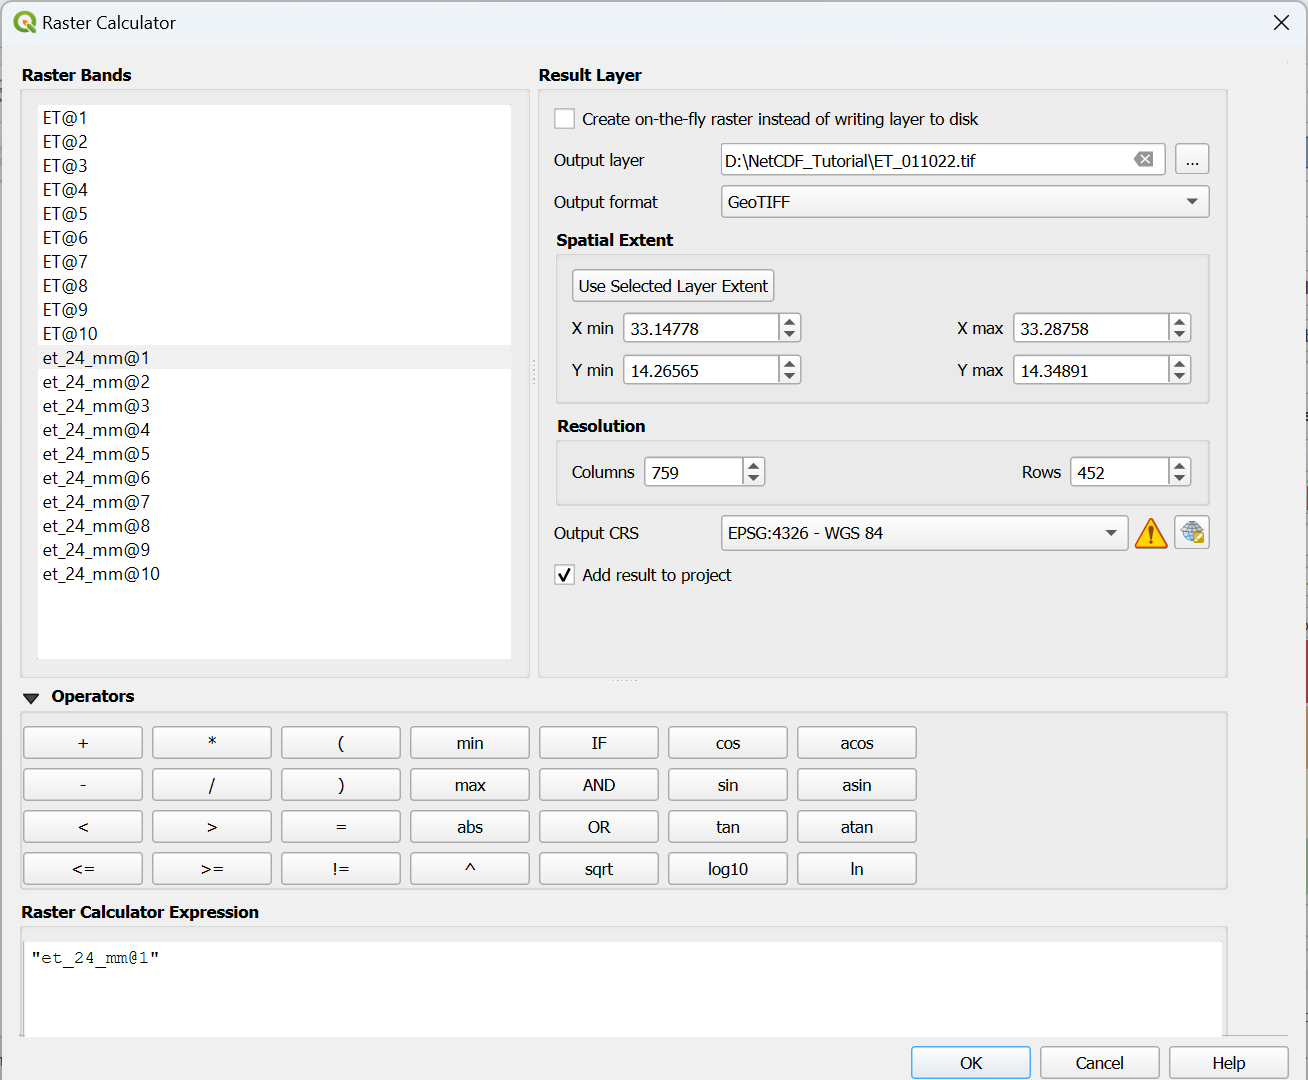
8. Click OK to export the band.
Repeat this for other bands if needed.