NetCDF in QGIS
6. Export time series values from points
With the mesh tools in the Processing Toolbox, we can export data. Let's first export timeseries values for specific locations.
Let's first create some points for which we want to export the timeseries values. We'll use a temporary scratch layer, but you can also use an existing vector layer or create a shapefile.
1. In the Toolbar, click ![]() to create a new temporary scratch layer.
to create a new temporary scratch layer.
2. In the dialog, add for Layer name Locations and choose Point as the Geometry type. Add an attribute ID as Integer so we can identify the exported points later.
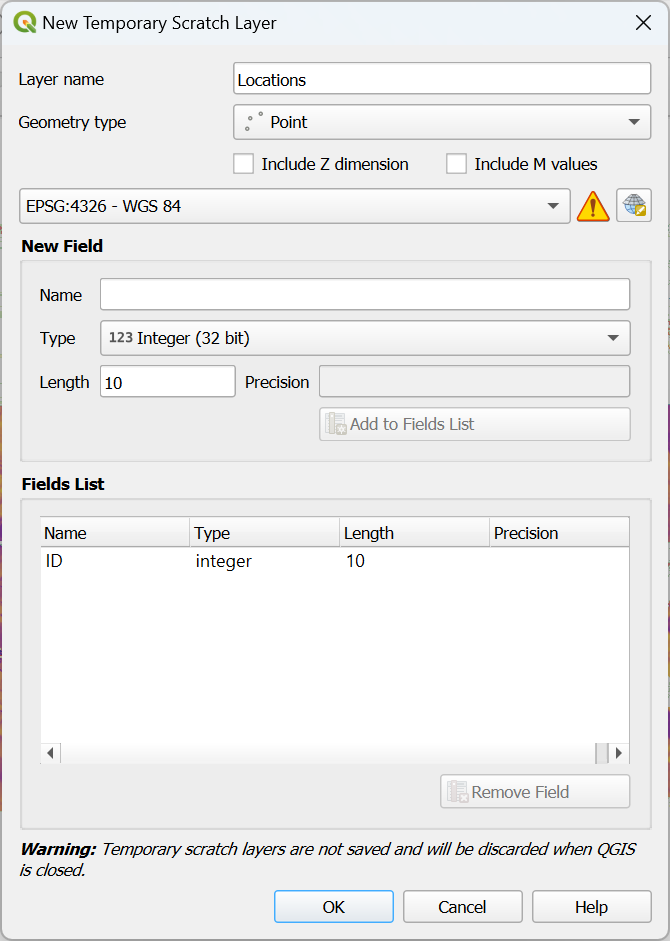
3. Click OK to create the layer.
4. In the digitizing toolbar, click ![]() to add our first point.
to add our first point.
5. Choose a location in a parcel.
6. Choose a second location in another parcel.
7. Click ![]() to save the edits and toggle off editing.
to save the edits and toggle off editing.
8. Click ![]() to open the Processing Toolbox panel.
to open the Processing Toolbox panel.
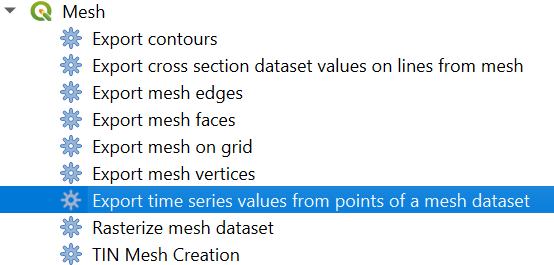
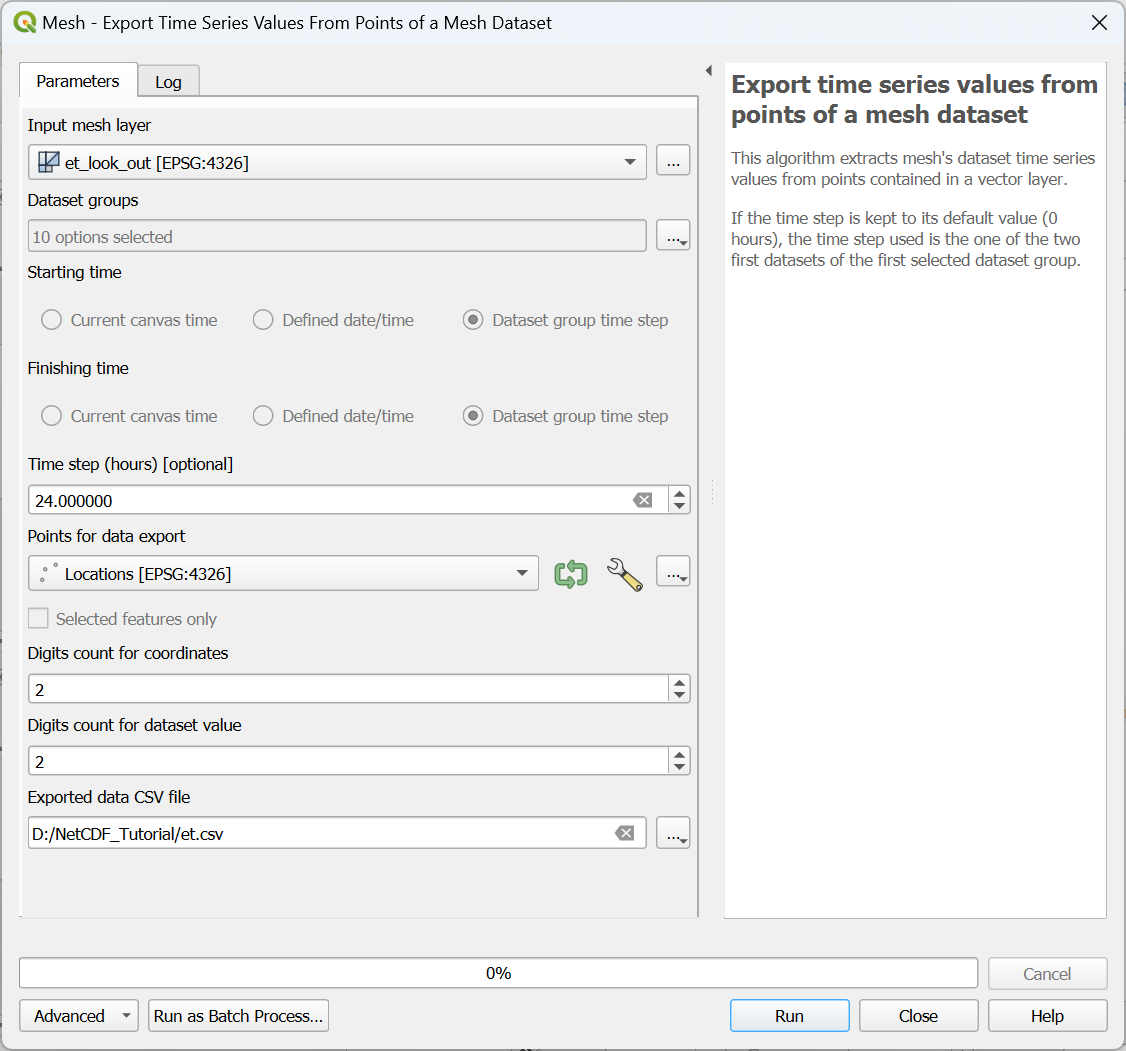
9. Under Mesh double click on Export timeseries values from points of a mesh dataset.
10. In the dialog make sure the et_look_out mesh layer is selected as Input mesh layer.
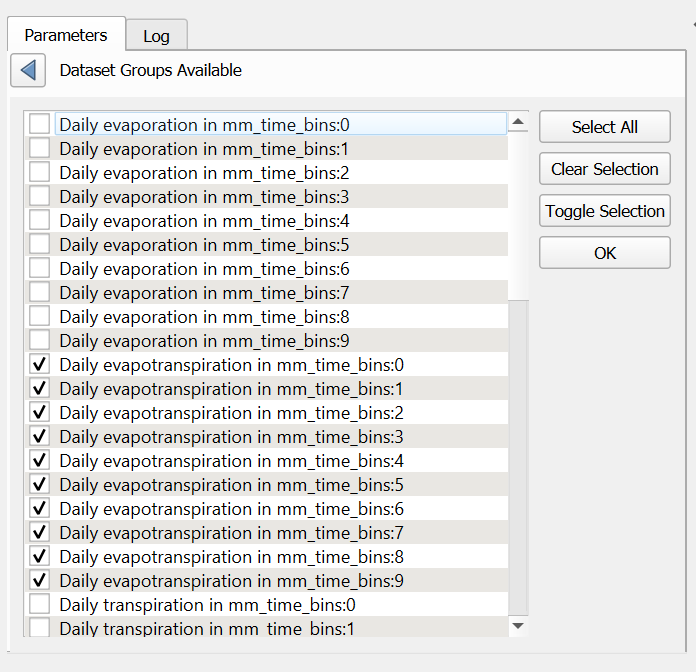
11. Select under Dataset Groups the days that you want to use, for example the 10 layers of ET.
Note that it is more common that meshes have each data layer in a dataset group with the time defined. So ideally, you would choose the daily evapotranspiration group only and it will have all the temporal layers in it. In this case each time step is a separate dataset group, therefore we need to select all. The time information is therefore lost.
12. After selecting the dataset groups, you can set the time step to 24 hours and choose a CSV filename for the output.
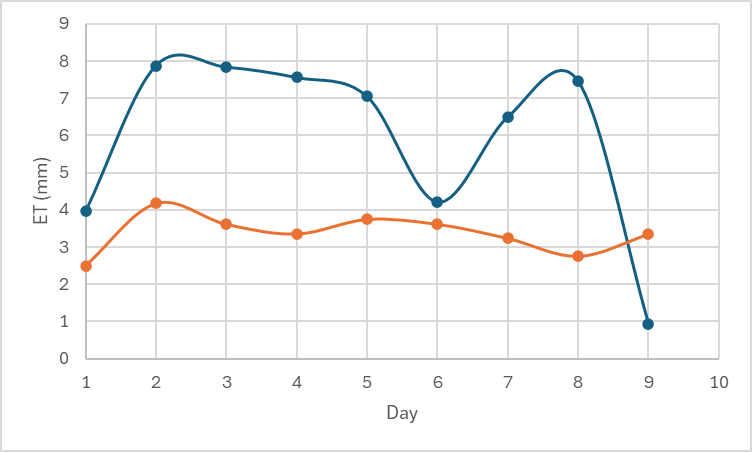
13. Open the CSV file in a spreadsheet programme and manipulate it in such a way that you can create the graphs of the 2 points as shown below: