Now we're going to download two raster layers: a Digital Surface Model and a Digital Terrain Model. We'll again use the PDOK Services plugin.
1. In the toolbar, click  to open the PDOK Services dialog.
2. Search for AHN (Actueel Hoogtebestand Nederland, which is the Dutch elevation model).
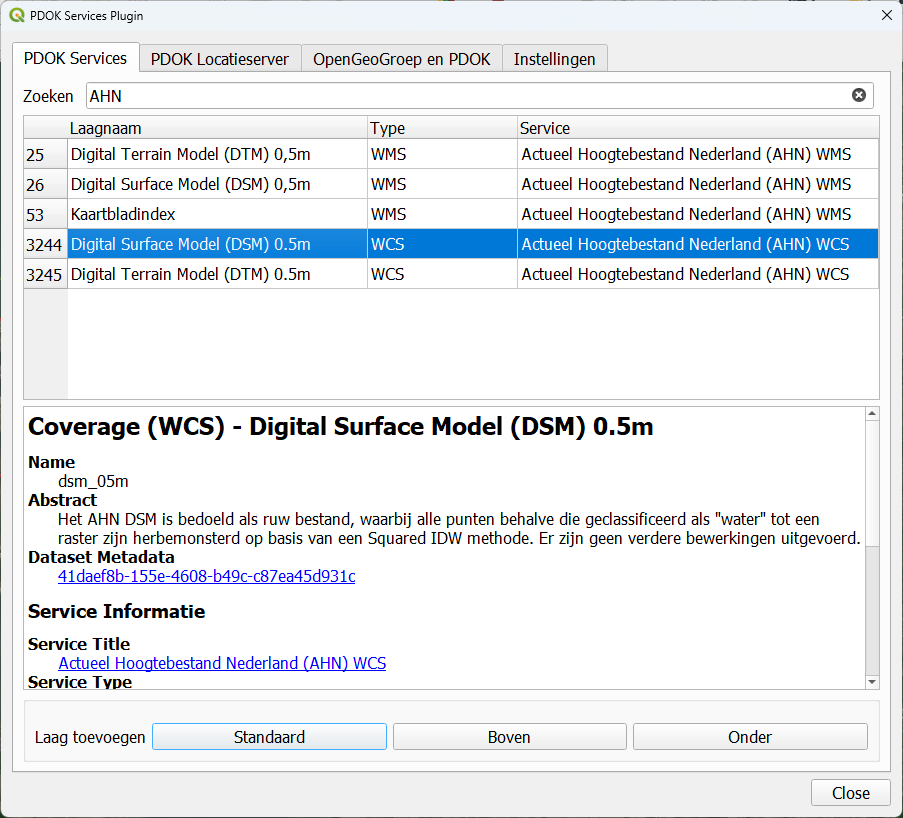
3. There select the Digital Surface Model 0,5m in WCS format and click Boven to add it to the top of the Layers panel.
4. Click Close to close the dialog and wait until the layer is loaded.
Let's clip the downloaded layer to a smaller area. The pixels of this raster are 50 cm, so you'll need a lot of disk space to download the whole municipality. We're mostly interested in the center of Rotterdam.
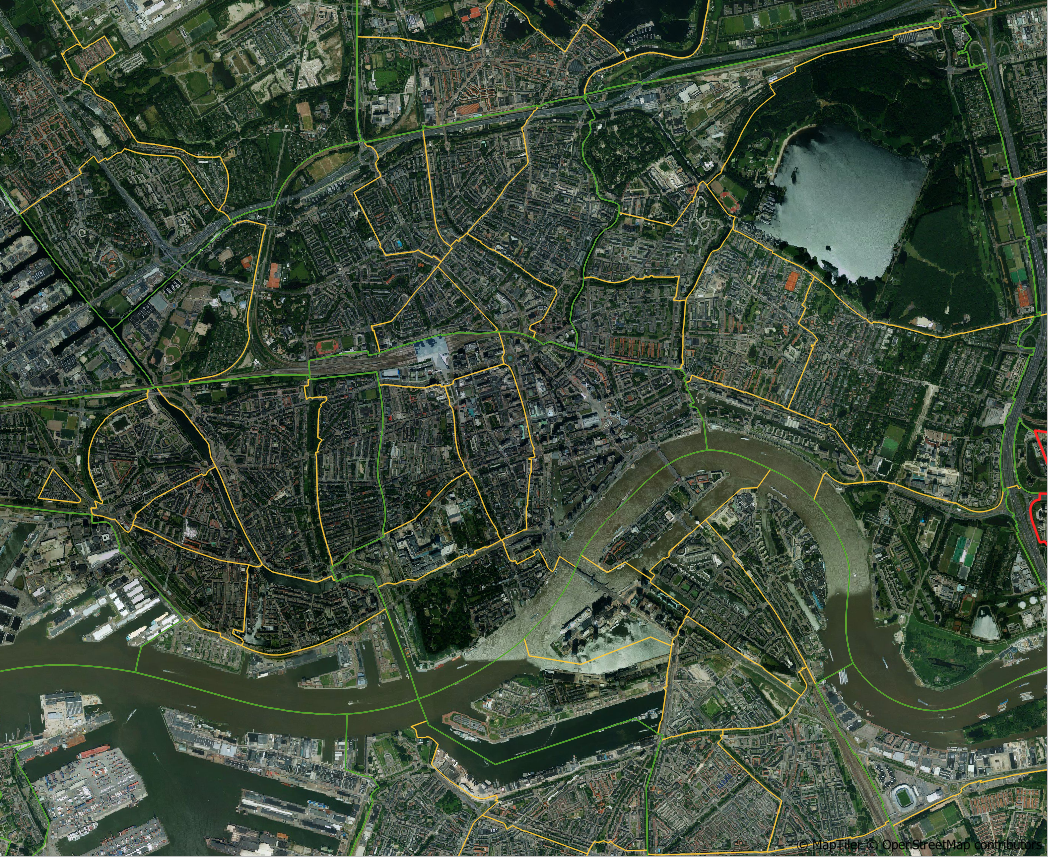
5. Zoom in to a smaller area around the center of Rotterdam.
6. Right-click on the Digital Surface Model layer and choose Export | Save as... from the context menu.
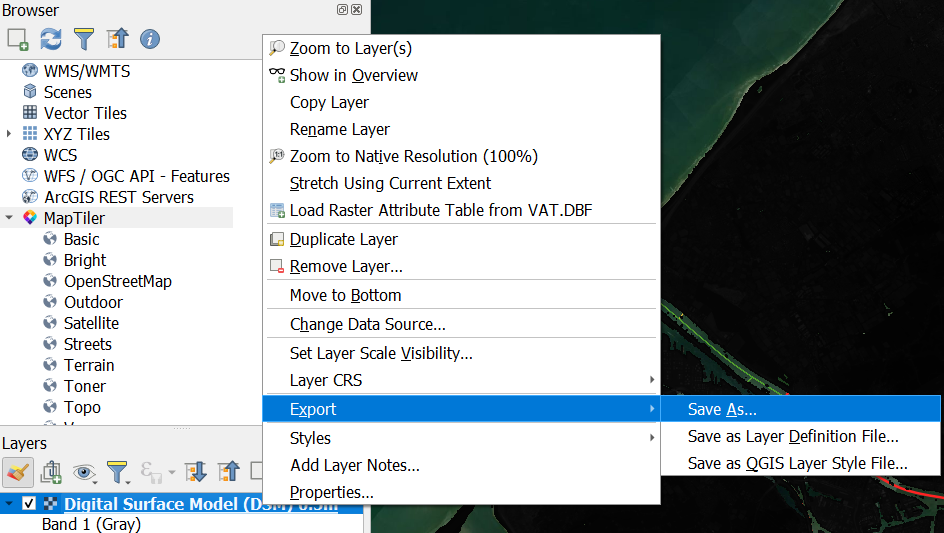
6. In the Save Raster Layer as... dialog Save the result to DSM_Rotterdam.tif in the same folder as your GeoPackage. Under Extent click Map Canvas Extent.
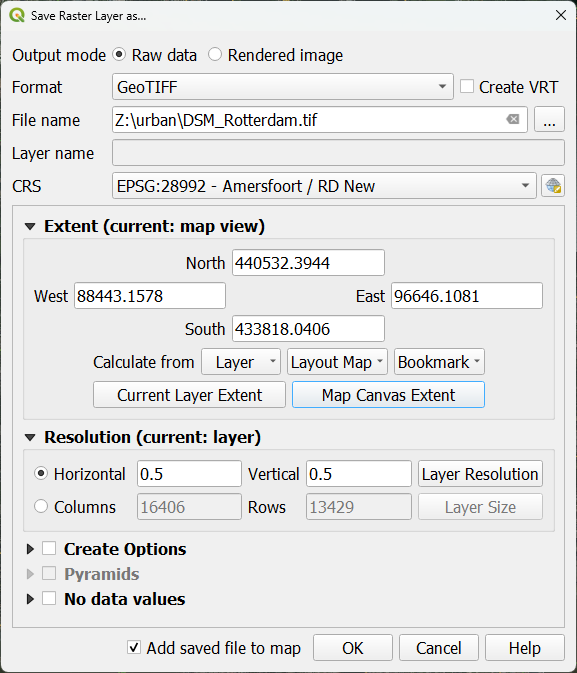
7. Keep the rest as default and click OK.
8. When it's done, remove the Digtial Surface Model WCS layer.
Let's style the result.
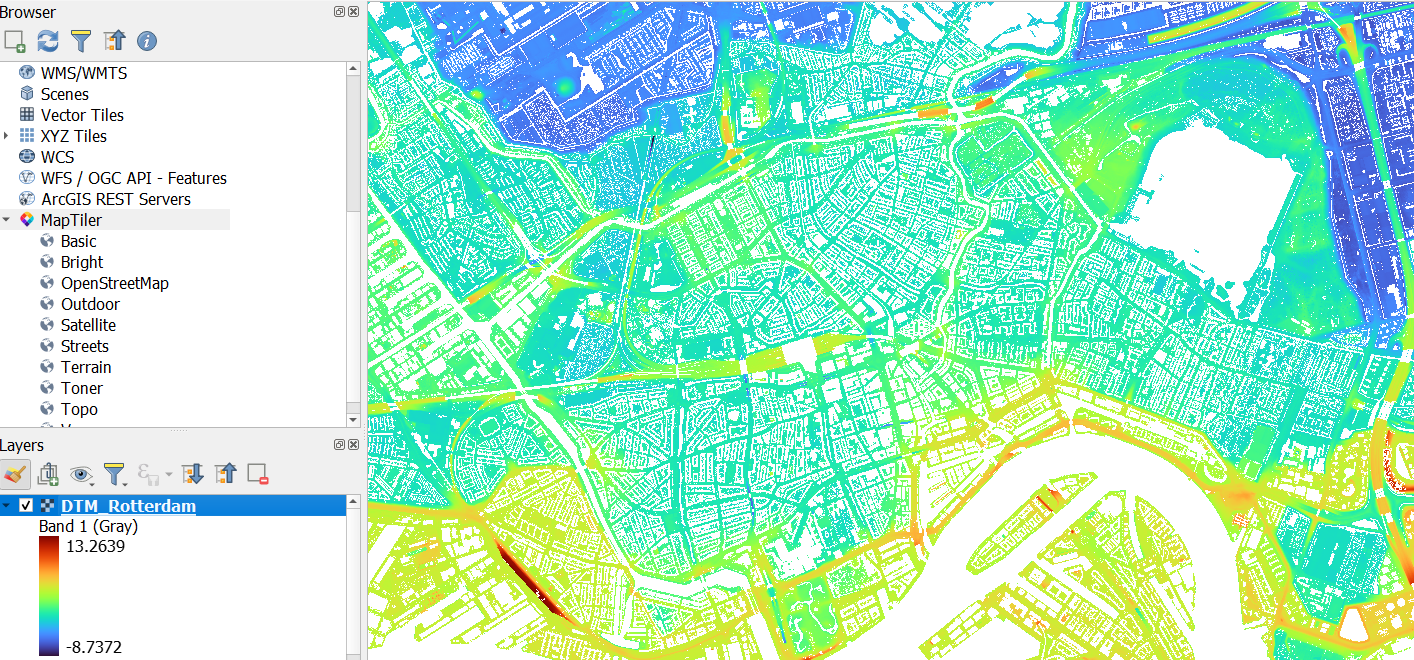
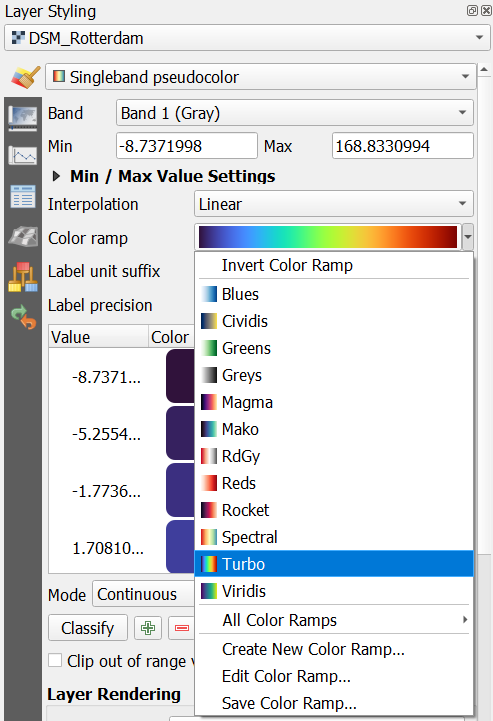
9. Go to the Layer Styling panel and make sure that DSM_Rotterdam is the active layer.
10. Change the renderer from Singleband gray to Singleband Pseudocolor.

11. At Color ramp choose Turbo.
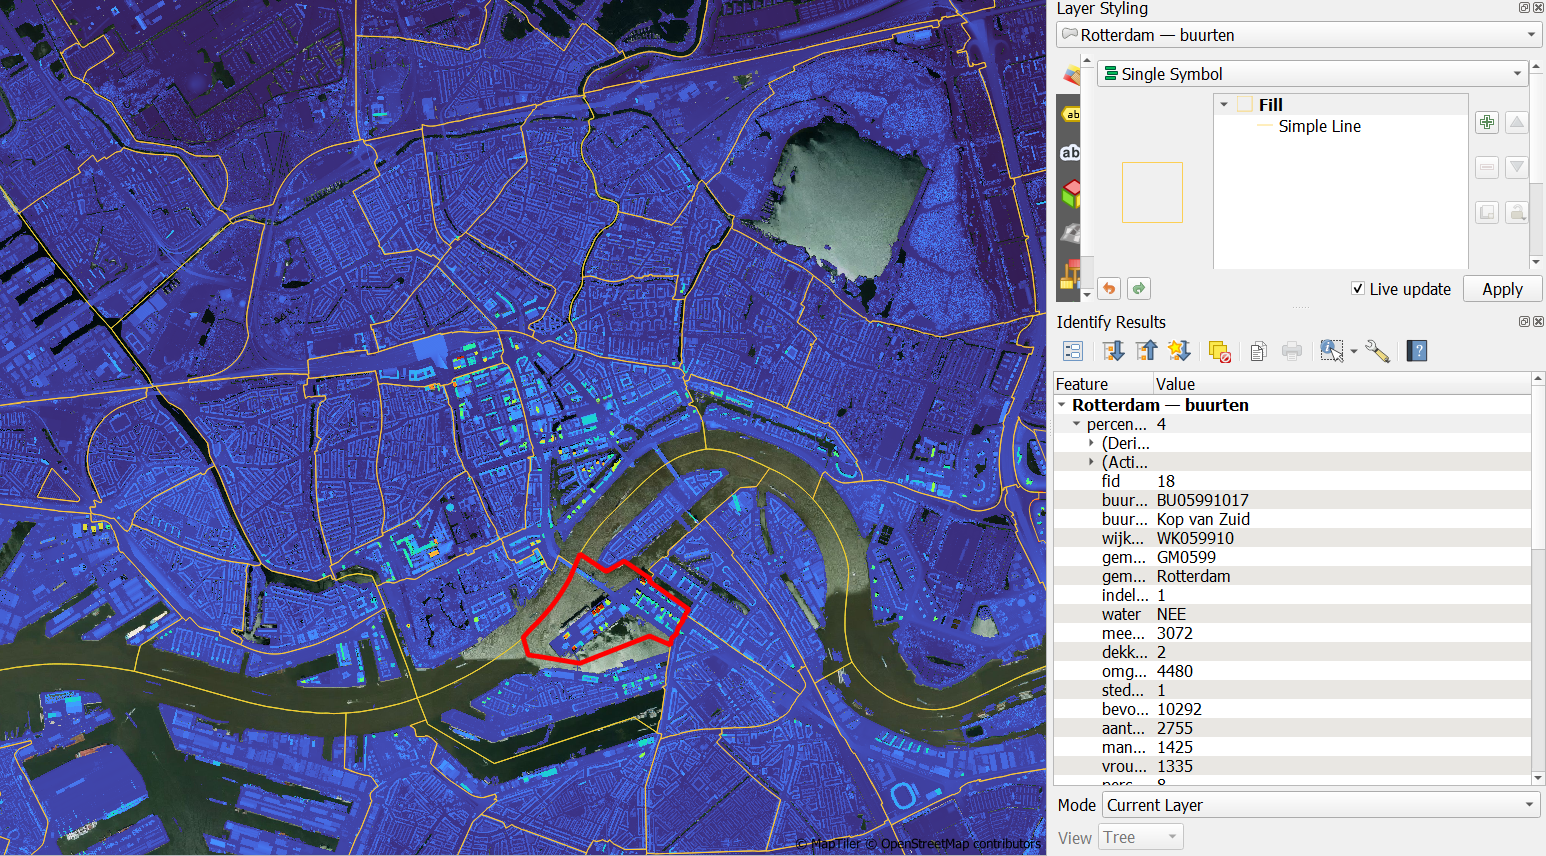
12. Inspect the result.
Tip: overlay the neighbourhood layer and use the Identify tool  to find the name of the neighbourhood.
13. Repeat this for the Digital Terrain Model and save it as DTM_Rotterdam.tif.