
Prepare a basemap
7. Add 3D vector tiles
Since QGIS 3.34 there is support for 3D Tiles. In this chapter we're going to load the Google Photorealistic 3D Tiles into QGIS. They are available through the Cesium ion plugin.
To limit memory usage, we're first going to limit the extent of our project to the main area of interest.
1. Make sure you're zoomed in to the main area of interest.
2. In the main menu, go to Project | Properties....

3. In the Project Properties dialog go to the View Settings tab and check the box before Set Project Full Extent.
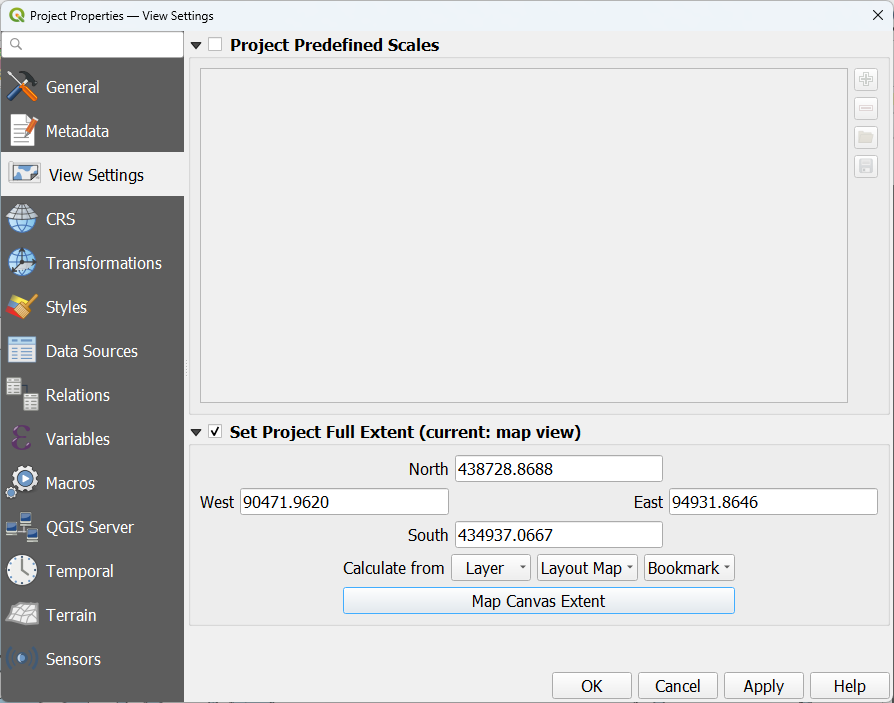
4. Click Map Canvas Extent to set the limits to the current map canvas.
Now we can install the Cesium ion plugin and search for 3D tiles.
5. Install the Cesium ion plugin.
6. In the Browser panel, click on the Cesium ion folder. Your internet browser will open and ask you to login. Use one of the options to login and accept the necessary permissions that QGIS needs.

7. Go back to the Browser panel and add Google Photorealistic 3D Tiles to the map canvas.
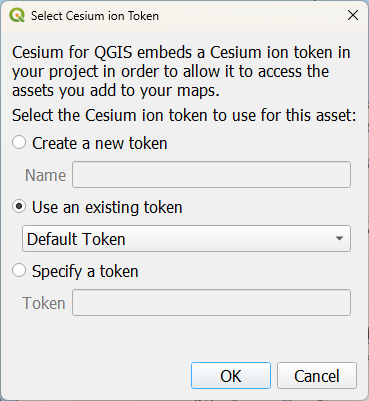
8. A popup will show up to ask which token you want to use. Keep the default to Use an existing token and click OK.
Now the 3D tiles are loaded in the 2D view.
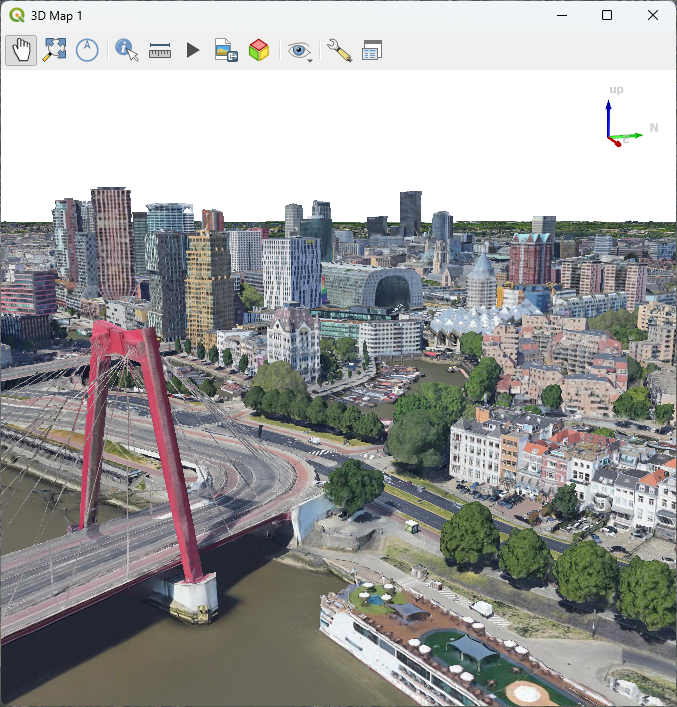
Although they are nice in 2D they are more impressive in 3D.
9. In the main menu, go to View | 3D Map Views | New 3D Map View.
10. In the 3D Map View, click the scroll button of your mouse and drag it towards you to tilt the scene. Now us the left mouse button to pan and navigate through the study area.
This video shows the procedure: