Flood analysis with GIS
5. Visualize the flood in 3D
A much more intuitive way to look at the affected areas is in 3D.
This time, we're not going to use the native 3D View, but instead we'll use the Qgis2threejs plugin.
1. Install the Qgis2threejs plugin.
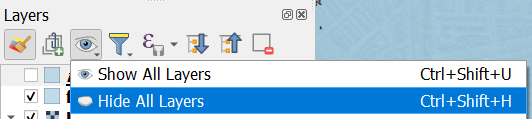
2. In the Layers panel, hide all layers.
3. From the Browser panel add XYZ Tiles | OpenStreetMap to the map canvas.
We'll use that as a back drop in the 3D scene.
4. Click  to open the plugin window.
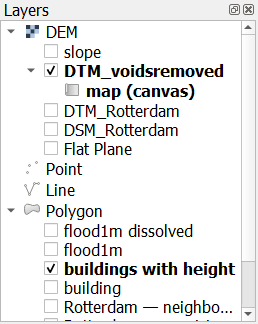
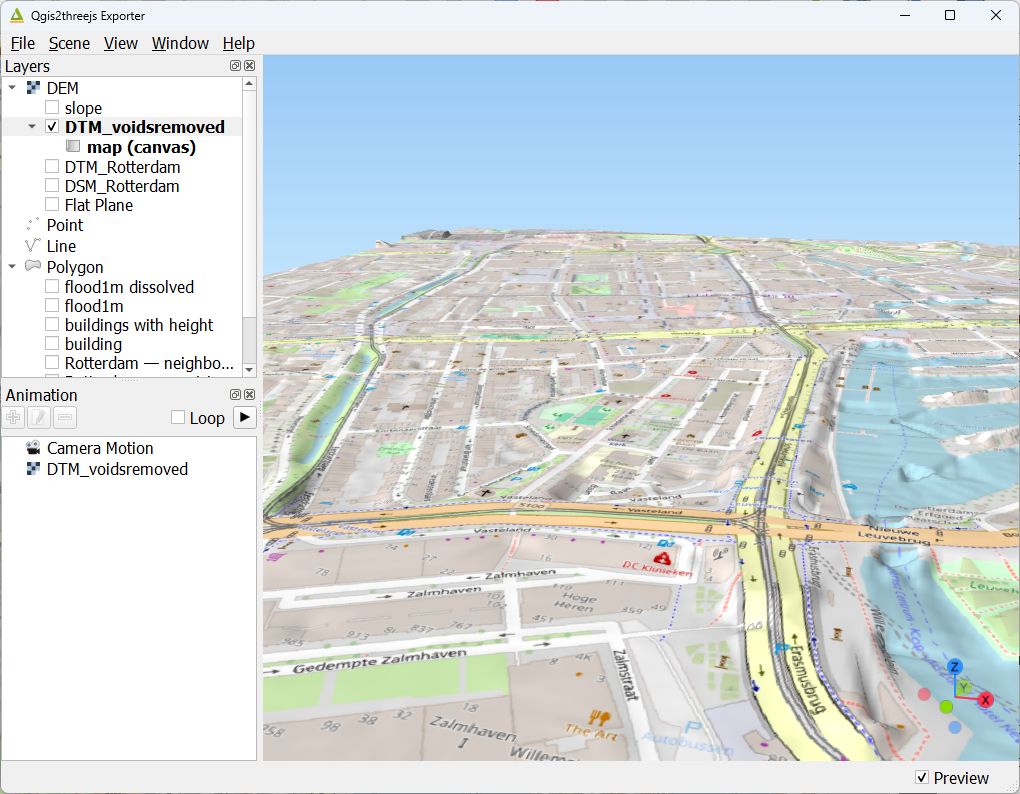
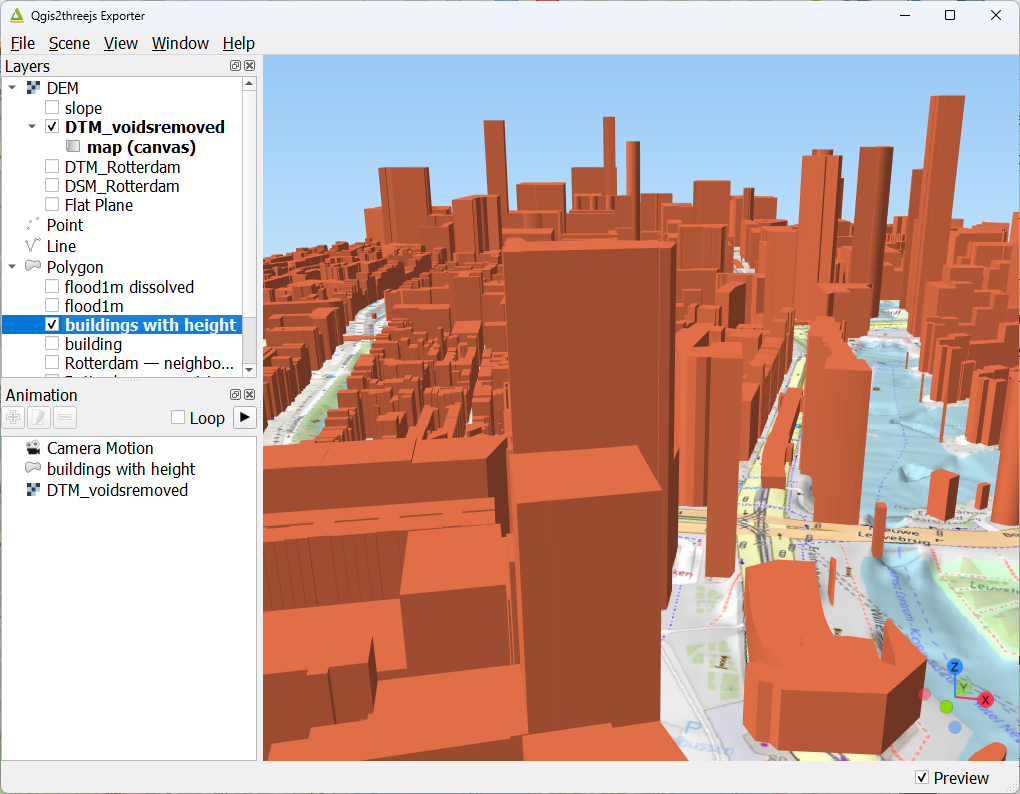
5. Under Layers go to DEM and show DTM_voidsremoved by clicking the box.
Now you see the area in 3D. However, the elevation needs some exaggeration.
6. In the menu go to Scene | Scene Settings....

7. In the Scene Settings dialog, increase the Z exaggeration to 3. Keep the rest as default.
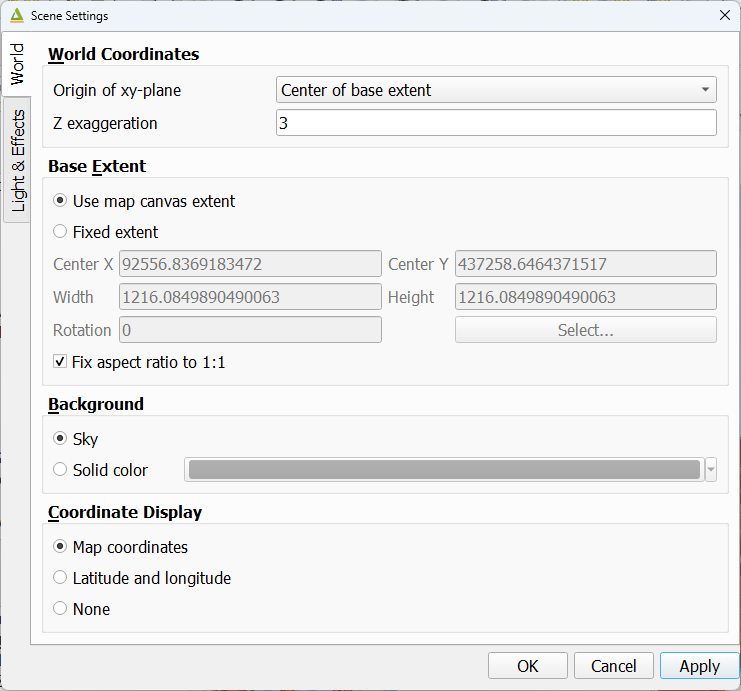
8. Click OK to close the dialog.
Now we can see more relief, but the level of detail is not sufficient.
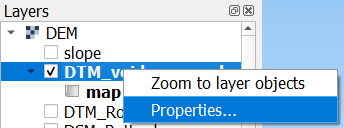
9. Right-click on DTM_voidsremoved and choose Properties... from the context menu.
10. In the Layer Properties dialog increase the Resampling level to the maximum (6). Also increase the Image width to 4096 pixels.
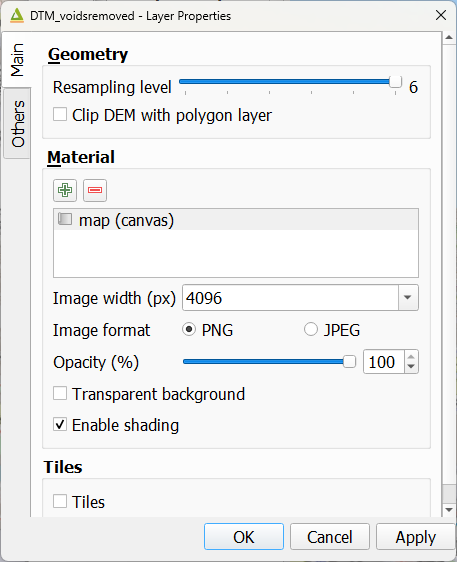
11. Click OK to close the dialog.
If your computer can't handle this, reduce the image width.
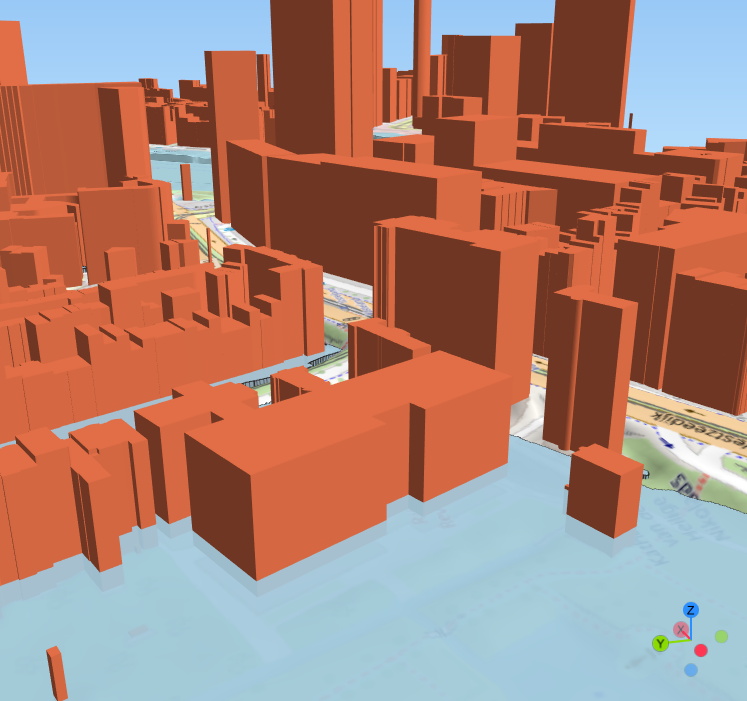
Now we can see the relief in more detail. We can see the dykes in the city.
Let's add the buildings.
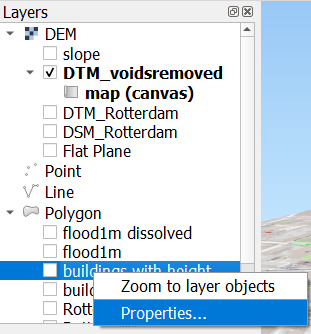
12. Under Layers, right-click on buildings with height and choose Properties... from the context menu.
13. In the Layer Properties, change the Type to Extruded. For Z coordinate, choose the Mode Relative to "DTM_voidsremoved" layer. Under Geometry, set the Height to the Z_mean attribute.
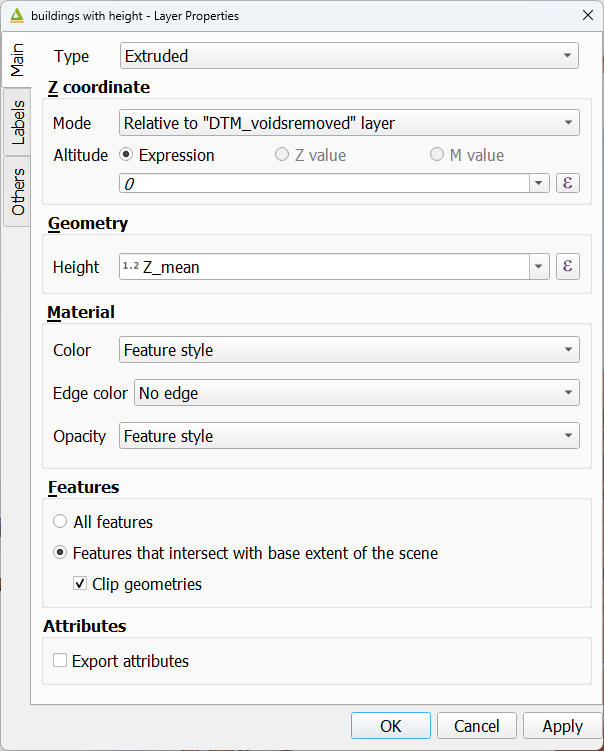
14. Click OK.
15. Check the box to show the buildings with height layer.
Now let's add a flood extent layer.
16. Under Layers, right-click on flood1m and choose Properties... from the context menu.

17. In the Layer Properties, set Type to Extruded, Z coordinate to Absolute and choose the DN field under Expression. Under Geometry choose also the DN field for Height.

18. Click OK.
- Explore the results.
- Change settings to see the effect.